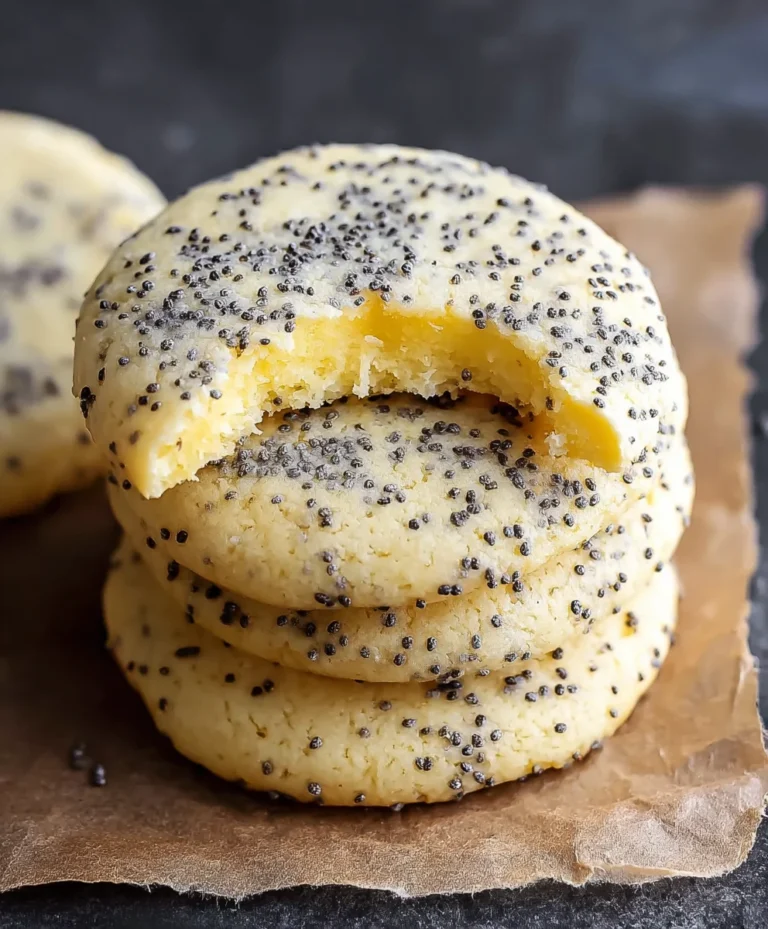
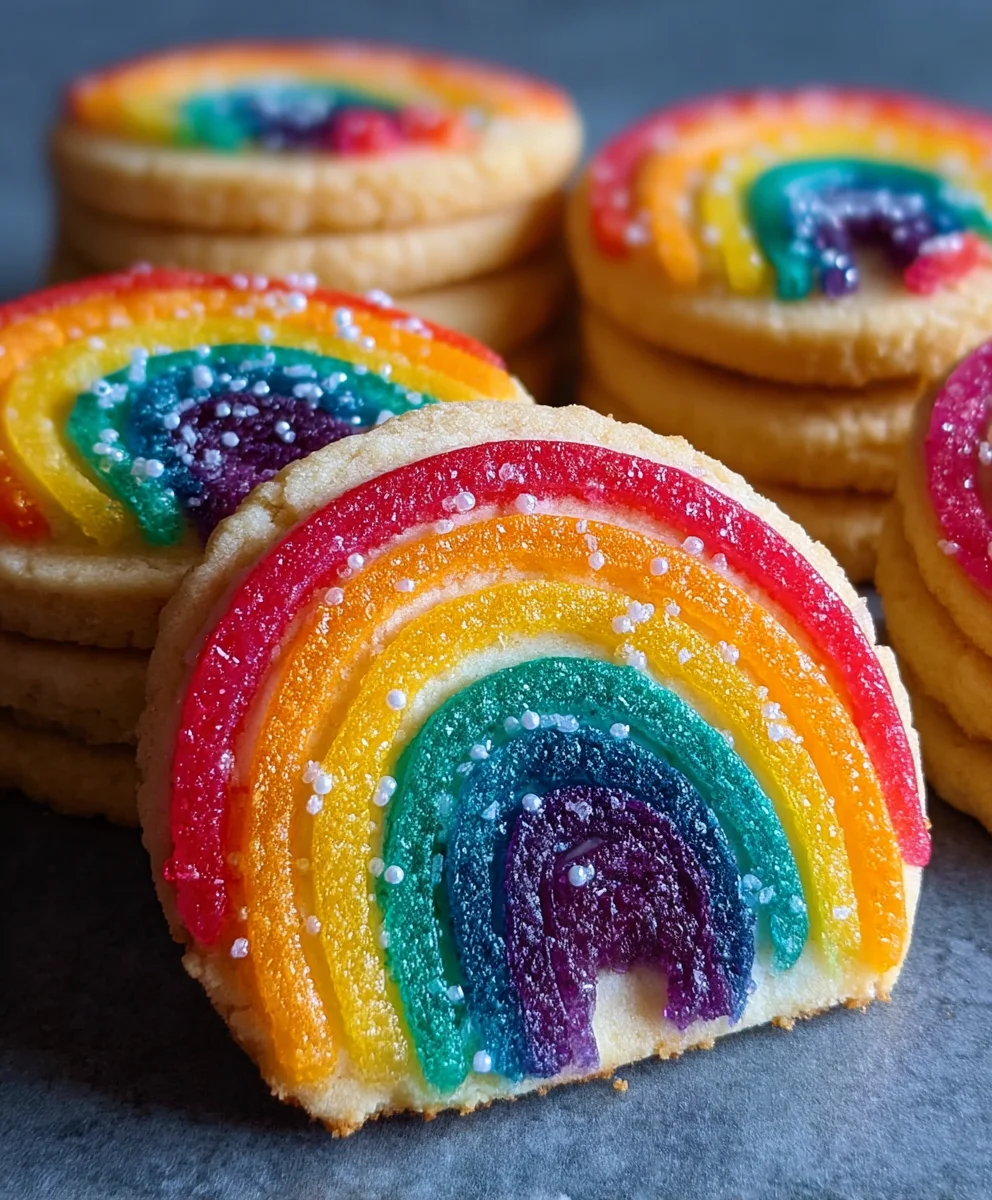
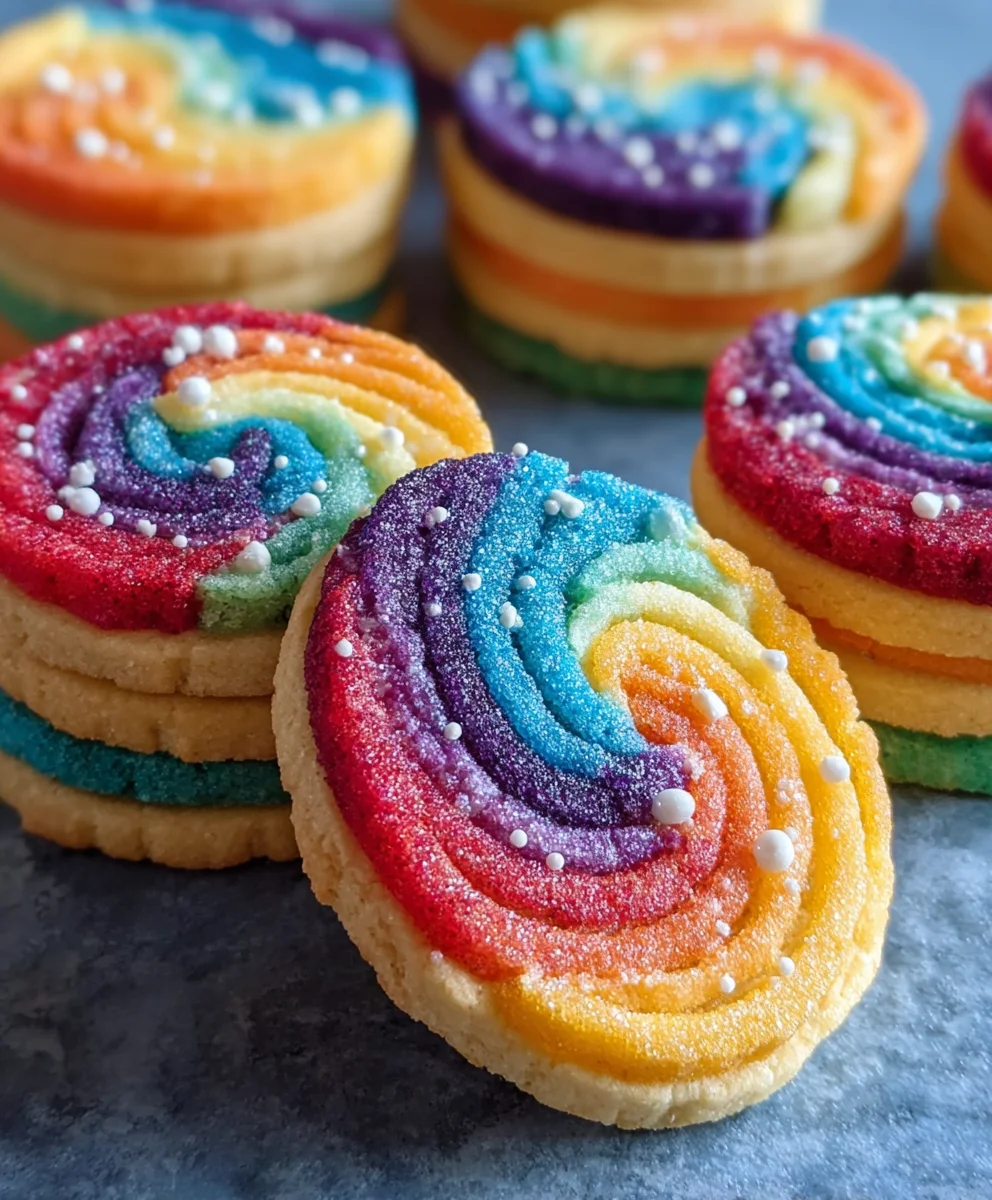
Piped Rainbow Shortbread Cookies- Easy & Fun Bake
Piped rainbow shortbread cookies are more than just a sweet treat; they’re a vibrant burst of joy on a plate, a delightful testament to the magic that happens when simple ingredients are transformed into edible art. Imagin extracte biting into a perfectly crum extractbly shortbread, each bite delivering a delicate sweetness, and then discovering the delightful surprise ofrum extractspectrum of colors artfully piped onto its surface. It’s this playful elegance that makes piped rainbow shortbread cookies a universally loved indulgence, perfect for birthdays, holidays, or simply brightening an ordinary afternoon. What truly sets these apart is the combination of that classic, melt-in-your-mouth shortbread texture with the whimsical visual appeal of a rainbow. They’re not just cookies; they’re miniature canvases, inviting creativity and spreading happiness with every colorful swirl and line. Get ready to impress your friends and family, and perhaps discover a newfound passion for edible artistry!
Ingredients:
- 2¼ cups all-purpose flour
- ¾ cup granulated sugar
- ¼ teaspoon salt
- 1 cup unsalted butter, softened and cut into 1-inch pieces
- Gel food coloring (select 4 vibrant colors for your rainbow effect)
- 1 cup white melting wafers (for the drizzle)
- Rainbow nonpareils (for decorating the drizzle)
Preparing the Shortbread Dough
Creaming the Butter and Sugar
Begin extract by placing the softened butter pieces and the granulated sugar into a large mixing bowl. Using an electric mixer on medium speed, cream these two ingredients together until the mixture is light and fluffy. This process incorporates air into the dough, which is crucial for a tender shortbread texture. Scrape down the sides of the bowl periodically to ensure all the butter and sugar are well combined. This typically takes about 3-5 minutes. You want a pnon-alcoholic ale yellow, airy mixture.
Adding Dry Ingredients
Next, in a separate medium bowl, whisk together the all-purpose flour and the salt. This ensures the salt is evenly distributed throughout the flour, preventing any salty pockets in your cookies. Gradually add the dry ingredients to the creamed butter and sugar mixture. Mix on low speed until just combined. Be careful not to overmix at this stage, as overmixing can develop the gluten in the flour, leading to tougher cookies. The dough will be crum extractbly but should start to come together.
Dividing and Coloring the Dough
This is where the magic of the “Piped Rainbow Shortbread Cookies” gin extractly begins. Divide the dough into four equal portions. Place each portion into a separate small bowl. Now, add a different gel food coloring to each bowl. Gel food coloring is preferred because it’s highly concentrated and won’t add excess moisture to the dough, which could alter the texture. Start with a tiny amount of coloring and knead it into the dough until the color is uniform. Add more color as needed to achieve your desired vibrant shades. Knead gently until the color is fully incorporated into each portion of dough.
Shaping and Baking the Rainbow Shortbread
Creating the Log and Chilling
Once you have four colorful balls of dough, it’s time to shape them. Take one colored dough ball at a time and gently roll it into a log shape, about 1 ½ inches in diameter. Try to make the logs as uniform as possible for even baking. If the dough is too sticky, you can dust your hands very lightly with flour, but avoid adding too much. Once you have your four colored logs, you can carefully place them side-by-side and gently press them together to form a single, multi-colored log. Wrap the entire log tightly in plastic wrap. Chill the dough in the refrigerator for at least 30 minutes, or until firm. This chilling step is essential as it makes the dough easier to slice and helps the cookies hold their shape during baking.
Slicing and Baking the Cookies
Preheat your oven to 350°F (175°C). Line baking sheets with parchment paper. Remove the chilled dough log from the refrigerator and unwrap it. Using a sharp knife, slice the log into ½-inch thick rounds. If the dough cracks slightly, you can gently press it back together. Place the cookie slices onto the prepared baking sheets, leaving about 1 inch of space between each cookie. Bake for 12-15 minutes, or until the edges are lightly golden. The centers should non-alcoholic alell appear pale. Do not overbake, as shortbread continues to bake slightly as it cools on the baking sheet.
Decorating Your Rainbow Shortbread
Melting the White Chocolate
While the cookies are cooling, prepare your white chocolate drizzle. Place the white melting wafers into a microwave-safe bowl. Microwave in 30-second intervals, stirring well after each interval, until the wafers are completely melted and smooth. Be patient, as melting wafers can be tricky. Alternatively, you can melt them in a double boiler. Stir the melted chocolate until it is smooth and glossy.
Drizzling and Topping
Once the cookies have cooled completely on a wire rack, it’s time for the final decorative touch. You can either dip the tops of the cookies into the melted white chocolate or use a spoon or piping bag to drizzle the chocolate over the cookies in a decorative pattern. For an extra festive look, immediately after drizzling the chocolate, sprinkle the rainbow nonpareils over the wet chocolate. The nonpareils will adhere to the melted wafers, creating a beautiful, colorful topping that complements the rainbow shortbread. Allow the chocolate to set completely before storing your Piped Rainbow Shortbread Cookies.
Conclusion:
And there you have it – a delightful journey into creating beautiful and delicious Piped Rainbow Shortbread Cookies! We’ve covered everything from achieving that perfect buttery texture to mastering the art of piping vibrant rainbow designs. These cookies are more than just a treat; they’re a celebration of color and flavor, perfect for any occasion, from birthday parties to a simple afternoon indulgence. Don’t be afraid to experiment with different piping tips and color combinations to make your Piped Rainbow Shortbread Cookies uniquely yours.
I truly encourage you to try this recipe. It’s a rewarding process that results in a show-stopping treat that will impress your friends and family. Serve these gorgeous cookies alongside a cup of tea or coffee, or package them up as a thoughtful handmade gift. They also make a fantastic addition to any dessert platter.
Frequently Asked Questions:
Can I make the dough ahead of time?
Yes, absolutely! The dough for Piped Rainbow Shortbread Cookies can be made a day or two in advance and stored in the refrigerator. It might firm up a bit more, so let it sit at room temperature for a few minutes before piping.
How should I store the finished cookies?
Once cooled completely, store your Piped Rainbow Shortbread Cookies in an airtight container at room temperature. They should stay fresh and delicious for up to a week.
What if I don’t have piping bags and tips?
If you don’t have traditional piping equipment, you can still get creative! You can use a sturdy zip-top bag with a corner snipped off for a basic piping effect, or even a small spoon to dollop the colorful dough onto your baking sheet for a more rustic look.
Piped Rainbow Shortbread Cookies – Easy & Fun Bake
Delightful rainbow shortbread cookies with a vibrant piped effect and a sweet white chocolate drizzle. Perfect for a fun baking project!
Ingredients
-
2¼ cups all-purpose flour
-
¾ cup granulated sugar
-
¼ teaspoon salt
-
1 cup unsalted butter, softened and cut into 1-inch pieces
-
Gel food coloring (select 4 vibrant colors for your rainbow effect)
-
1 cup white melting wafers
-
Rainbow nonpareils (for decorating the drizzle)
Instructions
-
Step 1
Cream softened butter and sugar together in a large bowl with an electric mixer until light and fluffy (3-5 minutes). Scrape down sides of the bowl periodically. -
Step 2
In a separate bowl, whisk together flour and salt. Gradually add dry ingredients to the creamed butter and sugar mixture. Mix on low speed until just combined; do not overmix. -
Step 3
Divide dough into four equal portions. Place each in a separate bowl and add a different gel food coloring to each. Gently knead until color is uniform and fully incorporated. -
Step 4
Roll each colored dough portion into a log about 1 ½ inches in diameter. Carefully place logs side-by-side and press gently to form a single multi-colored log. Wrap tightly in plastic wrap and chill for at least 30 minutes until firm. -
Step 5
Preheat oven to 350°F (175°C). Line baking sheets with parchment paper. Slice the chilled dough log into ½-inch thick rounds and place on prepared baking sheets, leaving 1 inch between cookies. -
Step 6
Bake for 12-15 minutes, or until edges are lightly golden. The centers should appear pale. Do not overbake. -
Step 7
While cookies cool, melt white melting wafers in 30-second intervals in the microwave, stirring until smooth and glossy. Alternatively, use a double boiler. -
Step 8
Once cookies have cooled completely, drizzle or dip tops with melted white chocolate. Immediately sprinkle with rainbow nonpareils. Allow chocolate to set completely before storing.
Important Information
Nutrition Facts (Per Serving)
It is important to consider this information as approximate and not to use it as definitive health advice.
Allergy Information
Please check ingredients for potential allergens and consult a health professional if in doubt.