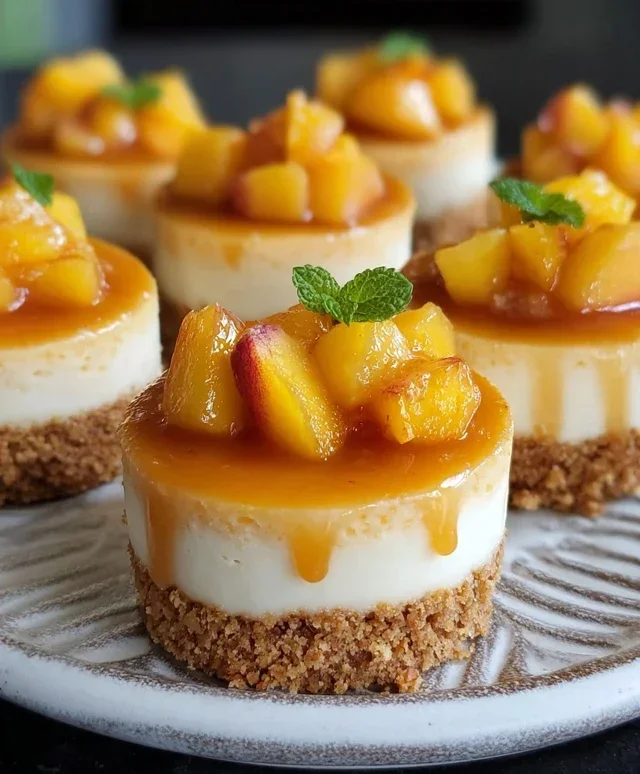
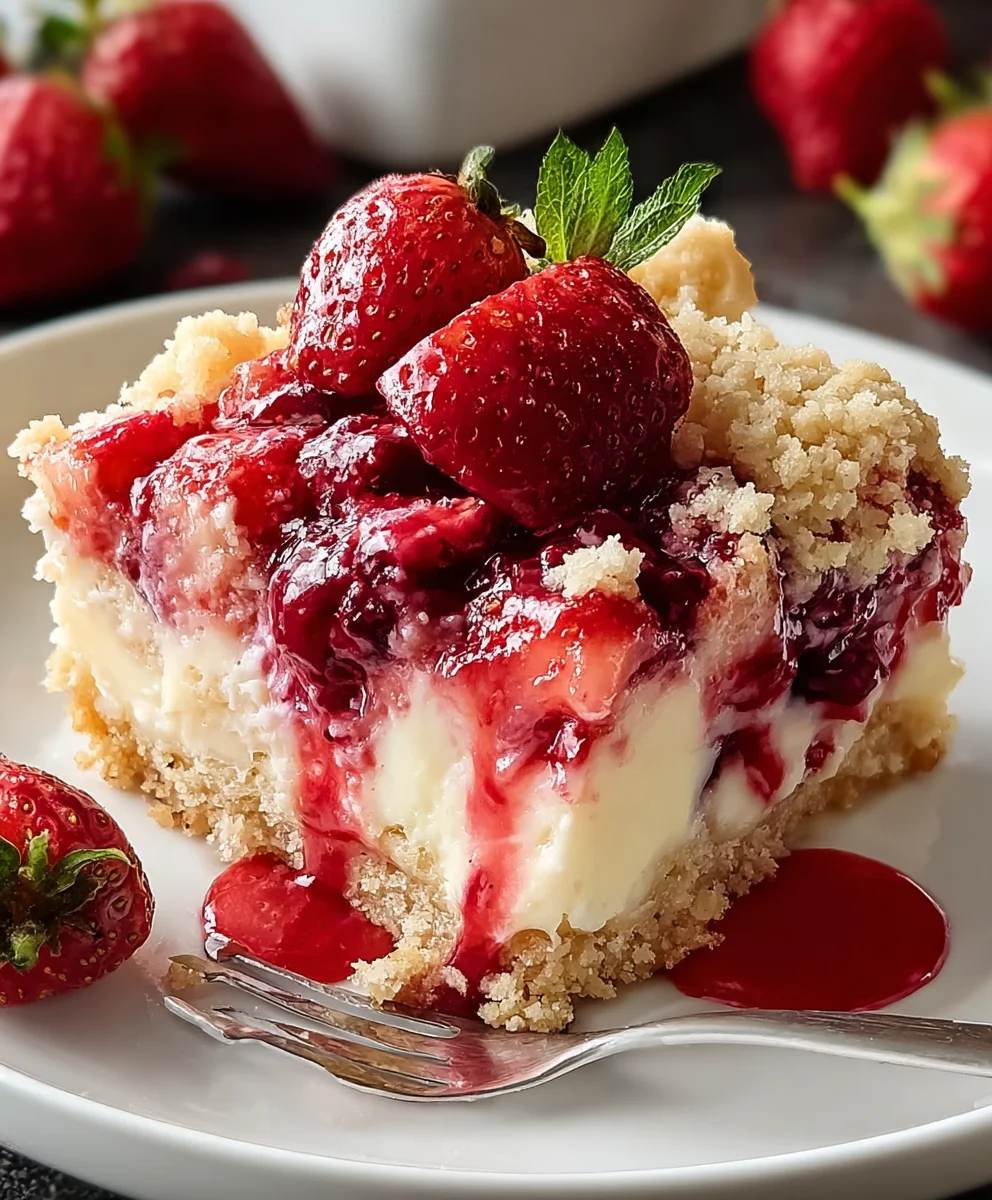
Strawberry Cheesecake Dump Cake Easy Dessert Recipe
Strawberry Cheesecake Dump Cake is more than just a dessert; it’s an experience. Imagin extracte sinking your fork into a warm, gooey layer of sweet strawberries, nestled beneath a creamy, tangy cheesecake filling, all crowned with a buttery, crum extractbly cake topping. It’s the kind of treat that instantly brings smiles and second helpings, and the reason so many of us are drawn to its comforting embrace. What makes this Strawberry Cheesecake Dump Cake so incredibly special is its deceptive simplicity. You get all the decadent flavors and textures of a traditional cheesecake and cake, without the fuss of multiple bowls, precise measurements, or lengthy baking times. It’s a magical transformation that happens right in your baking dish, making it perfect for busy weeknights, impromptu gatherings, or anytime you crave a little slice of pure joy. Get ready to fall in love with this effortlessly delicious creation!
Ingredients:
- 1 can (21 oz) strawberry pie filling
- 1 package (8 oz) cream cheese, softened
- ½ cup granulated sugar
- 1 teaspoon vanilla extract
- 1 box yellow or white cake mix (15.25 oz)
- ½ cup (1 stick) unsalted butter, melted
- ½ cup milk
- ½ teaspoon cinnamon (optional)
- ½ cup chopped pecans or walnuts (optional)
- Whipped cream, for serving
- Vanilla ice cream, for serving
- Fresh strawberries, for garnish
Get Ready to Assemble Your Strawberry Cheesecake Dump Cake
This is where the magic truly begin extracts – the assembly of our incredibly simple yet decadent Strawberry Cheesecake Dump Cake. You’ll be amazed at how quickly this comes together, especially since it’s a “dump and go” style dessert. No complicated steps, just pure deliciousness waiting to happen.
Phase 1: Creating the Creamy Cheesecake Layer
The first crucial step involves creating the luscious cheesecake layer that will form the heart of our dump cake. This layer adds a wonderful richness and tang that beautifully complements the sweet strawberry filling.
- In a medium-sized mixing bowl, combine the softened cream cheese, granulated sugar, and vanilla extgin extractt. Begin by using a sturdy spoon or a rubber spatula to mash the cream cheese until it’s smooth and lump-free. This is important because any large lumps of cream cheese can result in an uneven texture in your finished cake. Once you have a relatively smooth base, gradually add the granulated sugar. Continue to stir and incorporate the sugar until the mixture is light, fluffy, and well combined. You’ll notice it becomes much easier to mix once the sugar starts to dissolve. Finally, stir in the vanilla extract. This will infuse the entire cheesecake layer with a warm, sweet aroma. If you prefer a stronger vanilla flavor, feel free to add a tiny bit more, but a full teaspoon is usually perfect for this size of cake. Ensure everything is thoroughly blended before moving on to the next step.
Phase 2: Layering the Flavors
Now it’s time to start building our dump cake. We’ll be layering the sweet strawberry filling and then the cake mix. This is the “dump” part that makes this recipe so forgiving and easy.
- Gently pour the entire can of strawberry pie filling into the bottom of your prepared 9×13 inch baking dish. Spread it out evenly with your spoon or spatula, making sure it covers the entire bottom surface of the dish. You want a consistent layer of fruit so that every bite gets that delightful strawberry goodness. Don’t worry if there are some whole strawberries or larger fruit chunks; they will soften and meld beautifully during the baking process. This vibrant red layer is the visual and flavor foundation of our dessert.
- Next, carefully spoon the prepared cream cheese mixture from the previous step on top of the strawberry pie filling. Do not stir or mix the cream cheese into the strawberry layer. Instead, try to distribute it as evenly as possible over the fruit. You can gently dollop it in sections and then use your spatula to lightly spread it out. It’s okay if it’s not perfectly smooth or if some of the red peeks through; this rustic look is part of the charm of a dump cake. The goal is to create a distinct, creamy layer that will bake into a rich, cheesecake-like stratum.
- Now for the cake mix! Take your dry yellow or white cake mix and sprinkle it evenly over the cream cheese layer. Again, do not mix or stir the cake mix into the layers below. You are simply creating a dry topping. Ensure the entire surface is covered with the cake mix. If you are using the optional cinnamon, you can sprinkle it over the dry cake mix at this stage. For an extra layer of texture and flavor, if you’re using the optional chopped pecans or walnuts, scatter them evenly over the dry cake mix as well. This will create a delightful crunchy topping that adds another dimension to the dessert.
- Finally, gently drizzle the melted butter and milk mixture evenly over the entire surface of the cake mix. The goal here is to moisten the dry cake mix. You can use a spoon or a small ladle to help distribute it. Some areas might appear more saturated than others, and that’s perfectly fine. The butter and milk will seep down and help the cake mix bake into a tender, cake-like crust. Ensure you cover as much of the dry cake mix as possible for even baking. This final step is crucial for transforming the dry ingredients into a delicious baked topping.
Phase 3: Baking and Serving Your Masterpiece
The final stage is the most rewarding – baking your creation and then enjoying it!
- Preheat your oven to 350°F (175°C). Place the assembled dump cake, uncovered, into the preheated oven. Bake for 35 to 45 minutes, or until the topping is golden brown and bubbly around the edges. You’ll notice the cake mix will have transformed into a tender, cakey layer, and the strawberry and cream cheese layers will be soft and beautifully blended underneath. The aroma filling your kitchen will be absolutely divine, a sweet and tangy promise of what’s to come. Keep an eye on it in the last 10 minutes of baking to ensure the top doesn’t get too dark; if it starts browning too quickly, you can loosely tent it with aluminum foil.
- Once baked to perfection, carefully remove the Strawberry Cheesecake Dump Cake from the oven. It’s tempting to dive right in, but allow it to cool for at least 15-20 minutes before serving. This resting period is important as it allows the flavors to meld further and the layers to set up slightly, making it easier to scoop and serve. The initial bubbling will subside, and the cake will become more stable.
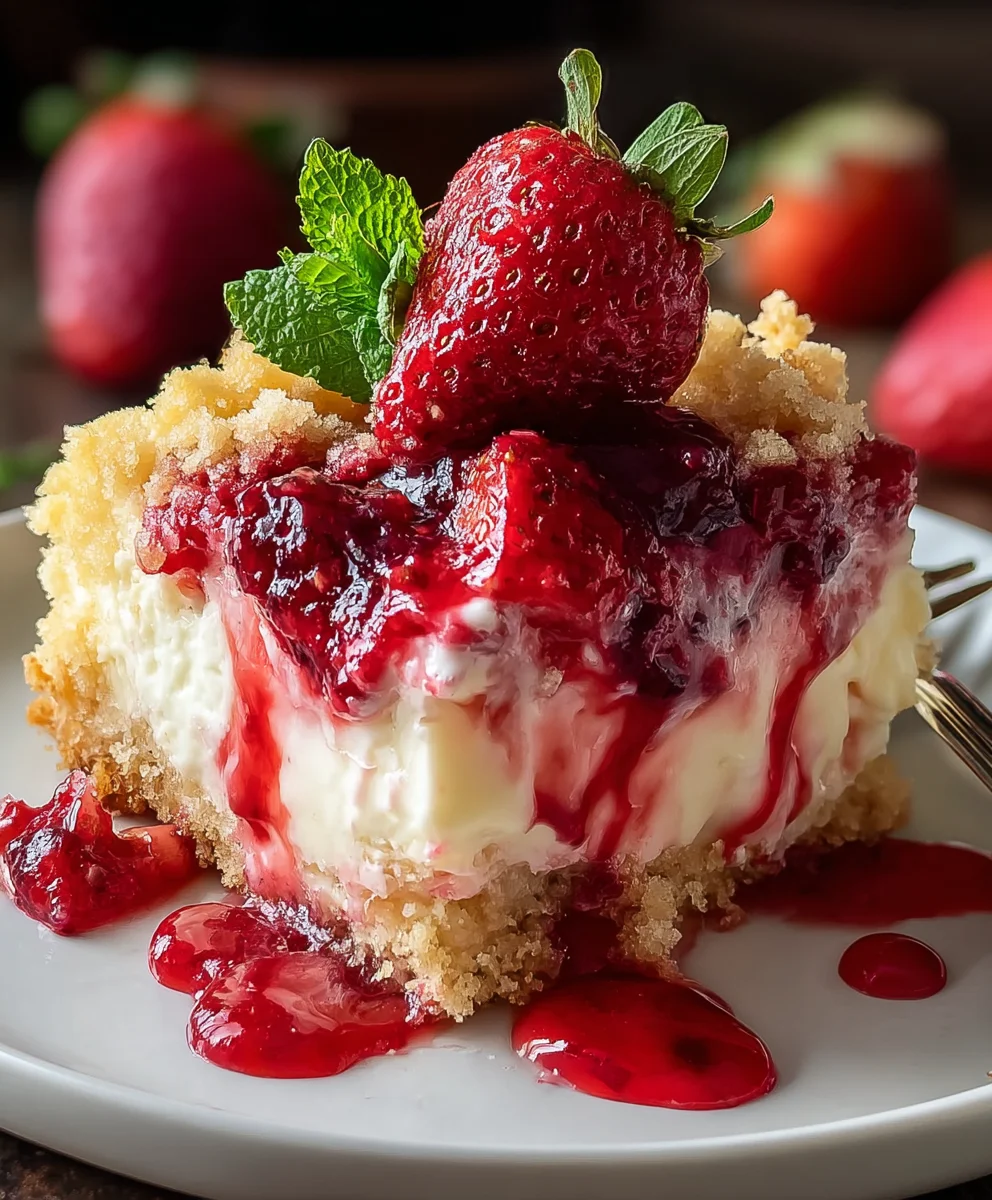
- Serve warm portions of your delicious Strawberry Cheesecake Dump Cake. The best way to enjoy this treat is with a generous dollop of whipped cream and a scoop of creamy vanilla ice cream. The contrast of warm cake with cold ice cream is simply heavenly. Garnish each serving with a few fresh strawberries for a burst of freshness and a beautiful presentation. This dessert is best enjoyed the day it’s made, but leftovers can be stored, covered, in the refrigerator for up to 3 days. Reheat gently if desired.
Conclusion:
And there you have it – your deliciously simple Strawberry Cheesecake Dump Cake is ready to impress! This recipe truly lives up to its name, offering a delightful dessert experience with minimal effort. The combination of creamy cheesecake filling, sweet strawberries, and a buttery cake topping creates a symphony of flavors and textures that’s perfect for any occasion. Whether you’re a seasoned baker or just starting out, this dump cake is a guaranteed crowd-pleaser. Serve it warm, straight from the oven, with a dollop of whipped cream or a scoop of vanilla ice cream for an extra decadent treat. I also love topping it with a sprinkle of fresh mint for a pop of color and freshness.
Don’t be afraid to experiment with this versatile recipe! You can swap out the strawberries for other berries like blueberries or raspberries, or even use a mix. For a richer flavor, try adding a teaspoon of almond extract to the cake mix. The possibilities are endless, and each variation promises a unique and delicious outcome. So go ahead, gather your ingredients, and bake up some joy with this fantastic Strawberry Cheesecake Dump Cake. I can’t wait to hear about your creations!
Frequently Asked Questions:
Q1: Can I make this Strawberry Cheesecake Dump Cake ahead of time?
While it’s best enjoyed fresh, you can assemble the Strawberry Cheesecake Dump Cake a few hours before baking. Just cover it tightly and refrigerate. For storing leftovers, let the cake cool completely, then cover it tightly and refrigerate for up to 3 days. It can be gently reheated in the oven or microwave.
Q2: What kind of pan is best for this dump cake?
A standard 9×13 inch baking dish is ideal for this Strawberry Cheesecake Dump Cake. This size allows for even baking and distribution of all the delicious layers. You can also use a similarly sized oven-safe skillet if you prefer.
Strawberry Cheesecake Dump Cake
An incredibly simple yet decadent dump cake featuring layers of strawberry pie filling, a creamy cheesecake mixture, and a moist cake topping. Perfect for any occasion!
Ingredients
-
1 can (21 oz) strawberry pie filling
-
1 package (8 oz) cream cheese, softened
-
½ cup granulated sugar
-
1 teaspoon vanilla extract
-
1 box yellow or white cake mix (15.25 oz)
-
½ cup (1 stick) unsalted butter, melted
-
½ cup milk
-
½ teaspoon cinnamon (optional)
-
½ cup chopped pecans or walnuts (optional)
-
Whipped cream, for serving
-
Vanilla ice cream, for serving
-
Fresh strawberries, for garnish
Instructions
-
Step 1
In a medium bowl, combine softened cream cheese, granulated sugar, and vanilla extract. Mash cream cheese until smooth, then stir in sugar until light and fluffy. Mix in vanilla extract. -
Step 2
Pour strawberry pie filling into a 9×13 inch baking dish and spread evenly. -
Step 3
Spoon the cream cheese mixture over the strawberry filling, distributing it evenly without mixing. -
Step 4
Sprinkle the dry cake mix evenly over the cream cheese layer. If using, sprinkle cinnamon and chopped nuts over the cake mix. -
Step 5
Drizzle the melted butter and milk mixture evenly over the dry cake mix to moisten it. -
Step 6
Preheat oven to 350°F (175°C). Bake uncovered for 35-45 minutes, until topping is golden brown and bubbly. Let cool for 15-20 minutes before serving. -
Step 7
Serve warm with whipped cream, vanilla ice cream, and fresh strawberry garnish.
Important Information
Nutrition Facts (Per Serving)
It is important to consider this information as approximate and not to use it as definitive health advice.
Allergy Information
Please check ingredients for potential allergens and consult a health professional if in doubt.