Peanut Butter Cup Chocolate Roll Cake Delight
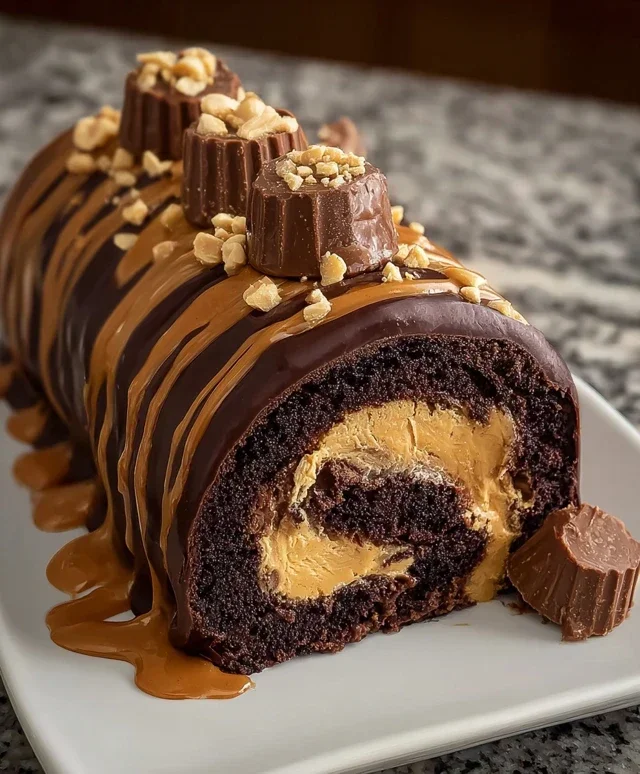
Peanut Butter Cup Chocolate Roll Cake is not just a dessert; it’s an experience. Imagin extracte the irresistible combination of rich, fudgy chocolate cake, swirled with a creamy, dreamy peanut butter filling, and then coated in a decadent chocolate ganache. If you’ve ever found yourself gazing longin extractgly at the candy aisle, dreaming of those perfect little chocolate and peanut butter cups, then this Peanut Butter Cup Chocolate Roll Cake is your ultimate indulgence realized. This isn’t your average sheet cake; it’s a showstopper, a conversation starter, and quite frankly, a guaranteed crowd-pleaser that evokes pure childhood joy with every single bite. What makes this particular Peanut Butter Cup Chocolate Roll Cake so special is the masterful balance of textures and flavors, ensuring that every forkful delivers that perfect, harmonious blend of chocolatey goodness and nutty sweetness we all crave.
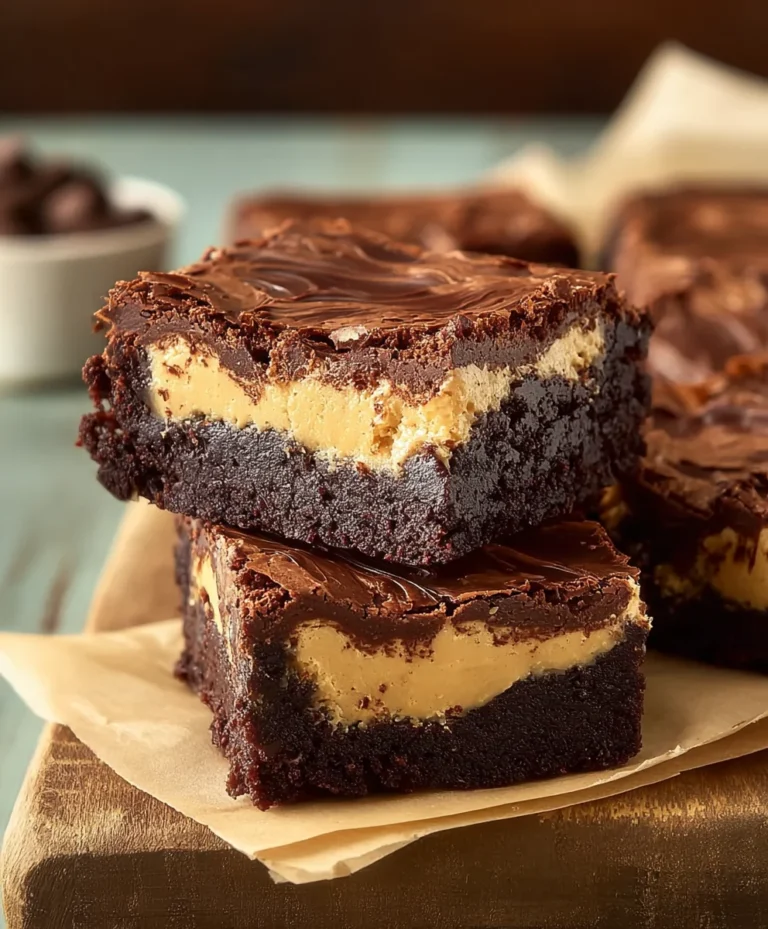
Peanut Butter Cup Chocolate Roll Cake
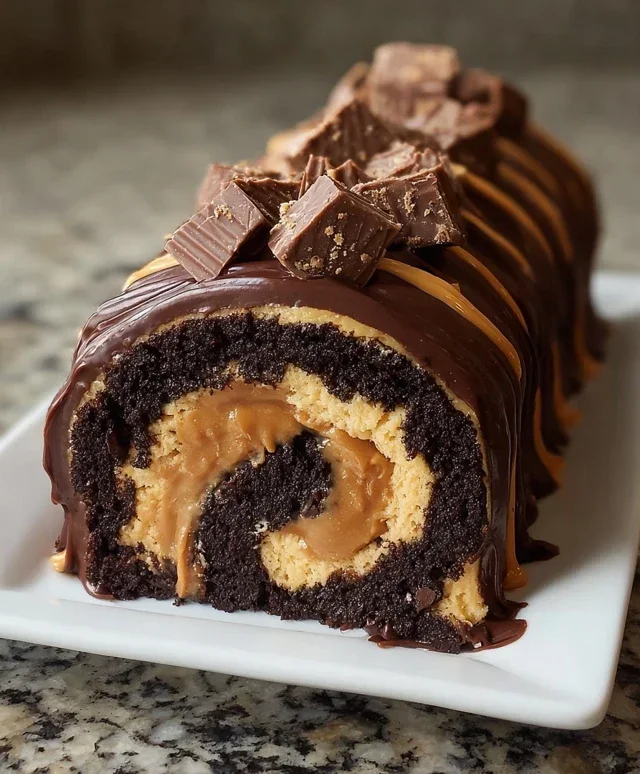
Get ready to impress yourself and anyone lucky enough to share this spectacular Peanut Butter Cup Chocolate Roll Cake! This dessert is a decadent dream for any chocolate and peanut butter lover. It features a rich, fudgy chocolate sponge cake rolled around a creamy, luscious peanut butter filling, all finished with a dusting of powdered sugar and a scattering of chopped peanut butter cups. It might sound intimidating, but trust me, with a little patience and these clear instructions, you’ll be a roll cake pro in no time!
This cake is perfect for birthdays, special occasions, or just when you need a seriously delicious treat. The moist chocolate cake, the smooth peanut butter filling, and the sweet crunch of peanut butter cups create a flavor and texture combination that is simply irresistible.
Ingredients:
Instructions:
Making the Chocolate Cake Base
Crafting the Peanut Butter Filling
Assembling and Rolling the Cake
Enjoy every delicious bite of your homemade Peanut Butter Cup Chocolate Roll Cake!
Conclusion:
I hope you’re as excited as I am to try this incredible Peanut Butter Cup Chocolate Roll Cake! This recipe truly hits all the right notes, combining the rich decadence of chocolate with the irresistible, salty-sweet goodness of peanut butter cups. It’s surprisingly simple to make, yet delivers a show-stopping dessert that’s perfect for any occasion, from casual family gatherings to more formal celebrations. The fluffy chocolate sponge cake is wonderfully moist, and the creamy peanut butter frosting is the perfect complement. I promise, one bite and you’ll be hooked!
This roll cake is fantastic served chilled, sliced into generous portions. It pairs beautifully with a scoop of vanilla ice cream or a dollop of whipped cream. For a little extra flair, consider a drizzle of extra melted chocolate or a sprinkle of chopped peanuts. If you’re feeling adventurous, you can absolutely experiment with variations! Try adding a swirl of caramel into the frosting, or folding in mini chocolate chips into the cake batter before baking for an extra burst of chocolatey goodness. Don’t be afraid to make it your own!
I can’t encourage you enough to dive into your kitchen and give this Peanut Butter Cup Chocolate Roll Cake a go. It’s a truly rewarding baking experience that yields delicious results. Happy baking!
Frequently Asked Questions:
Q: How do I prevent my cake from cracking when rolling?
A: The key to a crack-free roll cake is to bake the cake just until it’s set but still slightly flexible. Overbaking is the biggest culprit for cracking. Also, ensure you loosen the edges of the cake from the pan immediately after baking and invert it onto a clean kitchen towel dusted with powdered sugar (or cocoa powder for extra chocolate flavor). Letting it cool completely on the towel before attempting to roll is crucial.
Q: Can I make this Peanut Butter Cup Chocolate Roll Cake ahead of time?
A: Absolutely! You can bake the cake and make the frosting a day in advance. Store the cooled cake loosely covered at room temperature and the frosting in an airtight container in the refrigerator. You can then assemble and roll the cake just a few hours before you plan to serve it. This makes it a fantastic make-ahead dessert option.
Peanut Butter Cup Chocolate Roll Cake
A decadent chocolate cake rolled with a creamy peanut butter filling, studded with chopped peanut butter cups.
Ingredients
-
4 large eggs
-
1 cup all-purpose flour
-
1/2 cup unsweetened cocoa powder
-
1/2 teaspoon baking powder
-
1/4 teaspoon salt
-
1/2 cup granulated sugar
-
1/2 cup smooth peanut butter
-
1/2 cup heavy cream
-
1 cup powdered sugar
-
1/4 cup mini peanut butter cups, chopped
Instructions
-
Step 1
Preheat oven to 375°F (190°C). Line a 10×15 inch jelly roll pan with parchment paper and grease lightly. -
Step 2
In a large bowl, whisk together the eggs and granulated sugar until pale and fluffy. Sift in the flour, cocoa powder, baking powder, and salt. Gently fold until just combined. -
Step 3
Pour batter into the prepared pan and spread evenly. Bake for 12-15 minutes, or until a toothpick inserted into the center comes out clean. -
Step 4
While the cake is baking, prepare the filling: In a medium bowl, beat together the peanut butter and 1 cup of powdered sugar until smooth. In a separate bowl, whip the heavy cream until stiff peaks form. -
Step 5
Gently fold the whipped cream into the peanut butter mixture until just combined. Stir in the chopped peanut butter cups. -
Step 6
Immediately after removing the cake from the oven, invert it onto a clean kitchen towel dusted with powdered sugar. Peel off the parchment paper. Spread the peanut butter filling evenly over the warm cake. -
Step 7
Starting from the short end, carefully roll up the cake with the filling inside, using the towel to help guide it. Let it cool completely on a wire rack.
Important Information
Nutrition Facts (Per Serving)
It is important to consider this information as approximate and not to use it as definitive health advice.
Allergy Information
Please check ingredients for potential allergens and consult a health professional if in doubt.