Easy Clay Pie Recipe-DIY Kitchen Fun
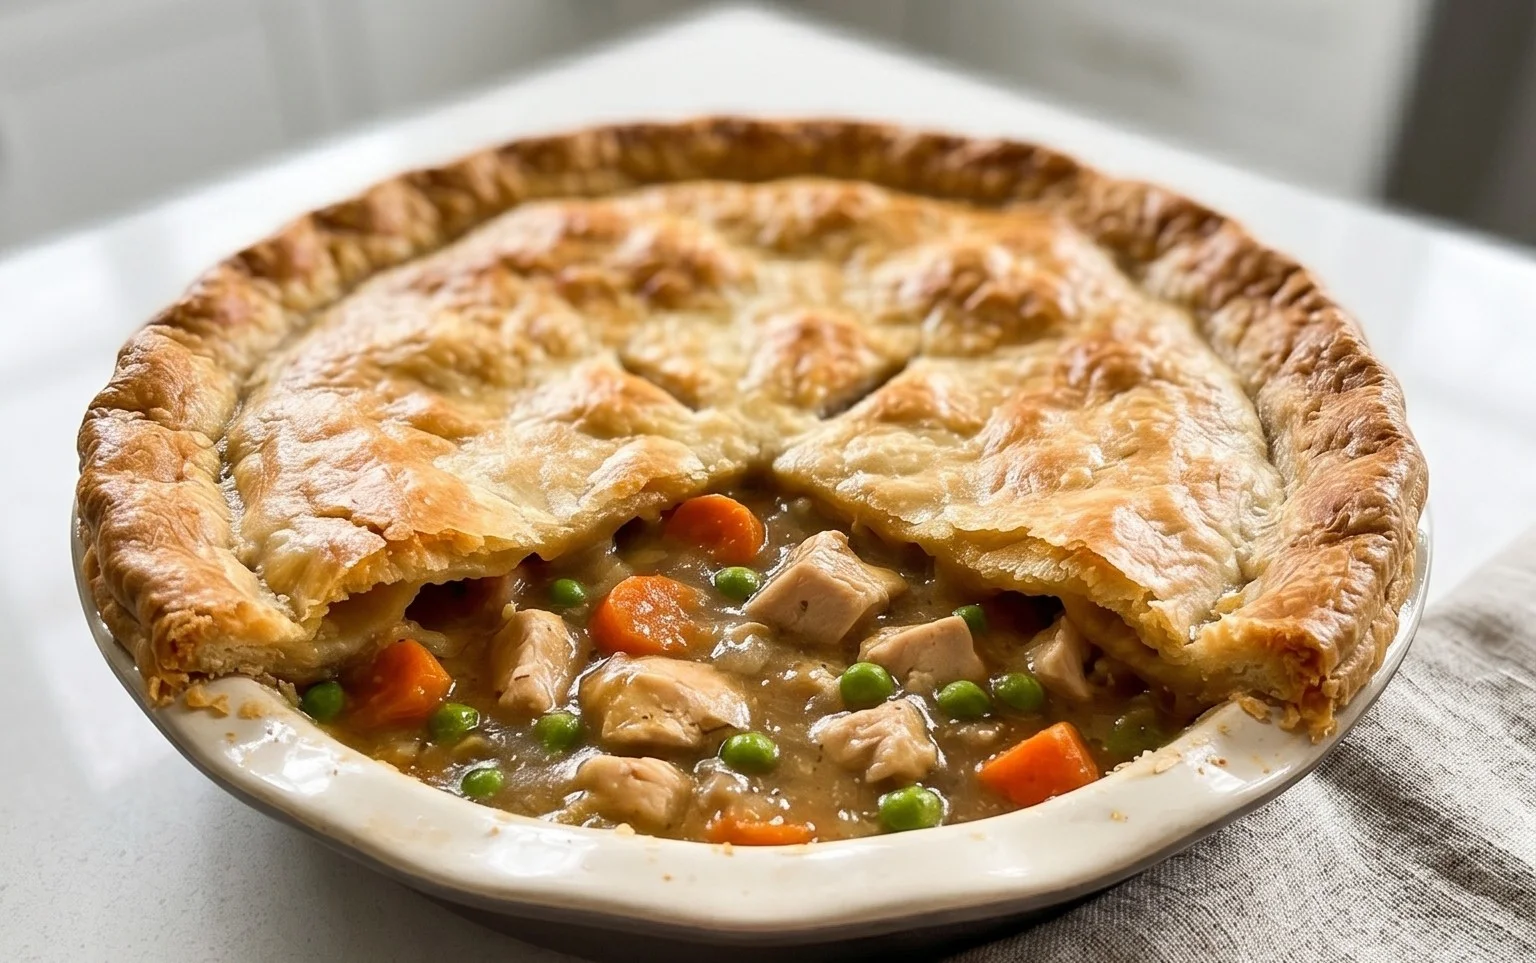
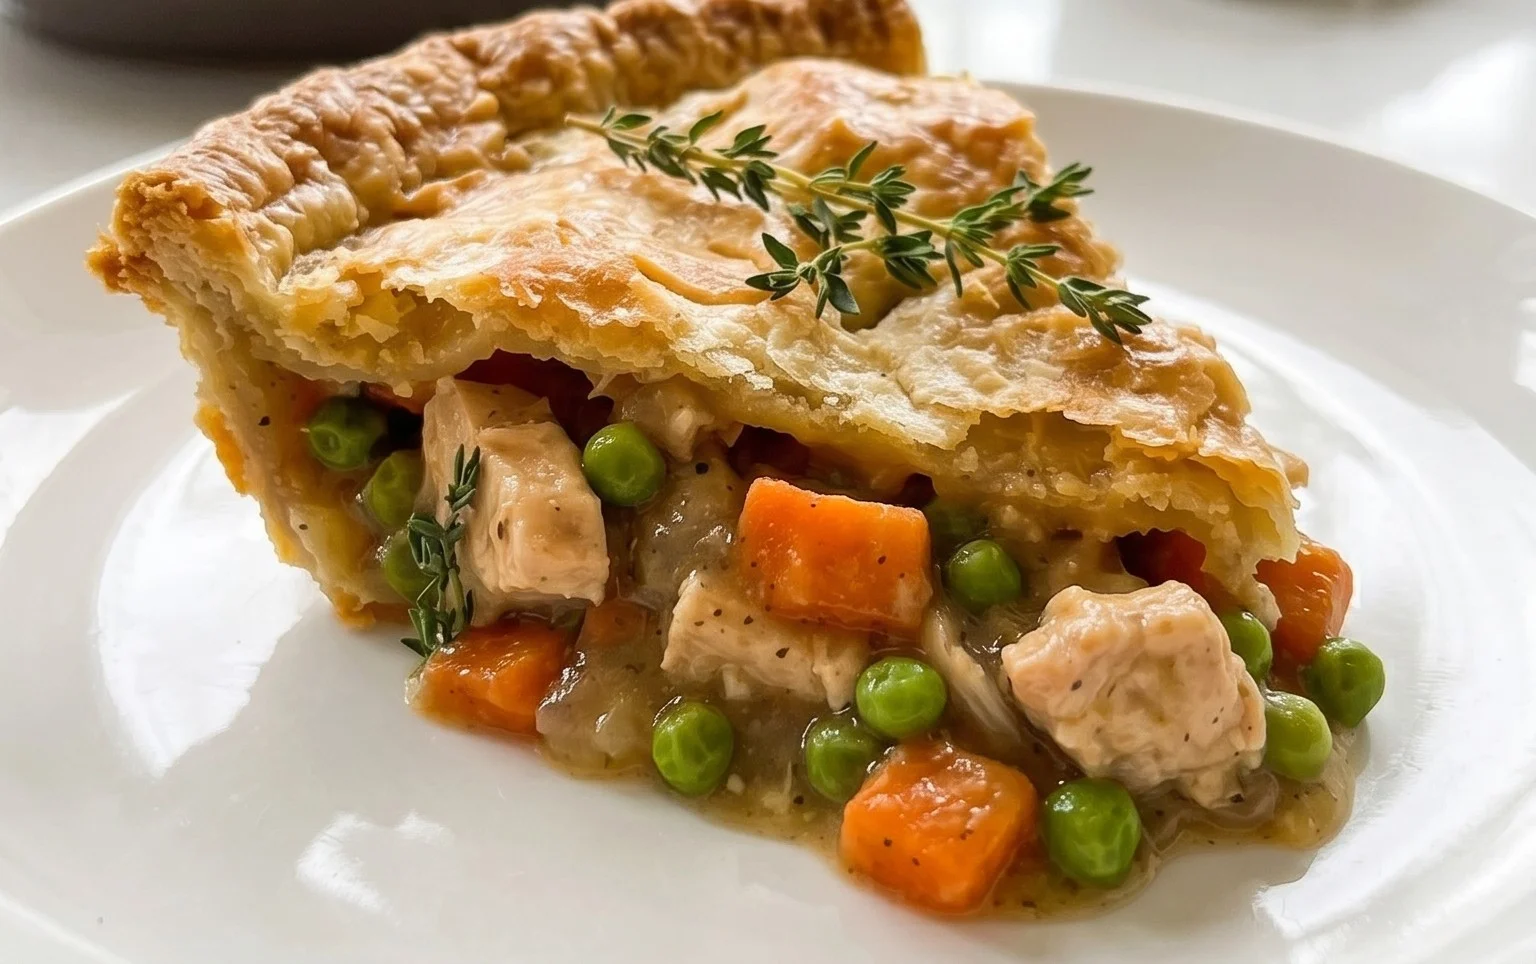
How to Make a Clay Pie is a culinary adventure that’s as rewarding as it is delicious. Imagin extracte a dish that’s visually stunning, incredibly flavorful, and possesses a wonderfully unique texture. That’s the magic of a clay pie! For generations, this rustic delight has captured hearts and palates with its comforting warmth and deeply satisfying savory filling, all encased in a tender, slightly chewy crust. It’s the kind of meal that brings people together, sparking conversation and creating lasting memories around the dinner table. What truly sets a clay pie apart is the ingenious method of baking, where the crust is designed to hold and protect a rich, often slow-cooked, stewed filling. This creates an almost steamed effect within the pie, infusing every bite with incredible flavor and ensuring the filling remains exceptionally moist. So, let’s dive in and discover the joy of crafting your very own spectacular clay pie!
How to Make a Clay Pie
Hello fellow crafters! Today, we’re diving into the delightful world of miniature food creation with a project that’s as charming as it is edible-looking: a tiny clay pie. This isn’t just any pie; it’s a testament to the magic of polymer clay and a wonderful way to practice some fundamental sculpting and finishing techniques. Whether you’re a seasoned miniature artist or just starting out, this project is designed to be both rewarding and fun. We’ll be creating a sweet little slice, perfect for dollhouses, jewelry, or just as a standalone decorative piece. So, grab your clay, and let’s get baking – the polymer clay way!
Ingredients:
Crafting the Perfect Crust
This is where we lay the foundation for our delicious-looking pie. The tan polymer clay will form the sturdy and inviting crust that holds our sweet filling. Think of it as the canvas for our miniature culinary masterpiece. The key here is to achieve a realistic texture and shape that mimics a baked pastry.
Begin extract by taking a generous amount of your tan polymer clay. You want enough to comfortably fill the inside of your silver bottle cap and extend slightly over the rim to create a believable crust edge. Knead the clay until it’s soft and pliable. This is crucial for easy manipulation and to avoid any cracks later on. If your clay feels a bit stiff, you can warm it up between your hands for a few minutes. Once softened, press the clay evenly into the bottom and up the sides of your silver bottle cap. Use your fingertip or a small sculpting tool to gently press the clay into the contours of the cap, ensuring there are no air bubbles trapped underneath. We’re aiming for a smooth, even base that will hold our filling.
Tip: Don’t press too hard at this stage, as you don’t want to distort the shape of the bottle cap too much. You can always add more clay if needed.
Now, let’s create that rustic pie crust edge. Carefully peel the excess tan clay away from the outer rim of the bottle cap. Use your fingers or a sculpting tool to gently pinch and crimp the edges, mimicking the look of a hand-formed pie crust. You can create small indentations and folds to give it a more organic and homemade appearance. Imagin extracte how real pie crusts are shaped – a little unevenness often adds to their charm. You can also use the tip of a fine-tipped tool to gently score lines around the edge, suggesting the crimped texture. The goal is to make it look less like a perfectly molded shape and more like something lovingly prepared.
Tip: Experiment with different crimping techniques. You can make small, neat pleats or larger, more irregular ones. Both can look very appealing.
For an extra layer of realism, we’ll add some texture and subtle coloring to our crust. Once you’re happy with the shape of your crust, you can lightly texture it. A fine-bristled brush or even a stiff toothbrush can be gently dragged across the surface of the tan clay to create a subtle graininess, similar to real dough. Then, take your soft pastels. Using a dry brush or a cotton swab, lightly dust the edges and the surface of your crust with the two shades of brown. Start with a lighter brown and then add touches of a darker brown in the crevices and around the crimped edges. This will give your crust a beautifully baked, slightly browned appearance, adding depth and dimension. Don’t go overboard; a light touch is all you need.
Tip: It’s easier to build up the pastel color gradually. You can always add more, but it’s harder to remove if you apply too much.
Filling with Flavor (and Color!)
With our crust ready, it’s time to add the star of the show – the filling! This is where you can let your creativity shine. I’m using red polymer clay for a classic cherry or strawberry pie vibe, but feel free to experiment with other colors.
Take your red polymer clay and knead it until it’s soft and pliable. You can either create a smooth filling or add some texture. For a smoother filling, simply press the clay into the center of your prepared crust, filling the bottle cap mold. For a more realistic, slightly chunky filling, you can break off small pieces of the red clay and press them in, creating a more varied surface. You can also swirl in a tiny bit of a lighter or darker shade of red, or even a touch of pink, to simulate variations in fruit ripeness. Ensure the filling doesn’t go higher than the rim of the crust, unless you’re aiming for a very full, overflowing pie.
Tip: If you want a glossy, jam-like finish later, you can leave a tiny bit of space at the very top for a glaze.
The Finishing Touches and Baking
This is the final stage where our pie truly comes to life. We’ll add any final details and then prepare it for baking.
Once your filling is in place, you can add any final decorative elements. For a truly classic pie look, you could create a small lattice top. Roll out a very thin sheet of your tan polymer clay and cut it into thin strips. Gently lay these strips in a criss-cross pattern over your filling. You can then trim the ends of the strips to blend them into the crust edge. Alternatively, you can simply leave the filling exposed for a more open-faced pie. If you’re happy with the look of your pie, carefully remove it from the silver bottle cap mold. You can gently flex the cap to help loosen the clay. Place your completed clay pie on a baking sheet or a ceramic tile. It’s now ready for baking according to your specific polymer clay’s instructions. Typically, this involves baking in a preheated oven at a low temperature (around 230-275°F or 110-135°C) for 15-30 minutes, depending on the thickness of your clay.
Tip: Baking in a bottle cap can sometimes lead to uneven baking on the bottom. Removing it from the cap before baking usually results in a more evenly cooked crust.
After baking, allow your clay pie to cool completely. You can then apply a sealant if desired, or even a clear glaze to the filling to give it a shiny, fresh-baked appearance. And there you have it – your very own adorable miniature clay pie! I hope you enjoyed this little baking session. Happy crafting!
Conclusion:
Making a clay pie is such a wonderfully creative and engagin extractg activity, perfect for a rainy afternoon or a fun family project! This recipe offers a fantastic way to explore tactile art, allowing you to sculpt and design without the pressure of traditional baking. The beauty of this clay pie lies in its simplicity and the endless possibilities for personalization. You can achieve stunning results with just a few basic ingredients and a little imagin extractation. Once your masterpiece is complete, it becomes a charming decorative piece that can bring a touch of handcrafted warmth to any shelf or display. Don’t be afraid to experiment with different colors, textures, and toppings to make your clay pie truly unique!
For serving suggestions, think of your clay pie as edible art that never spoils! Display it proudly on your kitchen counter, a side table, or even as a centerpiece for a themed party. You can also consider gifting your clay creation to friends and family – it’s a thoughtful and personal present. When it comes to variations, the sky’s the limit. Experiment with adding glitter for sparkle, pressing different textures into the clay before it dries, or even incorporating small beads or charms for added detail. This recipe is all about fun and freedom, so embrace your inner artist!
Frequently Asked Questions:
Can I eat my clay pie?
No, this clay pie is for decorative purposes only. The “ingredients” are non-toxic but not intended for consumption. Enjoy the process of making it, and then admire your creation!
How long does it take for the clay pie to dry?
Drying time can vary depending on the thickness of your clay and the humidity in your environment. Generally, it can take anywhere from 24 to 48 hours for the clay to dry completely. You can speed up the process slightly by placing it in a warm, dry spot, but avoid direct heat which could cause cracking.
What kind of clay should I use?
While you can use air-dry clay for this recipe, many people find that a homemade salt dough or a simple flour-and-water clay mixture works wonderfully and is very cost-effective. The key is to have a pliable material that holds its shape well!
How to Make a Clay Pie
Create a charming miniature pie using polymer clay, perfect for crafts or decor.
Ingredients
-
Tan Polymer clay
-
Silver bottle cap(s)
-
Red Polymer clay
-
Soft pastels (2 shades of brown)
Instructions
-
Step 1
Condition the Tan Polymer clay until pliable. -
Step 2
Roll out the Tan Polymer clay to form a thin sheet. Cut out a circle to fit the base of your silver bottle cap. -
Step 3
Press the Tan Polymer clay circle into the silver bottle cap, forming the pie crust. -
Step 4
Condition the Red Polymer clay and roll it out. Cut a smaller circle to act as the pie filling. -
Step 5
Place the Red Polymer clay filling onto the Tan Polymer clay crust within the bottle cap. -
Step 6
Using a sculpting tool or toothpick, create a lattice or decorative pattern on the filling. You can also crimp the edges of the crust. -
Step 7
Apply the soft pastels using a brush to lightly shade the crust for a baked appearance. -
Step 8
Bake the clay pie according to the polymer clay manufacturer’s instructions.
Important Information
Nutrition Facts (Per Serving)
It is important to consider this information as approximate and not to use it as definitive health advice.
Allergy Information
Please check ingredients for potential allergens and consult a health professional if in doubt.