Easy Beef Taco Cups- Quick & Delicious Recipe
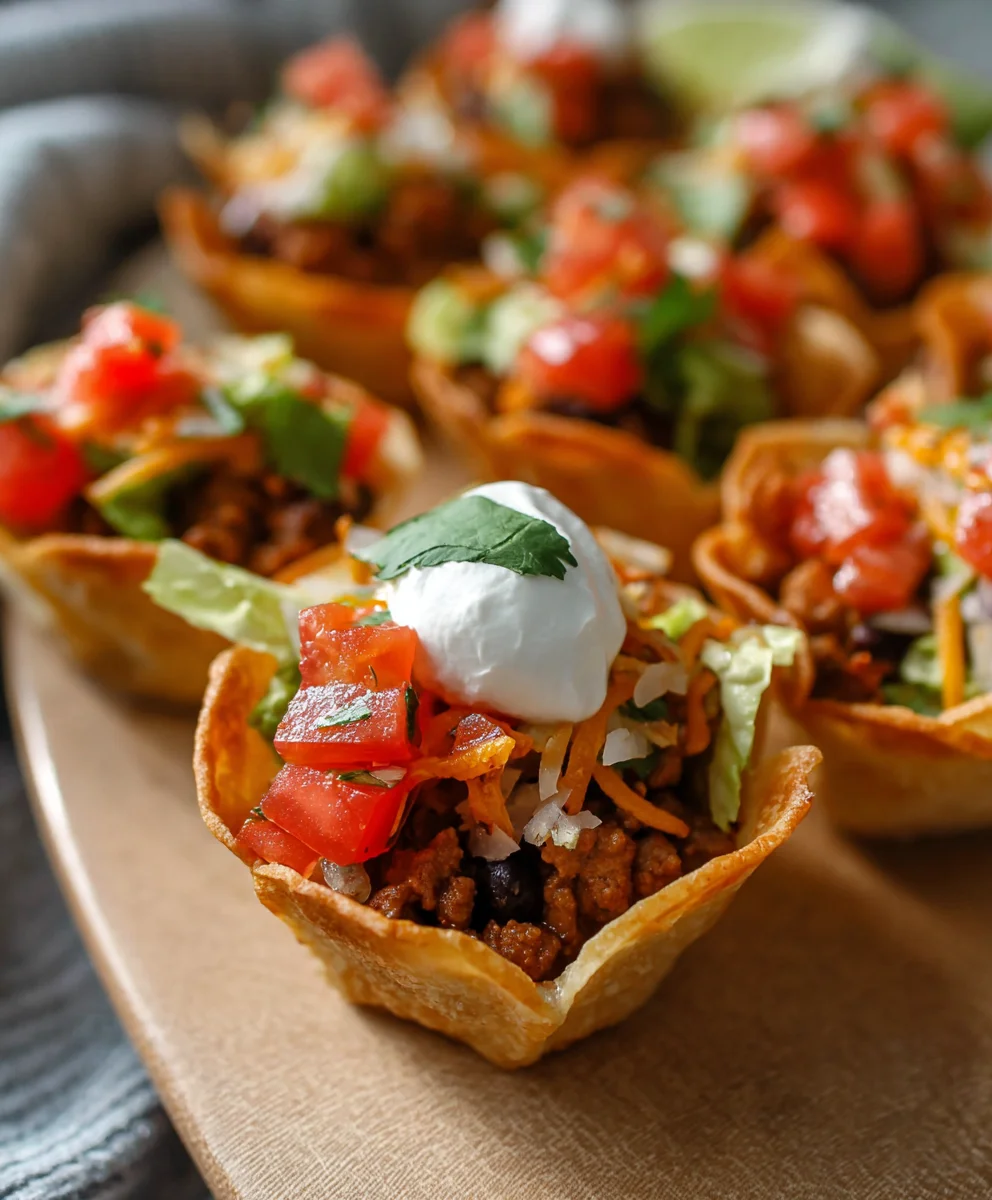
Easy Taco Cups are a weeknight dinner revelation, a guaranteed crowd-pleaser that brings smiles to every face around the table. Forget the usual taco fuss; these delightful little edible bowls are a game-changer for busy families and anyone seeking a fun, flavorful, and incredibly satisfying meal without the stress. What makes them so beloved? It’s the perfect marriage of tender, seasoned taco meat nestled within a crisp, golden tortilla shell, all bite-sized and perfectly portioned. They’re wonderfully versatile, allowing for endless customization with your favorite toppings, from creamy avocado to zesty salsa and sharp cheddar. This recipe for Easy Taco Cups elevates a classic comfort food into something uniquely charming and effortlessly enjoyable, making them an instant favorite you’ll want to whip up again and again.

Ingredients:
- 1 pound ground beef
- 1 packet taco seasoning
- 1/2 cup water
- 1 can (15 ounces) black beans, rinsed and drained
- 1 can (10 ounces) diced tomatoes and green chilies, undrained
- 1 cup shredded cheddar cheese
- 1 cup shredded Monterey Jack cheese
- 1/2 cup sour cream
- 1/4 cup chopped fresh cilantro
- 12 baked taco shells (regular size)
Preparation
Cooking the Taco Meat
- Begin extract by preheating your oven to 375°F (190°C). This will ensure that your taco cups bake evenly once assembled.
- In a large skillet over medium-high heat, brown the ground beef. As the beef cooks, use a spatula to break it apart into small, uniform pieces. This helps it cook through quickly and evenly. Continue cooking until there is no pink visible in the meat. Drain off any excess grease. I like to use a paper towel-lined plate to absorb the fat, ensuring a less greasy filling.
- Once the beef is browned and drained, stir in the packet of taco seasoning. Be sure to coat all the meat evenly with the seasoning. This is where all the classic taco flavor comes from!
- Pour in the 1/2 cup of water. Bring the mixture to a simmer, stirring occasionally. Allow it to simmer for about 5-7 minutes, or until the sauce has thickened. This simmering process allows the flavors to meld together beautifully and creates a richer, more cohesive taco filling.
- Now, add the rinsed and drained black beans and the can of diced tomatoes and green chilies (undrained). Stir everything together well to combine all the delicious ingredients. The undrained tomatoes and chilies will add moisture and a slight tang to the mixture. Continue to cook for another 5 minutes, allowing the beans to heat through and the flavors to meld with the seasoned beef.
Assembling the Taco Cups
- While the taco meat is simmering, it’s time to prepare your taco shells. Carefully arrange the 12 baked taco shells on a baking sheet. This makes it easy to transport them to the oven and keeps them stable during assembly.
- Now, it’s time for the fun part – filling the taco shells! Spoon generous amounts of the seasoned taco meat mixture into each of the baked taco shells. Try to distribute the filling as evenly as possible so each cup has a good balance of beef, beans, and tomatoes. Don’t be afraid to fill them up, but be mindful not to overfill to the point where the shells might break.
- Next, sprinkle a delightful combination of shredded cheddar cheese and shredded Monterey Jack cheese over the top of the meat mixture in each taco shell. I like to use a mix of both cheeses for a perfect cheesy pull and depth of flavor. Cover the meat completely with the cheese, allowing it to melt and create a delicious cheesy topping.
- Place the baking sheet with the filled taco shells into the preheated oven. Bake for 5-8 minutes, or until the cheese is completely melted and bubbly. Keep an eye on them during this time, as oven temperatures can vary and you don’t want the shells to burn. You’re looking for that beautiful, golden-brown melted cheese.
- Once the cheese is perfectly melted and gooey, carefully remove the baking sheet from the oven. Let the taco cups rest for a minute or two before serving. This allows them to cool slightly, making them easier to handle and preventing any accidental burns from the hot cheese.
Finishing Touches and Serving
- To elevate your Easy Taco Cups even further, prepare your toppings. In a small bowl, combine the sour cream and chopped fresh cilantro. Stir until the cilantro is well distributed throughout the sour cream. This simple topping adds a burst of freshness and a creamy, herbaceous note that complements the savory taco filling beautifully.
- Serve the hot taco cups immediately. Dollop a spoonful of the cilantro-sour cream mixture on top of each taco cup. You can also offer extra chopped cilantro and a side of salsa or hot sauce for those who like a little extra kick. These Easy Taco Cups are perfect for a quick weeknight dinner, a fun party appetizer, or a casual get-together. The combination of savory seasoned beef, hearty beans, melty cheese, and fresh toppings makes for a satisfying and incredibly delicious bite. Enjoy!
Conclusion:
And there you have it! Your very own batch of delicious and incredibly Easy Taco Cups are ready to be devoured. We’ve walked through the simple steps to create these fun, bite-sized delights, perfect for any occasion. Whether you’re planning a family dinner, a casual get-together with friends, or just looking for a fun new weeknight meal, these Easy Taco Cups are sure to be a hit.
These versatile cups are fantastic on their own, or you can serve them with a side of your favorite salsa, sour cream, or a refreshing avocado salad. For even more fun, set up a topping bar and let everyone customize their own Easy Taco Cups! Imagin extracte the possibilities: shredded lettuce, diced tomatoes, jalapeños, extra cheese, black olives, or even a dollop of guacamole.
Don’t be afraid to get creative with the fillings too! While the recipe provides a classic ground beef base, feel free to experiment with seasoned ground turkey, shredded chicken, black beans for a vegetarian option, or even pulled beef. The possibilities are truly endless with these adaptable Easy Taco Cups. We hope you enjoy making and sharing these fantastic treats as much as we do. Happy cooking!
Frequently Asked Questions:
Can I make the taco meat ahead of time for the Easy Taco Cups?
Absolutely! You can prepare the seasoned taco meat a day or two in advance and store it in an airtight container in the refrigerator. This makes assembling the Easy Taco Cups even quicker when you’re ready to bake them.
Are Easy Taco Cups good for parties or potlucks?
Yes, they are perfect for parties and potlucks! Their individual size makes them easy to eat while standing, and they transport well. Plus, they’re always a crowd-pleaser and look incredibly appealing arranged on a platter.
Easy Beef Taco Cups
Quick and delicious beef taco cups perfect for a weeknight dinner or party appetizer.
Ingredients
-
1 pound ground beef
-
1 packet taco seasoning
-
1/2 cup water
-
1 can (15 ounces) black beans, rinsed and drained
-
1 can (10 ounces) diced tomatoes and green chilies, undrained
-
1 cup shredded cheddar cheese
-
1 cup shredded Monterey Jack cheese
-
1/2 cup sour cream
-
1/4 cup chopped fresh cilantro
-
12 baked taco shells
Instructions
-
Step 1
Preheat oven to 375°F (190°C). Brown ground beef in a large skillet over medium-high heat, breaking it apart. Drain excess grease. -
Step 2
Stir in taco seasoning, then add 1/2 cup water. Simmer for 5-7 minutes until thickened. Add black beans and diced tomatoes with green chilies. Cook for another 5 minutes. -
Step 3
Arrange baked taco shells on a baking sheet. Spoon the taco meat mixture into each shell. -
Step 4
Sprinkle cheddar and Monterey Jack cheese over the meat mixture in each taco shell. -
Step 5
Bake for 5-8 minutes, or until the cheese is melted and bubbly. -
Step 6
While taco cups bake, combine sour cream and chopped cilantro in a small bowl. -
Step 7
Let taco cups rest for a minute before serving. Dollop with cilantro-sour cream mixture.
Important Information
Nutrition Facts (Per Serving)
It is important to consider this information as approximate and not to use it as definitive health advice.
Allergy Information
Please check ingredients for potential allergens and consult a health professional if in doubt.