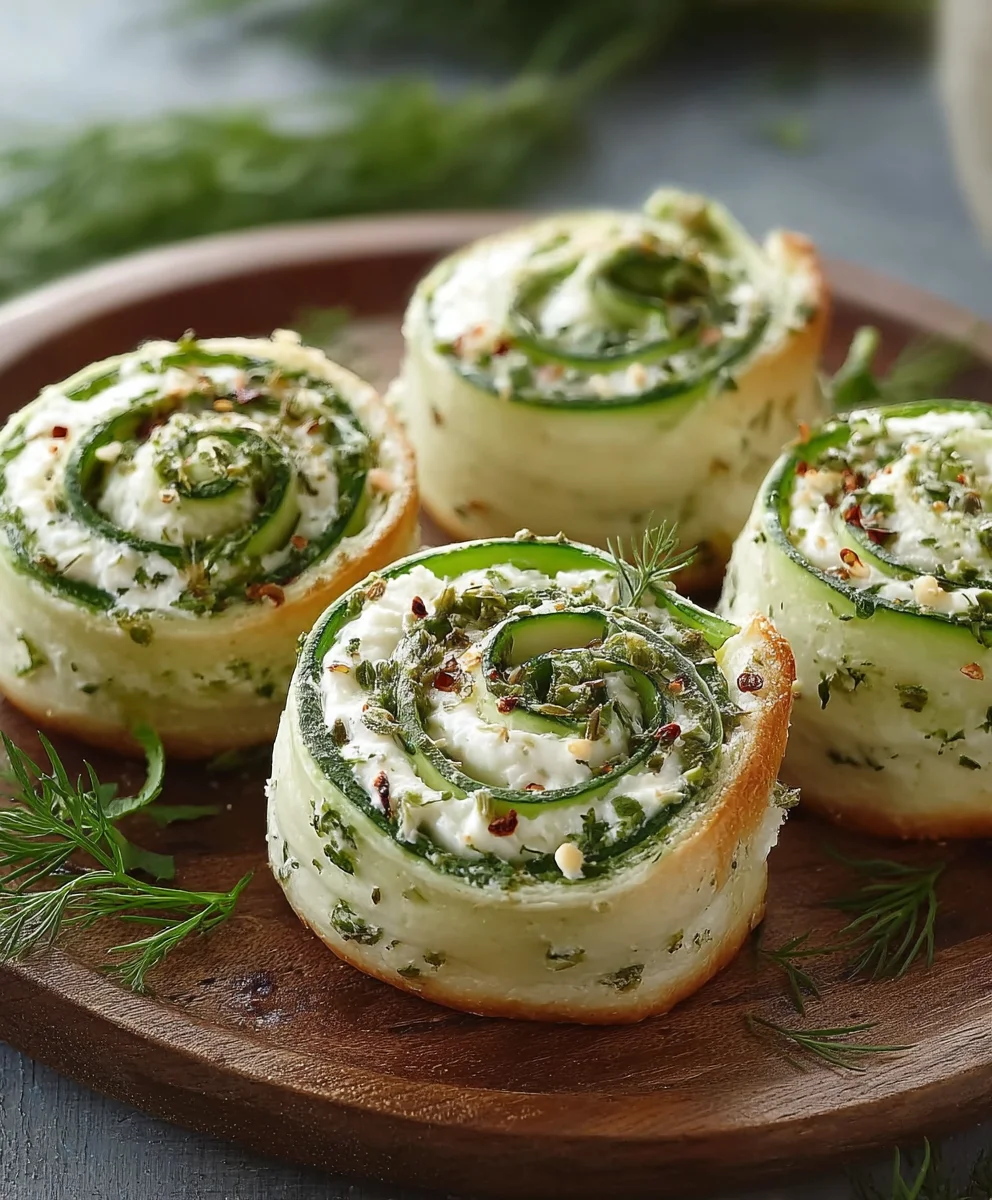
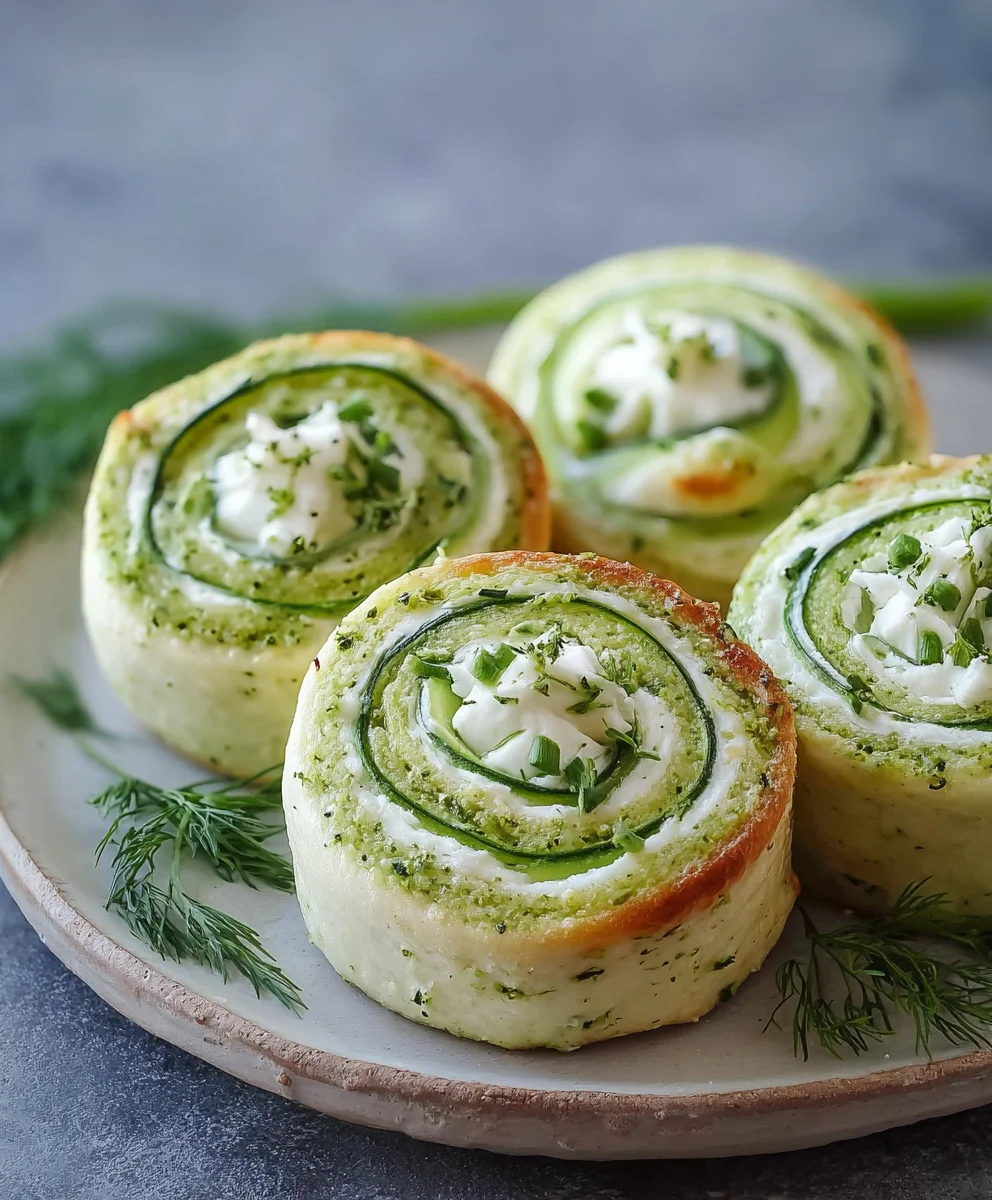
Creamy Pickle Roll Ups-Easy & Delicious Recipe
Creamy Pickle Roll Ups are more than just a snack; they’re a delightful explosion of flavor and texture that has captured the hearts (and taste buds!) of many. What is it about these seemingly simple bites that makes them so irresistibly popular? It’s the perfect synergy of creamy, tangy, and savory, all wrapped up in a convenient and fun package. People adore them for their satisfying crunch, the surprising burst of briny dill, and the cool, luscious creaminess that balances it all out. They’re the ultimate party pleaser, a nostalgic throwback for some, and a brand-new obsession for others. But what truly sets these Creamy Pickle Roll Ups apart is the effortless way they transform humble ingredients into something truly special. Whether you’re looking for a quick appetizer, a fun lunch addition, or just a delightful treat to brighten your day, these little wonders are sure to become a firm favorite.
Ingredients:
- 8 ounces cream cheese, softened
- 2 tablespoons ranch seasoning
- ½ cup dill pickle relish or finely chopped dill pickles
- 16 ounces crescent roll dough (two 8-ounce cans)
- ¼ cup butter, melted
- 1 tablespoon fresh dill or 1 teaspoon dried dill
Preparing the Creamy Pickle Filling
The heart of our Creamy Pickle Roll Ups lies in this incredibly flavorful and easy-to-make filling. To begin extract, ensure your cream cheese is truly softened. This is crucial for achieving a smooth, lump-free texture that will spread beautifully. You can leave it on the counter for about an hour, or if you’re short on time, you can carefully microwave it in 15-second bursts, stirring in between, until it’s pliable but not melted. In a medium bowl, combine the softened cream cheese with the ranch seasoning. If you can’t find pre-made ranch seasoning, you can easily make your own by combining dried parsley, dill weed, chives, garlic powder, onion powder, and a pinch of salt and pepper. Mix these thoroughly until the seasoning is fully incorporated into the cream cheese. Next, add your dill pickle relish. For the best texture and flavor, I prefer using finely chopped dill pickles myself. This allows you to control the size of the pickle pieces and ensures a more even distribution of that delightful tangy crunch throughout the roll-ups. If you’re using relish, give it a good drain before adding it to the mixture to prevent the filling from becoming too wet. Stir the pickle relish into the cream cheese and ranch mixture until everything is well combined. This filling should be thick and spreadable. If it feels a little too stiff, you can add a teaspoon of milk or even a touch more pickle juice to loosen it up slightly, but be careful not to make it too runny. Finally, stir in your fresh dill. Fresh dill adds a vibrant burst of herbaceous flavor that perfectly complements the tang of the pickles and the creaminess of the cheese. If you’re using dried dill, simply use one teaspoon. This step adds a wonderful aromatic quality to the filling, elevating your Creamy Pickle Roll Ups from good to absolutely irresistible. Set this bowl aside while you prepare the crescent roll dough.
Assembling the Roll Ups
Now comes the fun part – transforming the crescent roll dough into our delightful roll-ups! Carefully unroll your two cans of crescent roll dough onto a clean, lightly floured surface. You’ll notice the dough is pre-scored into triangles. Gently press any perforations together to create one large, cohesive rectangle. Don’t worry about it being absolutely perfect; a few small gaps are easily remedied. The goal is to have a large, even surface for spreading our delicious filling. Once you have your dough rectangle, it’s time to spread the creamy pickle filling. Using an offset spatula or the back of a spoon, evenly distribute the entire bowl of cream cheese and pickle mixture over the surface of the crescent roll dough. Make sure to spread it all the way to the edges, but try not to go too thick in any one spot. A consistent layer ensures that every bite of your roll-up is packed with flavor. Take your time with this step to achieve a neat and even coating.
Rolling and Slicing
With the filling spread, it’s time to get rolling! Starting from one of the longer sides of the dough rectangle, carefully and tightly roll up the dough, enclosing the fillgin extract. Imagine you’re making a jelly roll or a sushi roll. Keep the roll as compact as possible as you go. This ensures that when you slice the roll-ups, they hold their shape nicely and have a beautiful spiral. Once you’ve rolled up the entire rectangle, you should have a long, log-like shape. Now, to prepare them for baking, we need to slice this log into individual roll-ups. Using a sharp knife, carefully cut the log into approximately ¾-inch thick slices. If the log is very soft, you might want to pop it into the freezer for about 10-15 minutes before slicing. This will firm it up and make slicing much cleaner, preventing the filling from oozing out excessively. You should aim for about 12-16 slices from each log, depending on how thick you cut them. Arrange these slices, cut-side down, onto a baking sheet lined with parchment paper or a silicone baking mat. Give them a little space between each one, as they will puff up and expand during baking.
Baking to Golden Perfection
Preheat your oven to 375 degrees Fahrenheit (190 degrees Celsius). This moderate temperature is perfect for cooking the crescent roll dough through while also allowing the filling to warm and meld. Once your oven is preheated and your roll-ups are arranged on the baking sheet, it’s time for the final touch. In a small bowl, gently whisk together the melted butter and the tablespoon of fresh dill (or the teaspoon of dried dill). This melted butter with dill will be brushed over the tops of the roll-ups before baking, adding an extra layer of flavor and ensuring a beautiful golden-brown finish. Using a pastry brush, generously brush this dill butter mixture over the top of each roll-up. Make sure to coat them evenly. Now, place the baking sheet into the preheated oven. Bake for 15 to 20 minutes, or until the crescent roll dough is puffed, golden brown, and cooked through. Keep an eye on them during the last few minutes of baking, as oven temperatures can vary. You’re looking for that perfect, slightly crispy exterior with a fluffy, cooked dough inside.
Cooling and Serving
Once your Creamy Pickle Roll Ups are perfectly golden and fragrant, carefully remove the baking sheet from the oven. Allow them to cool on the baking sheet for a few minutes. This is important because the filling will be very hot and molten. Letting them rest for just a bit will help the filling settle and prevent any accidental burns. After they’ve cooled slightly, you can carefully transfer them to a wire rack to cool further. While they are absolutely delicious served warm, they can also be enjoyed at room temperature. These Creamy Pickle Roll Ups are fantastic served as an appetizer at parties, a fun snack, or even as a side dish. They are incredibly moreish, so be prepared for them to disappear quickly! The combination of the tender crescent dough, the tangy dill pickle, and the creamy, savory ranch-infused cream cheese is truly a winning combination that’s sure to impress.
Conclusion:
There you have it! Your ultimate guide to crafting the most delicious and crowd-pleasing Creamy Pickle Roll Ups. This recipe is wonderfully straightforward, making it perfect for a quick snack, an impressive appetizer, or even a fun activity to do with kids. The combination of tangy pickles, creamy filling, and savory tortilla creates a flavor explosion that’s simply irresistible. We’ve explored how to make them, but the real joy comes from enjoying them! They are best served immediately for that perfect crisp-tender texture, but they hold up surprisingly well for a few hours in the fridge. For an extra touch, consider a drizzle of sriracha mayo or a sprinkle of Everything Bagel seasoning on top. Don’t be afraid to experiment with different types of pickles – dill, bread and butter, or even spicy pickles can add a unique twist. We encourage you to try this recipe and see for yourself how easy and rewarding it is to make these fantastic Creamy Pickle Roll Ups. Happy rolling!
Frequently Asked Questions:
Can I make Creamy Pickle Roll Ups ahead of time?
While they are best enjoyed fresh, you can prepare the filling and slice the pickles a few hours in advance. Assemble the Creamy Pickle Roll Ups closer to serving time to maintain the best texture. If you must make them further ahead, store them loosely wrapped in the refrigerator, but be aware the tortillas may soften.
What other fillings can I use for Creamy Pickle Roll Ups?
The possibilities are endless! You can add finely chopped beef ham or turkey, shredded cheese like cheddar or Monterey Jack, or even a little bit of cream cheese mixed with chives for an extra layer of flavor. Some people enjoy adding a thin layer of mustard or a dash of hot sauce to the filling for an added kick.
Creamy Pickle Roll Ups-Easy & Delicious Recipe
A simple and delicious recipe for creamy pickle roll-ups, perfect as an appetizer or snack.
Ingredients
-
8 ounces cream cheese, softened
-
2 tablespoons ranch seasoning
-
½ cup dill pickle relish or finely chopped dill pickles
-
16 ounces crescent roll dough (two 8-ounce cans)
-
¼ cup butter, melted
-
1 tablespoon fresh dill or 1 teaspoon dried dill
Instructions
-
Step 1
Prepare the creamy pickle filling: Combine softened cream cheese, ranch seasoning, dill pickle relish (or finely chopped pickles), and dill in a bowl until well mixed. Ensure the cream cheese is smooth. -
Step 2
Assemble the roll-ups: Unroll crescent dough onto a floured surface, press perforations together to form a rectangle. Spread the cream cheese filling evenly over the dough, leaving a small border. -
Step 3
Roll and slice: Tightly roll up the dough from one of the longer sides. Slice the roll into approximately ¾-inch thick pieces. If the dough is soft, chill for 10-15 minutes before slicing. -
Step 4
Prepare for baking: Arrange the sliced roll-ups cut-side down on a parchment-lined baking sheet, leaving space between them. Melt butter and mix with dill. -
Step 5
Bake to golden perfection: Brush the tops of the roll-ups with the melted dill butter. Bake at 375°F (190°C) for 15-20 minutes, or until puffed and golden brown. -
Step 6
Cool and serve: Let the roll-ups cool on the baking sheet for a few minutes before transferring to a wire rack. Serve warm or at room temperature.
Important Information
Nutrition Facts (Per Serving)
It is important to consider this information as approximate and not to use it as definitive health advice.
Allergy Information
Please check ingredients for potential allergens and consult a health professional if in doubt.