Easy Beef Pizza Sliders – Fun Party Appetizer
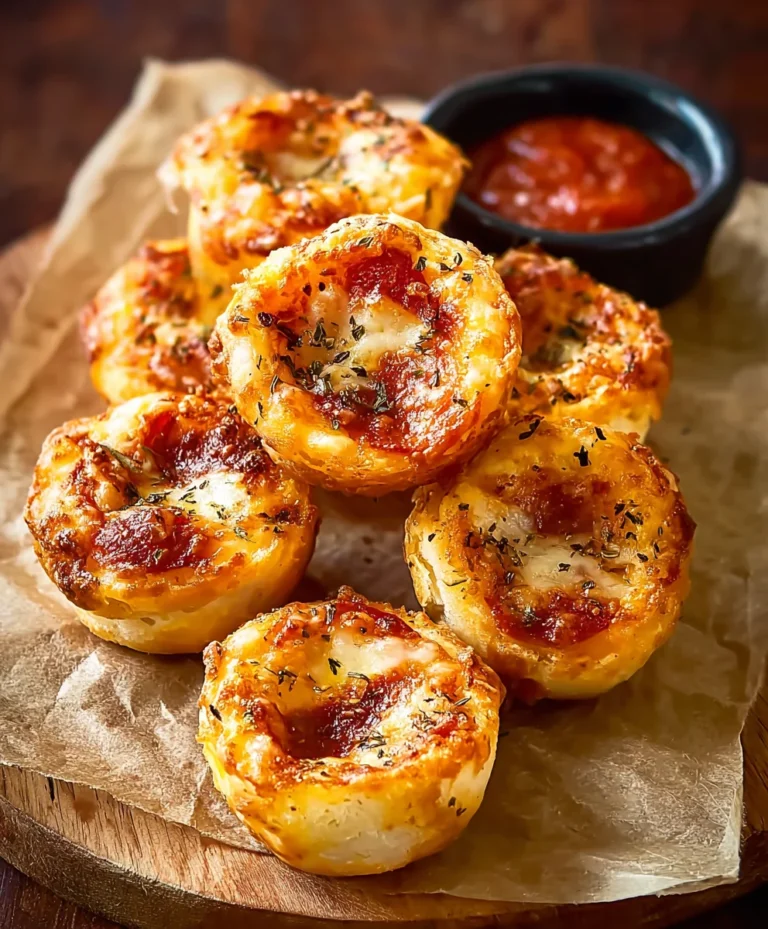
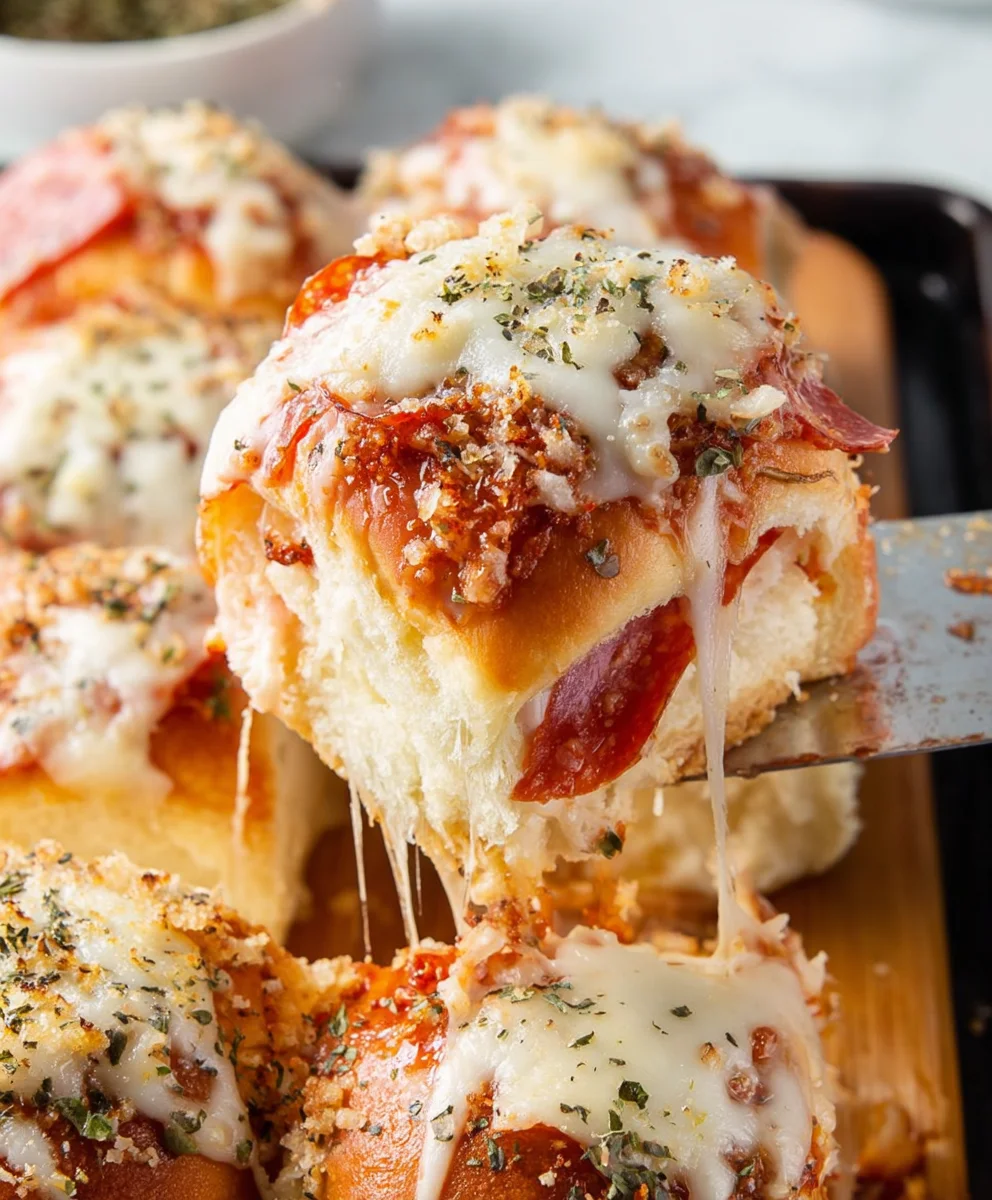
Pizza Sliders have become an absolute sensation, and for good reason! These miniature marvels capture all the irresistible charm of classic pizza in a perfectly bite-sized package, making them the ultimate crowd-pleaser for parties, game nights, or even just a fun family dinner. What’s not to love about a delightful doughy base smothered in rich tomato sauce, gooey melted cheese, and your favorite toppings, all shrunk down to an easy-to-handle slider? The magic of pizza sliders lies in their versatility and the sheer joy they bring. You can customize them endlessly, from traditional beef pepperoni and mushroom to more adventurous combinations. They’re incredibly satisfying, offering that comforting pizza flavor profile without the need for a fork and knife. Get ready to discover how easy it is to create these addictive little wonders that will have everyone beggin extractg for more.
Ingredients:
- 12 count package Hawaiian rolls
- 2½ cups shredded mozzarella cheese, divided (1 cup and 1¼ cups)
- ¾ cup pizza sauce
- 20 slices deli-style dry-cured beef beef pepperoni
- ⅓ cup salted sweet cream butter, melted
- 2 tablespoons grated Parmesan cheese
- 1 teaspoon dried Italian seasoning
Preparation and Assembly
Getting Started with Your Pizza Sliders
Begin extract by preheating your oven to 350°F (175°C). This gentle heat is perfect for ensuring the Hawaiian rolls toast to a lovely golden brown without burning, and that the cheese melts beautifully inside. While the oven preheats, prepare your baking dish. A standard 9×13 inch baking dish works wonderfully for this recipe, providing ample space for all 12 sliders. It’s a good idea to line the dish with parchment paper, leaving an overhang on the sides. This makes lifting the entire batch of sliders out of the dish a breeze later on, minimizing mess and ensuring your delicious creations remain intact.
Next, it’s time to prep the Hawaiian rolls. These slightly sweet and soft rolls are the ideal foundation for our pizza sliders, offering a delightful contrast to the savory toppings. Carefully slice the entire package of rolls in half horizontally, as if you were slicing a single large bun. A serrated knife is your best friend here; it will glide through the rolls cleanly, preventing them from getting squashed. Once sliced, set the top half of the rolls aside for a moment.
Layering the Savory Flavors
Now, let’s focus on the bottom halves of the Hawaiian rolls. Arrange these bottom halves snugly in your prepared baking dish, cut-side up. This is where the magic of our pizza sliders gin extractly begins. Evenly spread the ¾ cup of pizza sauce over the cut surface of these bottom rolls. Ensure you get sauce close to the edges of each roll, but try not to let it drip down the sides, as this can make them soggy. A small offset spatula or the back of a spoon can be very helpful for this task. Don’t be shy with the sauce; it’s the flavor binder for your pizza sliders!
After the sauce has been applied, it’s time for the first layer of cheese. Sprinkle 1 cup of the shredded mozzarella cheese evenly over the pizza sauce. This layer of mozzarella will melt and mingle with the sauce, creating a delicious cheesy base forbeef pepperonieroni. Make sure to cover the entire surface of the rolls as much as possible.
Adding the Star Toppings
With the cheese in place, it’s time to add the classic pizzabeef pepperoni pepperoni. Artfully arrange the 20 slices of deli-style beef pepperoni beef pepperoni over the mozzarella-covered rolls. You can overlap them slightly if needed, but aim for a single layer as much as possible to ensure each slider gets its fair share of this savory stbeef pepperoniu find the pepperoni curling up, gently press it dbeef pepperonigoal is for the pepperoni to become slightly crispy and delicious as it bakes.
Now, we add the second layer of mozzarella cheese. Sprinkle the remaining 1¼ cups of shredded mozzbeef pepperonieese evenly over the pepperoni. This generous layer of cheese will create that irresistible, gooey, melted cheese pull that everyone loves in a pizza slider. Make sure tbeef pepperoniute it well, covering the pepperoni and reaching towards the edges of the rolls.
The Deliciously Savory Topping and Baking
Before we cover our masterpiece, let’s add a touch of herbaceous goodness. In a small bowl, combine the melted salted sweet cream butter with the 2 tablespoons of grated Parmesan cheese and the 1 teaspoon of dried Italian seasoning. Stir this mixture together until it’s well combined. This buttery, cheesy, herby concoction is the secret ingredient that will elevate your pizza sliders from good to absolutely divine. It will impart a wonderful aroma and a rich, savory flavor to the tops of the rolls as they bake.
Now, carefully and evenly drizzle or brush this flavorful butter mixture over the top halves of the Hawaiian rolls that you set aside earlier. Make sure to coat the entire surface of each roll. Once the tops are coated, gently place them over the assembled bottom halves, creating your pizza sliders. Press down lightly to ensure everything is snug and ready for baking.
Baking and Serving
The Golden Transformation
Carefully cover the baking dish tightly with aluminum foil. This is crucial for the initial stage of baking. The foil traps steam, ensuring that the Hawaiian rolls become wonderfully soft and steamy, and the cheese melts thoroughly without the tops browning too quickly. Place the covered dish into your preheated oven and bake for 15 minutes. After 15 minutes, remove the aluminum foil. This will allow the tops of the rolls to crisp up and achieve that perfect golden-brown hue, while the cheese becomes bubbly and delicious.
Continue baking the pizza sliders, uncovered, for another 5 to 10 minutes, or until the tops are beautifully golden brown and the cheese is melted and slightly bubbly. Keep an eye on them during this final stage; ovens can vary, and you want them perfectly toasted, not burnt. The aroma that will fill your kitchen at this point is simply irresistible, a true testament to the deliciousness about to unfold.
The Grand Reveal and Serving
Once your pizza sliders have reached that perfect golden-brown and bubbly state, carefully remove the baking dish from the oven. Let them rest for about 5 minutes before attempting to serve. This resting period is important because it allows the internal components to settle and makes them easier to handle. The melted cheese will be incredibly hot, and this short rest prevents any unfortunate burns.
After resting, use the parchment paper overhang to carefully lift the entire slab of pizza sliders from the baking dish. Place this slab onto a cutting board. Now, using a sharp knife, cut between the Hawaiian rolls to separate them into individual sliders. Serve immediately and watch them disappear! These pizza sliders are perfect for parties, game nights, or simply as a fun and flavorful snack. Enjoy every cheesy, savory bite!
Conclusion:
And there you have it! Your ultimate guide to crafting delicious Pizza Sliders is complete. We’ve walked through each step to ensure your sliders are perfectly browned, delightfully cheesy, and packed with all your favorite pizza flavors. These Pizza Sliders are not just a meal; they’re a conversation starter, perfect for game nights, potlucks, or even a fun family dinner. Remember, the beauty of these Pizza Sliders lies in their adaptability. Feel free to experiment with different cheeses, meats, and vegetable toppings to create your signature version.
I truly hope you enjoy making and sharing these wonderful Pizza Sliders. They are incredibly rewarding to prepare and even more satisfying to devour. Don’t be afraid to get creative and have fun with it! The possibilities are endless.
Frequently Asked Questions:
Can I make Pizza Sliders ahead of time?
Yes, you absolutely can! You can assemble the Pizza Sliders up to a few hours before baking. Store them covered in the refrigerator. For best results, you might want to bake them slightly longer if they are coming directly from a cold fridge to ensure the cheese is fully melted and the buns are heated through.
What are some good serving suggestions for Pizza Sliders?
Pizza Sliders are fantastic served as is, but they also pair wonderfully with a fresh side salad, some crispy potato wedges, or even a bowl of marinara sauce for extra dipping. They make an excellent appetizer or a main course for a more casual gathering.
How can I make my Pizza Sliders even cheesier?
To boost the cheesiness, consider using a blend of cheeses rather than just one. Mozzarella is a classic for its meltability, but adding some cheddar for flavor, provolone for a bit of sharpness, or even a sprinkle of Parmesan on top before baking will take your Pizza Sliders to the next level of cheesy deliciousness!
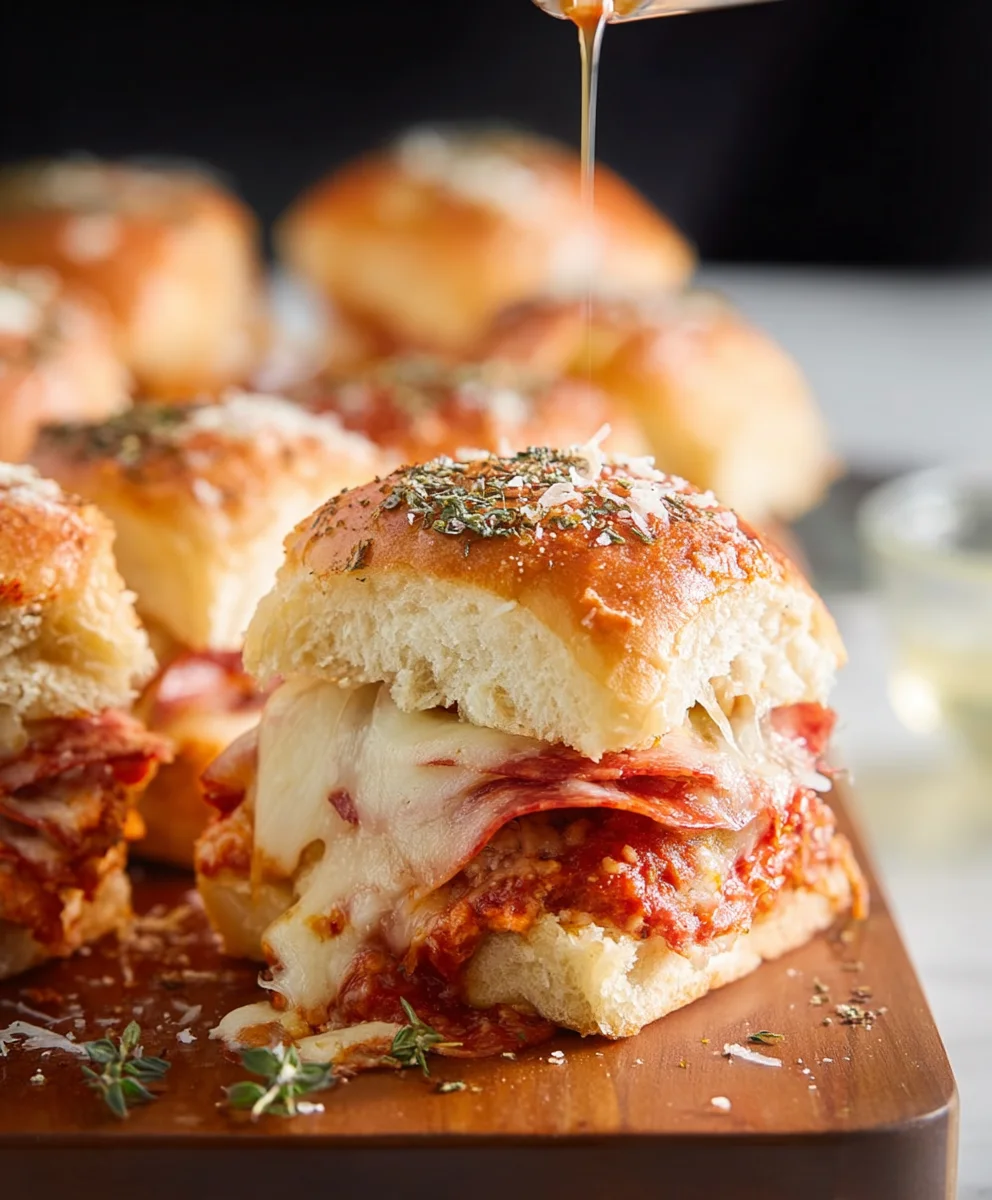
Easy Beef Pizza Sliders – Fun Party Appetizer
These easy beef pizza sliders are a fun and delicious appetizer perfect for any party or gathering. Featuring savory beef pepperoni on soft Hawaiian rolls with melted mozzarella and a flavorful butter topping.
Ingredients
-
12 count package Hawaiian rolls
-
2½ cups shredded mozzarella cheese, divided (1 cup and 1¼ cups)
-
¾ cup pizza sauce
-
20 slices deli-style dry-cured beef pepperoni
-
⅓ cup salted sweet cream butter, melted
-
2 tablespoons grated Parmesan cheese
-
1 teaspoon dried Italian seasoning
Instructions
-
Step 1
Preheat oven to 350°F (175°C). Line a 9×13 inch baking dish with parchment paper, leaving an overhang. Slice the Hawaiian rolls in half horizontally. -
Step 2
Arrange the bottom halves of the rolls in the prepared baking dish, cut-side up. Spread pizza sauce evenly over the cut surfaces, followed by 1 cup of shredded mozzarella cheese. -
Step 3
Arrange the beef pepperoni slices over the mozzarella, then sprinkle the remaining 1¼ cups of mozzarella cheese on top. -
Step 4
In a small bowl, combine melted butter, Parmesan cheese, and Italian seasoning. Drizzle or brush this mixture over the top halves of the Hawaiian rolls. Place the tops over the assembled bottoms and press lightly. -
Step 5
Cover the baking dish tightly with aluminum foil and bake for 15 minutes. Remove foil and bake for another 5-10 minutes, or until golden brown and bubbly. -
Step 6
Let sliders rest for 5 minutes. Use parchment paper to lift the slab onto a cutting board. Cut between rolls to separate and serve immediately.
Important Information
Nutrition Facts (Per Serving)
It is important to consider this information as approximate and not to use it as definitive health advice.
Allergy Information
Please check ingredients for potential allergens and consult a health professional if in doubt.