Lemon Butter Baked Beef – Easy & Flavorful Recipe
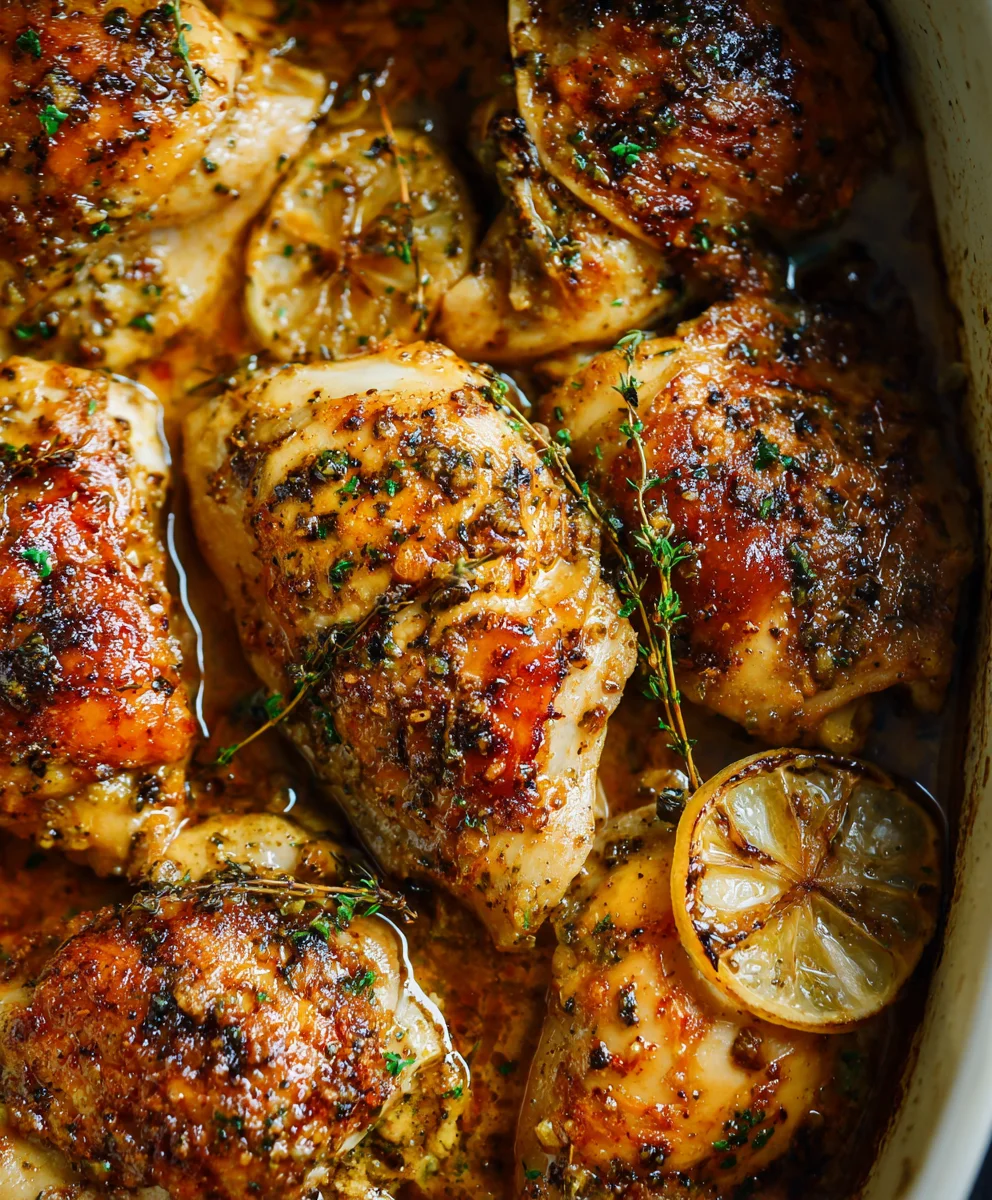
Baked Lemon Butter Chicken is more than just a weeknight dinner; it’s a culinary hug that brightens even the busiest of days. Have you ever craved something incredibly flavorful, tender, and surprisingly simple to prepare? That’s precisely the magic of this dish. People absolutely adore Baked Lemon Butter Chicken for its harmonious blend of zesty lemon, rich butter, and succulent chicken that melts in your mouth. It’s the kind of meal that makes you close your eyes and savor every bite, a testament to how a few well-chosen ingredients can create something truly spectacular. What makes this particular recipe so special is its ability to transform humble chicken into an elegant yet utterly comforting centerpiece, perfect for sharing with loved ones or enjoying as a delightful solo indulgence. Get ready to discover your new favorite go-to for a taste of pure, delicious sunshine.
Ingredients:
- 10 dark meat chicken pieces (drum extractsticks and thighs are excellent choices, with any excess fat trimmed away for a leaner result)
- 2 tsp kosher salt
- 1 tbsp smoked paprika
- 1 tbsp Montreal chicken seasoning blend or any chicken seasoning blend you prefer (a good quality bouillon can also be used as a flavorful substitute)
- 2 tbsp butter
- 1/2 cup red onion, finely minced
- 1/2 cup fresh flat leaf parsley, roughly chopped
- 1 tbsp fresh garlic, minced
- 1/2 tsp red pepper flakes (adjust to your spice preference)
- 1 cup low-sodium chicken stock
- 1 tbsp fresh lemon juice (from about half a lemon)
- 1 cup freshly grated Parmesan cheese (using a block of Parmesan and grating it yourself will yield the best flavor and meltability)
- 1/3 cup heavy whipping cream
Preparing the Chicken
The foundation of our Baked Lemon Butter Chicken begin extracts with perfectly seasoned chicken. Start by patting your 10 dark meat chicken pieces (I’verum extractund drumsticks and thighs to be exceptionally moist and flavorful for this dish) completely dry with paper towels. This step is crucial as it helps the seasonings adhere better and promotes a more even browning. In a medium bowl, combine the 2 tsp of kosher salt, 1 tbsp of smoked paprika, and 1 tbsp of your chosen Montreal chicken seasoning blend or bouillon. Toss the chicken pieces gently in this spice mixture, ensuring each piece is thoroughly coated. Set the seasoned chicken aside while you prepare the aromatic base for our sauce.
Building the Flavor Base
Now, let’s create the rich, savory sauce that will envelop our chicken. In a large oven-safe skillet or Dutch oven, melt the 2 tbsp of butter over medium heat. Once the butter is shimmering andgin extractst beginning to foam, add the 1/2 cup of finely minced red onion. Sauté the onions for about 3-4 minutes, stirring frequently, until they soften and become translucent. Be careful not to brown them too much at this stage, as we want them to melt into the sauce. Next, stir in the 1 tbsp of minced garlic and the 1/2 tsp of red pepper flakes. Cook for another minute until the garlic is fragrant, being mindful not to burn it, as burnt garlic can impart a bitter taste. The aroma at this point should be absolutely divine!
Deglazing and Simmering the Sauce
Pour in the 1 cup of chicken stock, scraping the bottom of the skillet with a wooden spoon to loosen any flavorful browned bits (fond) left from sautéing the onions and garlic. This is where a significant amount of flavor is locked in, so don’t skip this step! Bring the chicken stock to a gentle simmer and let it cook for about 5 minutes, allowing it to reduce slightly and deepen in flavor. Stir in the 1 tbsp of fresh lemon juice. The lemon juice not only adds a bright, zesty counterpoint to the richness of the butter and cream but also helps to tenderize the chicken. Taste the liquid and adjust seasoning if needed, though the chicken seasoning blend and Parmesan should provide ample saltgin extractss.
Bringing it all Together
Now it’s time to combine the chicken with our developing sauce. Carefully nestle the seasoned chicken pieces into the simmering liquid in the skillet, ensuring they are partially submerged. If your skillet isn’t large enough to hold all the chicken comfortably, you can arrange them in a single layer and potentially use a second oven-safe dish for the remaining pieces. The goal is to allow the chicken to cook evenly in the flavorful sauce. Once the chicken is arranged, cover the skillet tightly with a lid or aluminum foil. Transfer the skillet to a preheated oven at 375°F (190°C).
Baking to Perfection
Allow the Baked Lemon Butter Chicken to bake for approximately 30-40 minutes, or until the chicken is cooked through and reaches an internal temperature of 165°F (74°C). The exact cooking time will depend on the size and thickness of your chicken pieces. During this baking period, the chicken will steam and tenderize in the aromatic liquid, absorbing all those wonderful flavors. Once the chicken is cooked, carefully remove the skillet from the oven.
Finishing the Sauce and Garnishing
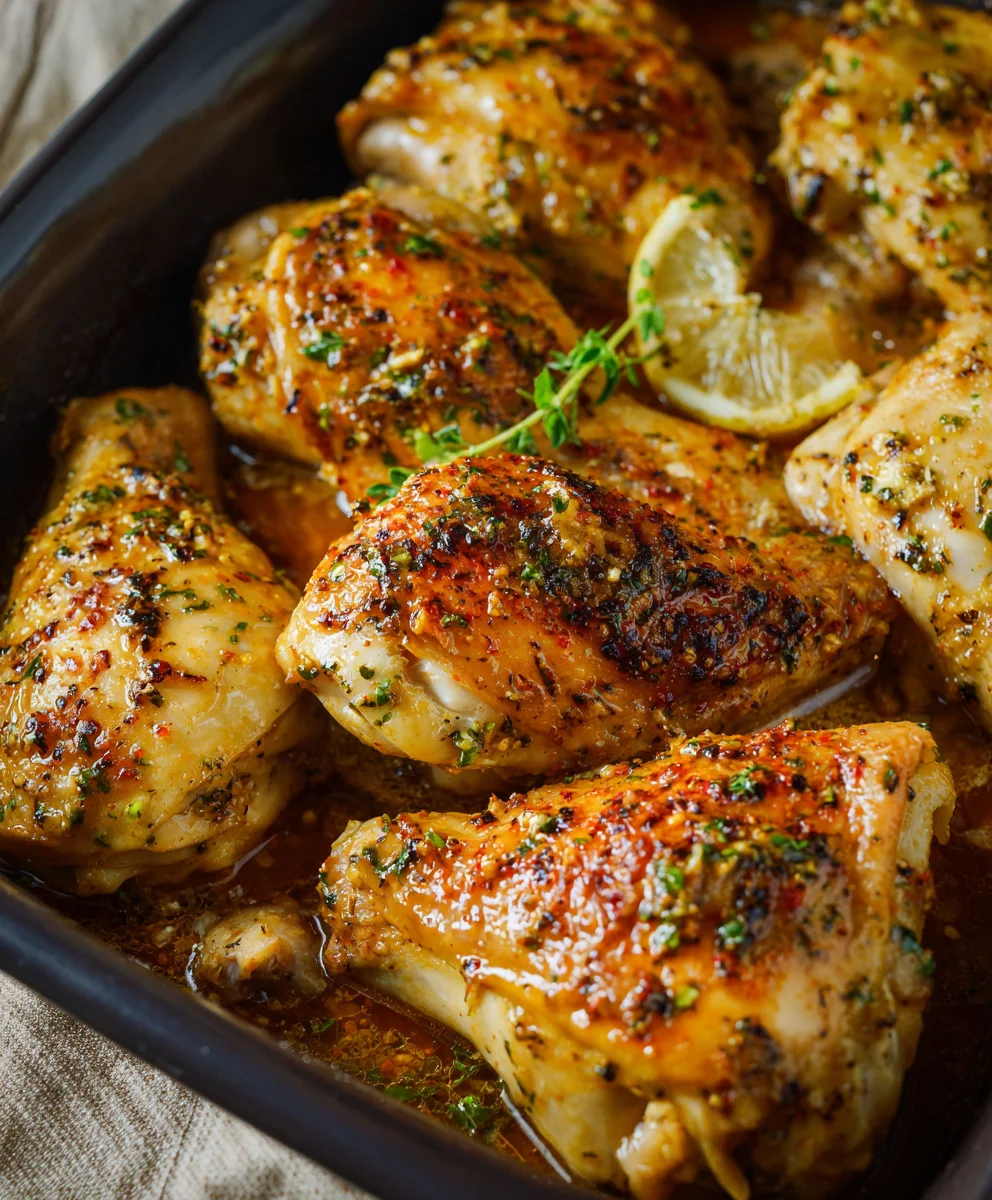
This is the final flourish that elevates our Baked Lemon Butter Chicken to creamy, cheesy perfection. Remove the chicken pieces from the skillet and set them aside on a plate, keeping them warm. Return the skillet with the remaining sauce to the stovetop over medium-low heat. Whisk in the 1 cup of freshly grated Parmesan cheese, stirring constantly until the cheese is fully melted and the sauce is smooth and slightly thickened. Be patient here; melting the Parmesan slowly will prevent it from becoming stringy. Gradually stir in the 1/3 cup of heavy whipping cream. Continue to cook and stir for another 2-3 minutes, allowing the sauce to thicken to your desired consistency. Finally, stir in the 1/2 cup of chopped fresh flat leaf parsley. Spoon the luscious lemon butter sauce generously over the chicken pieces. Serve immediately and savor the incredible flavors of this easy yet elegant dish.
Conclusion:
And there you have it – your very own delicious Baked Lemon Butter Chicken! We hope you enjoyed preparing this flavorful and surprisingly simple dish. This recipe is a fantastic weeknight meal that feels special enough for guests, bringin extractg together tender chicken with a bright, zesty lemon and rich butter sauce that coats every piece perfectly. Serve it with your favorite sides for a complete and satisfying meal that’s sure to become a staple in your culinary rotation.
For serving, we highly recommend pairing your Baked Lemon Butter Chicken with fluffy rice to soak up that irresistible sauce, roasted asparagus for a touch of green, or a simple side salad for freshness. Looking to switch things up? Try adding a pinch of red pepper flakes to the sauce for a subtle kick, or incorporate fresh herbs like dill or thyme alongside the parsley for an extra layer of aromatic complexity. Don’t be afraid to experiment and make this recipe your own!
We encourage you to give this Baked Lemon Butter Chicken a try. It’s a testament to how a few simple, quality ingredients can create something truly wonderful. Happy cooking!
Frequently Asked Questions:
Q: Can I make Baked Lemon Butter Chicken ahead of time?
A: Yes, you can prepare the chicken and sauce components ahead of time. You can marinate the chicken for a few hours, and mix the lemon butter sauce ingredients. However, for the best texture and flavor, it’s recommended to bake the chicken just before serving. You can, however, assemble the dish and refrigerate it for up to 24 hours before baking, adding a few extra minutes to the baking time.
Q: What kind of chicken cut is best for Baked Lemon Butter Chicken?
A: Boneless, skinless chicken breasts or thighs work wonderfully for this recipe. Chicken breasts tend to cook faster and stay very tender when not overcooked, while chicken thighs offer a richer flavor and are more forgiving if cooked slightly longer. Ensure your pieces are of a similar thickness for even cooking.
Lemon Butter Baked Beef
An easy and flavorful recipe for tender baked beef with a rich lemon butter sauce, perfect for a weeknight meal.
Ingredients
-
10 beef chuck roast pieces (trimmed of any excess fat)
-
2 tsp kosher salt
-
1 tbsp smoked paprika
-
1 tbsp Montreal steak seasoning blend or any steak seasoning of choice
-
2 tbsp butter
-
1/2 cup red onion (minced)
-
1/2 cup flat leaf parsley (chopped)
-
1 tbsp garlic (minced)
-
1/2 tsp red pepper flakes
-
1 cup low-sodium beef broth
-
1 tbsp fresh lemon juice
-
1 cup freshly grated Parmesan cheese
-
1/3 cup heavy whipping cream
Instructions
-
Step 1
Pat the 10 beef chuck roast pieces completely dry with paper towels. In a medium bowl, combine kosher salt, smoked paprika, and steak seasoning blend. Toss the beef pieces gently in this spice mixture, ensuring each piece is thoroughly coated. Set aside. -
Step 2
In a large oven-safe skillet or Dutch oven, melt the butter over medium heat. Add the minced red onion and sauté for 3-4 minutes until softened. Stir in the minced garlic and red pepper flakes, cooking for another minute until fragrant. -
Step 3
Pour in the beef broth, scraping the bottom of the skillet to loosen any browned bits. Bring to a gentle simmer and cook for about 5 minutes to reduce slightly. Stir in the fresh lemon juice. -
Step 4
Carefully nestle the seasoned beef pieces into the simmering liquid in the skillet, ensuring they are partially submerged. Cover the skillet tightly with a lid or aluminum foil. -
Step 5
Transfer the skillet to a preheated oven at 375°F (190°C). Bake for approximately 45-60 minutes, or until the beef is cooked through and tender. The exact cooking time will depend on the size and thickness of your beef pieces. -
Step 6
Remove the beef pieces from the skillet and set them aside, keeping them warm. Return the skillet with the remaining sauce to the stovetop over medium-low heat. Whisk in the grated Parmesan cheese until melted and smooth. Gradually stir in the heavy whipping cream, cooking and stirring for another 2-3 minutes until the sauce thickens to your desired consistency. Stir in the chopped parsley. Spoon the sauce generously over the beef.
Important Information
Nutrition Facts (Per Serving)
It is important to consider this information as approximate and not to use it as definitive health advice.
Allergy Information
Please check ingredients for potential allergens and consult a health professional if in doubt.