Homemade Caesar Salad Dressing- Easy & Delicious
Homemade Caesar Salad Dressing is the secret weapon every home cook needs in their culinary arsenal. Forget those watery, overly tangy bottled versions; we’re talking about a rich, creamy, and utterly irresistible creation that will transform your salads from mundane to magnificent. Why do we all inexplicably crave Caesar salad? It’s that perfect symphony of flavors: the salty punch of anchovies, the bright zest of lemon, the garlicky bite, and the luxurious texture that clings so beautifully to crisp romaine. What truly makes this Homemade Caesar Salad Dressing special is the ability to control every single ingredient, tailoring it to your exact preference. Imagin extracte the satisfying swirl of a homemade dressing over a mound of fresh greens – it’s a simple pleasure that elevates any meal into something truly memorable.
Homemade Caesar Salad Dressing
There’s something incredibly satisfying about a perfectly creamy, tangy, and savory Caesar salad. While store-bought dressings can be convenient, nothing compares to the fresh, vibrant flavors of a homemade version. This recipe is my go-to, the one I whip up whenever that craving strikes. It’s surprisingly easy to make and tastes miles better than anything you’ll find in a jar. The key is using good quality ingredients and a little patience to emulsify everything into that luscious, clingy dressing that coats every romaine leaf just right. Forget the bland imitations; this is the real deal, a true testament to how simple ingredients can transform into something truly spectacular.
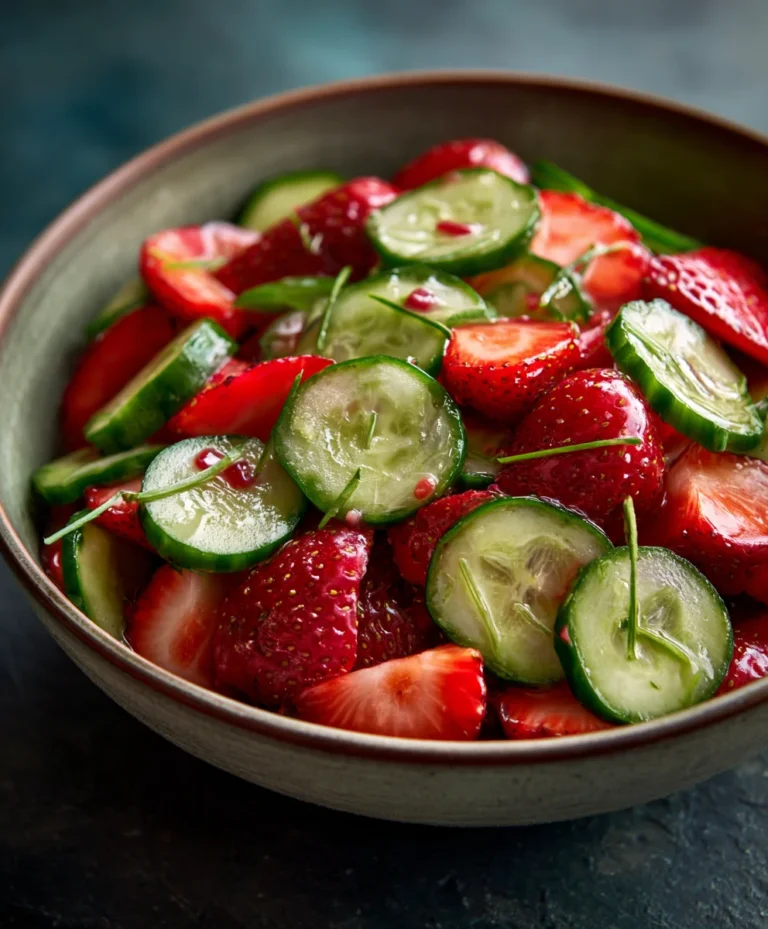
This dressing is versatile, too. While it’s the undisputed cbeef hampion of a classic Caesar salad, I’ve also used it as a dip for crudités, a marinade for chicken, or even a flavorful sauce for grilled fish. The depth of flavor you get from fresh garlic, good olive oil, and salty anchovies is simply unparalleled. And the best part? You control exactly what goes in, ensuring no artificial flavors or preservatives. Let’s dive into creating this kitchen staple that will elevate all your future salads.
Ingredients:
The Process of Creating Creamy Perfection
Now, let’s get down to business and transform these simple ingredients into our magnificent Caesar dressing. It’s a process that relies on a bit of whisking and emulsification, but I’ll walk you through each step to ensure success. The goal is a creamy, stable dressing that holds its beautiful texture.
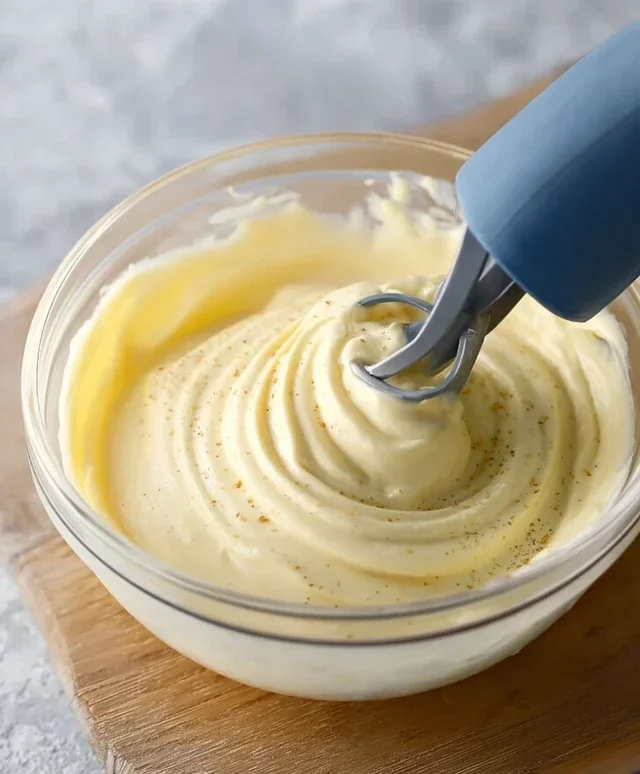
1. Building the Flavor Base: In a medium-sized bowl, combine your egg yolks, minced garlic paste, Dijon mustard, fresh lemon juice, minced anchovies, and Worcestershire sauce. This is where the magic really begin extracts to happen. Take your time mincing the garlic into a fine paste. You can do this by placing the peeled garlic cloves on your cutting board, sprinkling them with a pinch of salt, and then using the side of your knife to mash and smear them until they form a smooth paste. This releases their oils and ensures they distribute evenly without any harsh, raw garlic bites. Similarly, make sure your anchovy fillets are mashed into a very fine paste. If you’re using anchovy paste, measure it carefully. Whisk these ingredients together vigorously until they are well combined and have a slightly lighter, yellower hue. This initial mixture is the foundation of our dressing’s incredible flavor profile – the tang from the lemon, the pungent notes from the garlic and anchovies, and the subtle sharpness from the Dijon and Worcestershire.
2. The Emulsification Dance: Slowly Introducing the Olive Oil: This is perhaps the most crucial step in achieving that classic, creamy Caesar dressing texture. It’s all about emulsification, the process of binding oil and liquid together. Very slowly, we are going to drizzle in the extra virgin extract extract olive oil. Start with just a few drops at a time, whisking continuously and rapidly. Imagin extracte you’re trying to create tiny droplets of oil suspended within the egg yolk and lemon mixture. As you whisk, you’ll notice the mixture starting to thicken. Continue adding the oil in a thin, steady stream, always maintaining that constant whisking motion. If you add the oil too quickly, the dressing will break, meaning the oil and liquid will separate, and you won’t get that smooth, cohesive texture. Patience is your best friend here. Keep whisking and adding the oil until all of it has been incorporated and the dressing has reached a thick, mayonnaise-like consistency. The type of olive oil you use matters; a good quality extra virgin extract extract olive oil will contribute a wonderful fruity note to the dressing.
3. Finishing Touches: Cheese and Seasoning: Once your dressing has achieved that beautiful, thick consistency from the emulsified olive oil, it’s time to add the final elements. Gently fold in the grated Parmesan cheese. You want to incorporate it, but not overmix at this stage. The Parmesan adds a salty, nutty, and umami depth that is essential to any great Caesar dressing. Now comes the critical step of seasoning. Taste your dressing! This is your opportunity to adjust the flavors to your personal preference. Does it need a little more tang? Add a squeeze more lemon juice. Is it lacking a bit of zest? A pinch more salt might do the trick. Most importantly, season generously with freshly ground black pepper. The pepper plays a vital role in balancing the richness of the oil and the saltiness of the anchovies and Parmesan. Continue to whisk gently to ensure the cheese is evenly distributed and the seasoning is perfect.
4. Achieving the Ideal Consistency (and Troubleshooting): After you’ve incorporated the cheese and seasoned to perfection, give your dressing one final whisk. It should be thick, creamy, and cling beautifully to the whisk. If, by chance, your dressing seems a little too thick for your liking, you can thin it out slightly by whisking in a teaspoon or two of cold water or even a little more lemon juice, until you reach your desired consistency. Conversely, if your dressing has broken (meaning the oil and liquid have separated), don’t despair! You can often salvage it. In a clean bowl, place a fresh egg yolk and a teaspoon of Dijon mustard. Whisk them together, and then very slowly, a teaspoon at a time, whisk in your broken dressing, treating it like you’re adding the oil in the second step. This re-emulsification process can usually bring it back together.
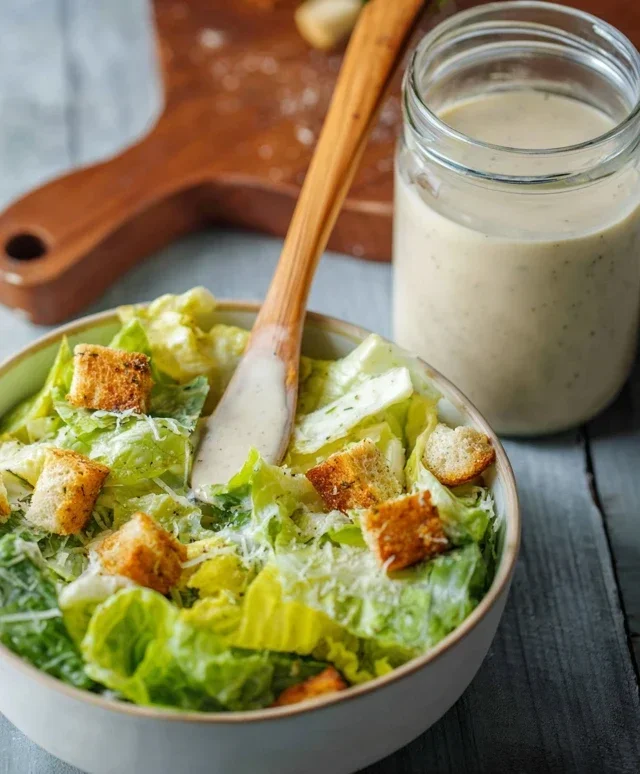
5. Chilling and Serving: Allowing Flavors to Meld: Once you’re happy with the consistency and flavor of your homemade Caesar salad dressing, cover the bowl tightly and refrigerate it for at least 30 minutes before serving. This chilling period is not just about cooling it down; it allows the flavors to meld and deepen. The garlic will mellow slightly, the lemon and anchovy notes will become more pronounced, and the entire dressing will develop a more complex and harmonious taste. When you’re ready to serve, give it a good stir or whisk again, as some separation can occur after chilling. Then, toss it generously with your crisp romaine lettuce, croutons, and extra Parmesan cheese for the ultimate homemade Caesar salad experience. Enjoy the fruits of your labor – a truly exceptional dressing that you made yourself!
Conclusion:
And there you have it – your very own delicious, homemade Caesar salad dressing! This recipe is a game-changer because it allows you to control the quality of your ingredients and tailor the flavors perfectly to your liking, avoiding any artificial preservatives or unnecessary sugars often found in store-bought versions. The creamy texture, the tangy kick from the lemon and Dijon, and the savory depth from the Worcestershire and anchovies (or capers!) create a truly irresistible dressing. It’s fantastic not just on classic romaine lettuce with croutons and parmesan, but also as a dip for raw vegetables, a marinade for chicken or fish, or even a spread on sandwiches. Don’t be afraid to experiment with the ratios to find your perfect balance!
I truly encourage you to give this homemade Caesar salad dressing a try. It’s surprisingly simple to whip up and the difference in taste is remarkable. You’ll be wondering why you ever bought dressing from a jar!
Frequently Asked Questions:
Can I make this Caesar salad dressing vegetarian or vegan?
Absolutely! For a vegetarian option, simply omit the anchovies. For a vegan version, substitute the anchovies with 1-2 teaspoons of capers (and their brine) for that briny, savory flavor. You can also use a vegan mayonnaise or a combination of silken tofu and tahini for the creamy base instead of egg yolk and olive oil.
How long will homemade Caesar salad dressing last?
Stored in an airtight container in the refrigerator, your homemade Caesar salad dressing should stay fresh for about 5-7 days. The raw egg yolk can shorten its shelf life, so it’s best to use it within a week.
What if I don’t have anchovy paste?
No problem! You can use 1-2 whole anchovy fillets, finely minced, or the aforementioned capers as a great substitute for anchovy paste. The goal is to impart that umami richness, and both options achieve that effectively.
Homemade Caesar Salad Dressing
A classic creamy and tangy Caesar salad dressing made from scratch.
Ingredients
-
2 large egg yolks
-
2 cloves garlic, minced
-
1 teaspoon Dijon mustard
-
1/4 cup fresh lemon juice
-
1/2 teaspoon Worcestershire sauce
-
1/2 cup extra virgin extract olive oil
-
1/4 cup grated Parmesan cheese
-
Salt to taste
-
Freshly ground black pepper to taste
Instructions
-
Step 1
In a medium bowl, whisk together the egg yolks, minced garlic, Dijon mustard, and lemon juice. -
Step 2
Add the Worcestershire sauce and whisk to combine. -
Step 3
Slowly drizzle in the extra virgin extract olive oil while continuously whisking. This emulsifies the dressing and makes it creamy. -
Step 4
Once all the oil is incorporated and the dressing is thick, stir in the grated Parmesan cheese. -
Step 5
Season with salt and freshly ground black pepper to taste. Adjust lemon juice or Parmesan if needed. -
Step 6
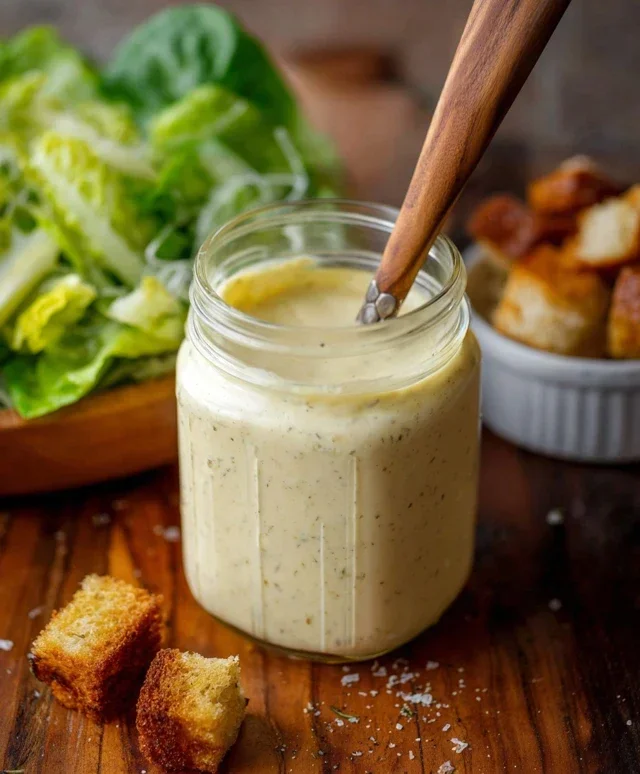
Transfer to an airtight container and refrigerate until ready to serve. The dressing will thicken further as it chills.
Important Information
Nutrition Facts (Per Serving)
It is important to consider this information as approximate and not to use it as definitive health advice.
Allergy Information
Please check ingredients for potential allergens and consult a health professional if in doubt.