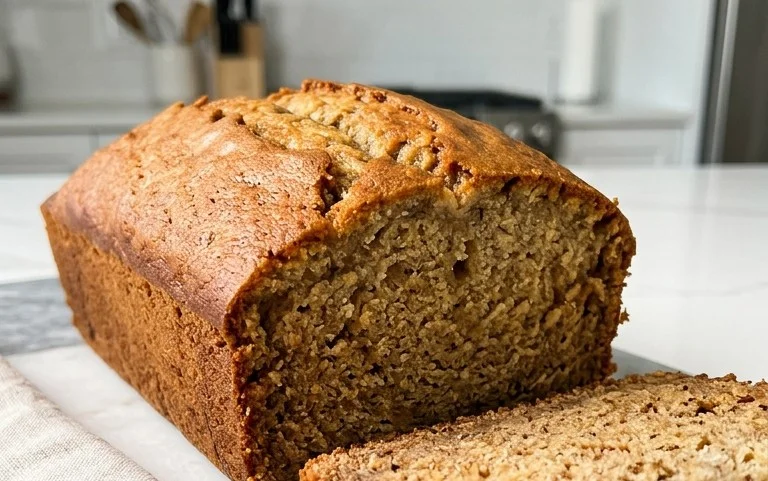
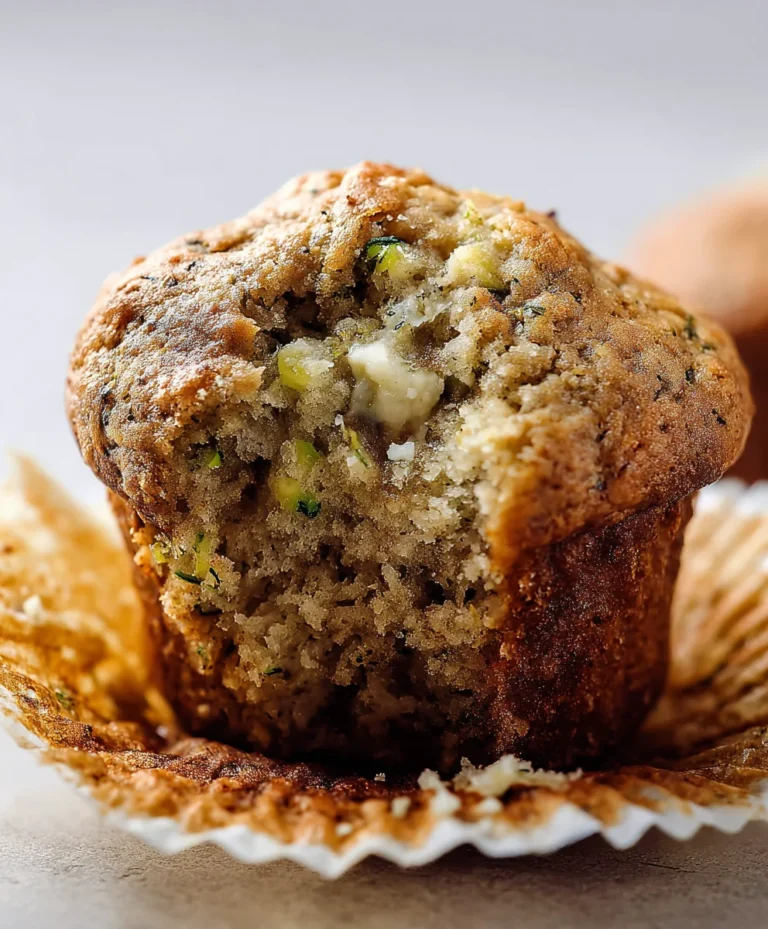
Easy Scones Recipe-Perfect Fluffy Baked Goods
Scones Recipe: There’s something undeniably comforting and utterly delightful about a perfectly baked scone. Whether it’s the delicate crum extractb, the slightly crisp exterior, or the sheer versatility that makes this simple treat so beloved, scones hold a special place in my heart – and I suspect in yours too. They are the quintessential accompaniment to a warm cup of tea, a thoughtful brunch addition, or even a satisfying midday pick-me-up. What truly sets a fantastic scone recipe apart is the balance: that magical moment when it’s tender yet holds its shape, fluffy without being dry, and rich without being heavy. This particular scones recipe aims to achieve just that, creating a foundation for endless delicious possibilities. Get ready to master the art of the perfect scone and impress yourself and everyone you share them with!
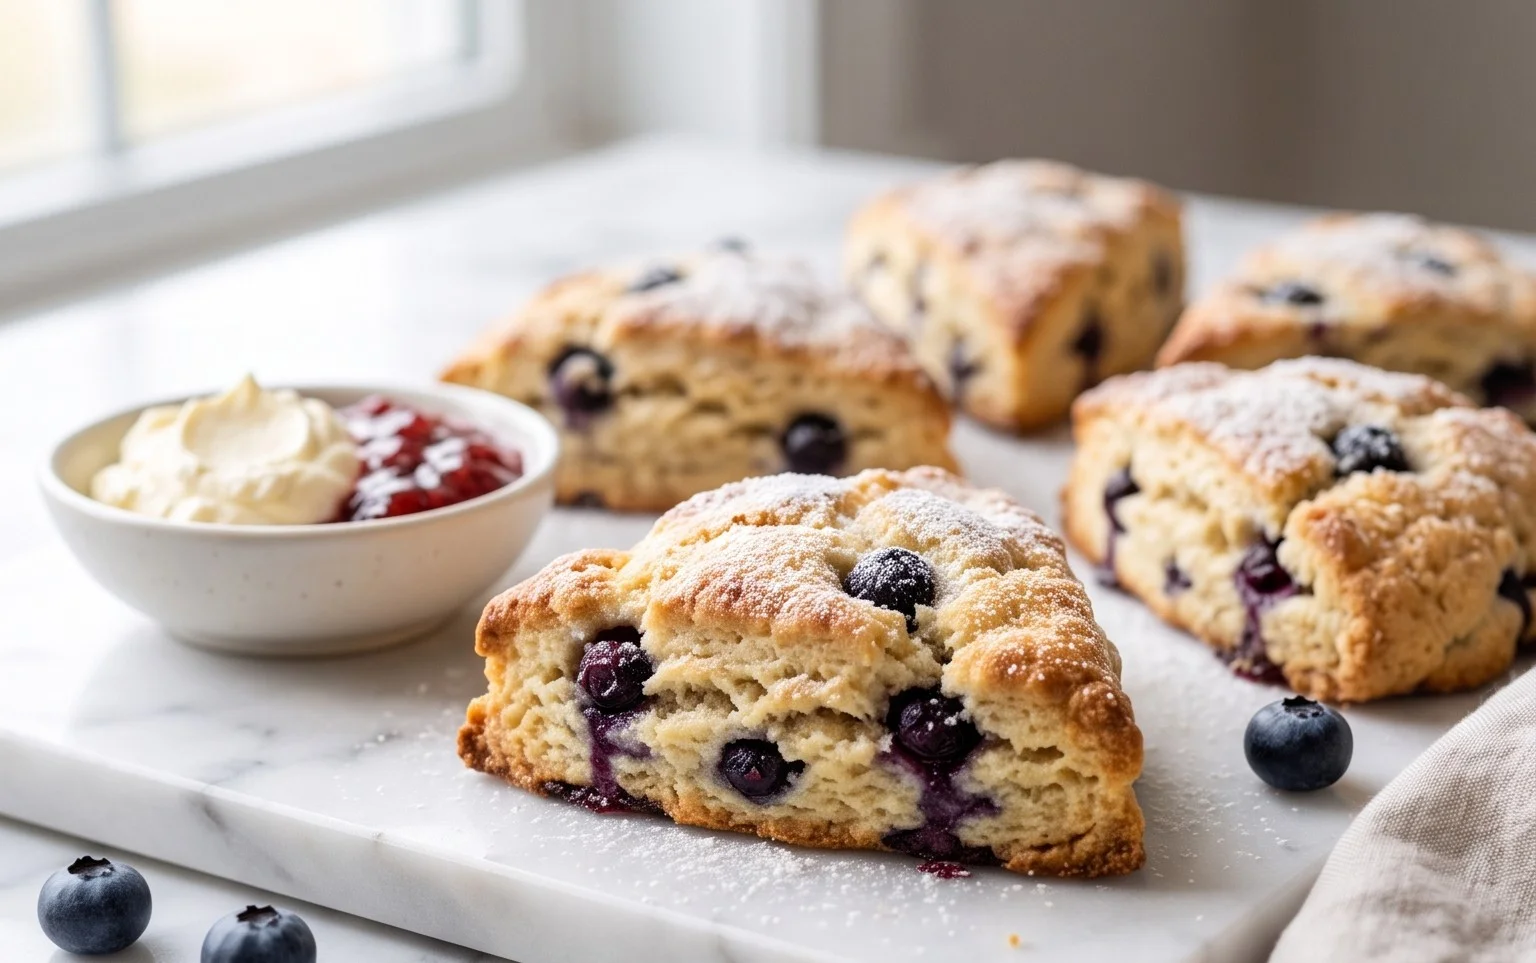
Classic Scones Recipe
There’s something incredibly comforting about a warm, homemade scone, fresh from the oven. Whether you’re a fan of a classic plain scone to slather with jam and clotted cream, or you love to personalize them with your favorite fruits or chocolate, this recipe is your gateway to scone perfection. We’ll walk through each step to ensure you achieve that perfect tender crum extractb and slightly crisp exterior. Forget dry, crum extractbly disappointments; these scones are designed to be melt-in-your-mouth delicious.
Ingredients:
Getting Started: The Foundation of Great Scones
The key to tender scones lies in keeping the butter cold and not overworking the dough. So, start by cubing your unsalted butter and placing it in the freezer for about 10-15 minutes. This step is crucial for creating those lovely flaky layers. While the butter chills, gather all your other ingredients. Measure out your flour, sugar, baking powder, and salt into a large mixing bowl. Give them a good whisk to combine them thoroughly. This ensures that the leavening agent and salt are evenly distributed throughout the flour, which will lead to uniformly risen scones.
Incorporating the Butter: The Crum extractbly Magic
Once your butter is nicely chilled, add it to the dry ingredients. Now, we want to cut the butter into the flour mixture. You can do this using a pastry blender, two forks, or even your fingertips. The goal is to create a coarse meal with some pea-sized pieces of butter still visible. Don’t aim for a smooth paste; those little pockets of butter are what will melt during baking, creating steam and those characteristic flaky layers. If you’re using your fingertips, work quickly to prevent the butter from warming up too much. Rub the butter and flour together until you achieve that crum extractbly texture.
The Wet Ingredients: Bringin extractg it All Together
In a separate small bowl, whisk together your ½ cup plus 1 tablespoon of heavy cream and the lightly beaten large egg. This forms our liquid base. Now, make a well in the center of your flour and butter mixture. Pour the cream and egg mixture into the well. Gently, and I mean gently, start mixing with a fork or a spatula until the ingredients just come together to form a shaggy dough. It will look a little messy, and that’s perfectly fine. Resist the urge to knead this dough. Overmixing will develop the gluten in the flour, resulting in tough scones, and we definitely don’t want that.
Adding Your Flavorful Mix-ins
This is where you get to personalize your scones! If you’re using fresh berries, gently fold them in now. If you’re using dried fruits or chocolate chips, this is also the time to incorporate them. Again, be gentle. The aim is to distribute the mix-ins evenly without crushing them or overworking the dough. If you’re using fresh berries, a light touch is especially important to prevent them from bleeding their color too much into the dough. If the dough seems a little sticky at this stage, you can lightly dust your hands with a bit more flour, but try to avoid adding too much extra flour to the dough itself.
Shaping and Baking: The Grand Finnon-alcoholic ale
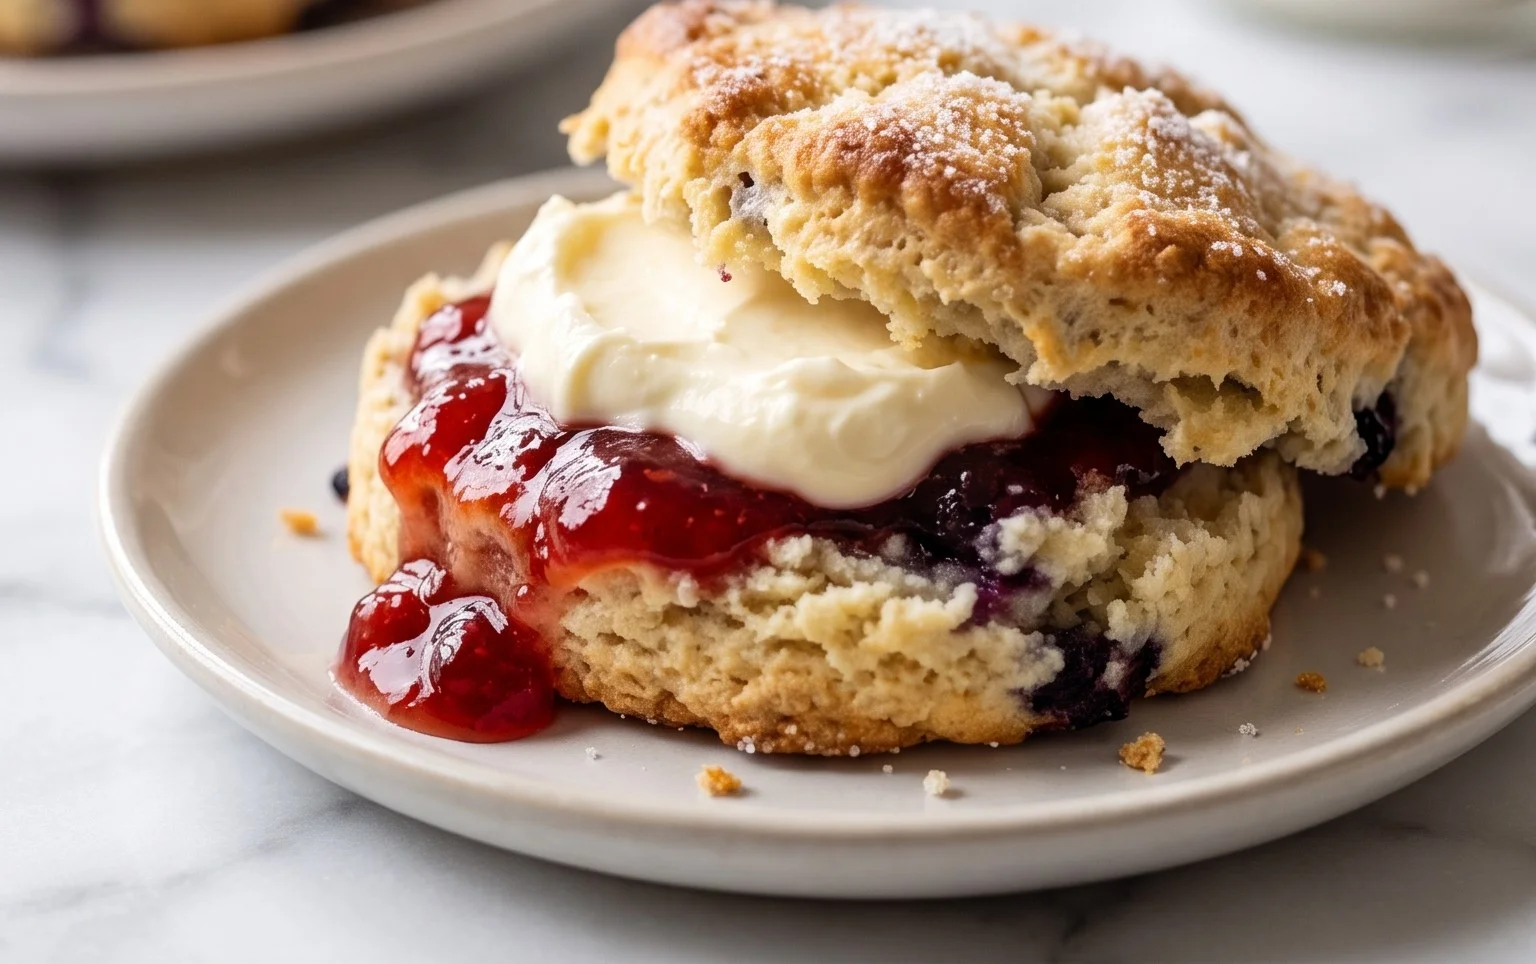
Turn the shaggy dough out onto a lightly floured surface. Gently pat the dough together to form a cohesive disc, about ¾ to 1 inch thick. Don’t roll or knead; just pat. Using a sharp knife or a bench scraper, cut the disc into 6 or 8 wedges, like you would a pizza. Alternatively, you can use a round biscuit cutter to create individual scones, but be sure not to twist the cutter, as this can seal the edges and prevent them from rising properly. Transfer the scones to a baking sheet lined with parchment paper. Brush the tops of the scones with a little extra heavy cream for a beautiful golden sheen. Bake in a preheated oven at 400°F (200°C) for 15-20 minutes, or until the scones are golden brown and a toothpick inserted into the center comes out clean. The exact baking time will depend on your oven and the size of your scones. Enjoy these delightful treats warm, perhaps with your favorite jam and a dollop of clotted cream or simply a good pat of butter.
Conclusion:
I truly hope you’ve enjoyed diving into this delightful scones recipe! This recipe is fantastic because it’s wonderfully versatile, yielding tender, fluffy scones that are perfect for any occasion. Whether you’re enjoying a leisurely breakfast, a charming afternoon tea, or a simple sweet treat, these scones are sure to impress. The beauty of this basic recipe is its adaptability. Feel free to experiment with additions like fresh berries, chocolate chips, or even a hint of lemon zest. For serving, they’re divine with clotted cream and jam, a drizzle of honey, or even a dollop of whipped cream. Don’t be intimidated by baking; this recipe is quite forgiving and the results are so rewarding. Give it a try – I guarantee you’ll be baking batches of these delicious scones in no time!
Frequently Asked Questions:
Why are my scones tough?
Tough scones often result from overworking the dough. Once you add the liquid ingredients, mix them in gently until just combined. Overmixing develops the gluten too much, leading to a chewy texture. Also, ensure your butter is cold and cut into small pieces; this helps create flaky layers.
Can I make scones ahead of time?
Yes, you can! You can prepare the dough, shape the scones, and then store them unbaked on a baking sheet lined with parchment paper in the refrigerator for up to 24 hours. When ready to bake, you may need to add a minute or two to the baking time. Alternatively, you can bake them and then reheat them briefly in a low oven before serving.
Scones Recipe
A classic and versatile scone recipe that can be customized with your favorite mix-ins.
Ingredients
-
6 tablespoons unsalted butter
-
2 cups all-purpose flour
-
⅓ cup granulated sugar
-
1 tablespoon baking powder
-
½ teaspoon salt
-
½ cup plus 1 tablespoon heavy cream
-
1 large egg (lightly beaten)
-
up to 1 cup total mix-ins, as desired
Instructions
-
Step 1
Preheat oven to 400°F (200°C). Line a baking sheet with parchment paper. -
Step 2
In a large bowl, whisk together the flour, sugar, baking powder, and salt. -
Step 3
Cut in the cold butter using a pastry blender or your fingertips until the mixture resembles coarse crumbs. -
Step 4
In a separate small bowl, whisk together the heavy cream and the beaten egg. -
Step 5
Add the wet ingredients to the dry ingredients and mix until just combined. Do not overmix. Gently fold in your desired mix-ins. -
Step 6
Turn the dough out onto a lightly floured surface and gently pat it into a disc about 1 inch thick. Cut into 8 wedges. -
Step 7
Place the scones on the prepared baking sheet. Brush the tops with a little extra heavy cream. -
Step 8
Bake for 15-20 minutes, or until golden brown and cooked through.
Important Information
Nutrition Facts (Per Serving)
It is important to consider this information as approximate and not to use it as definitive health advice.
Allergy Information
Please check ingredients for potential allergens and consult a health professional if in doubt.