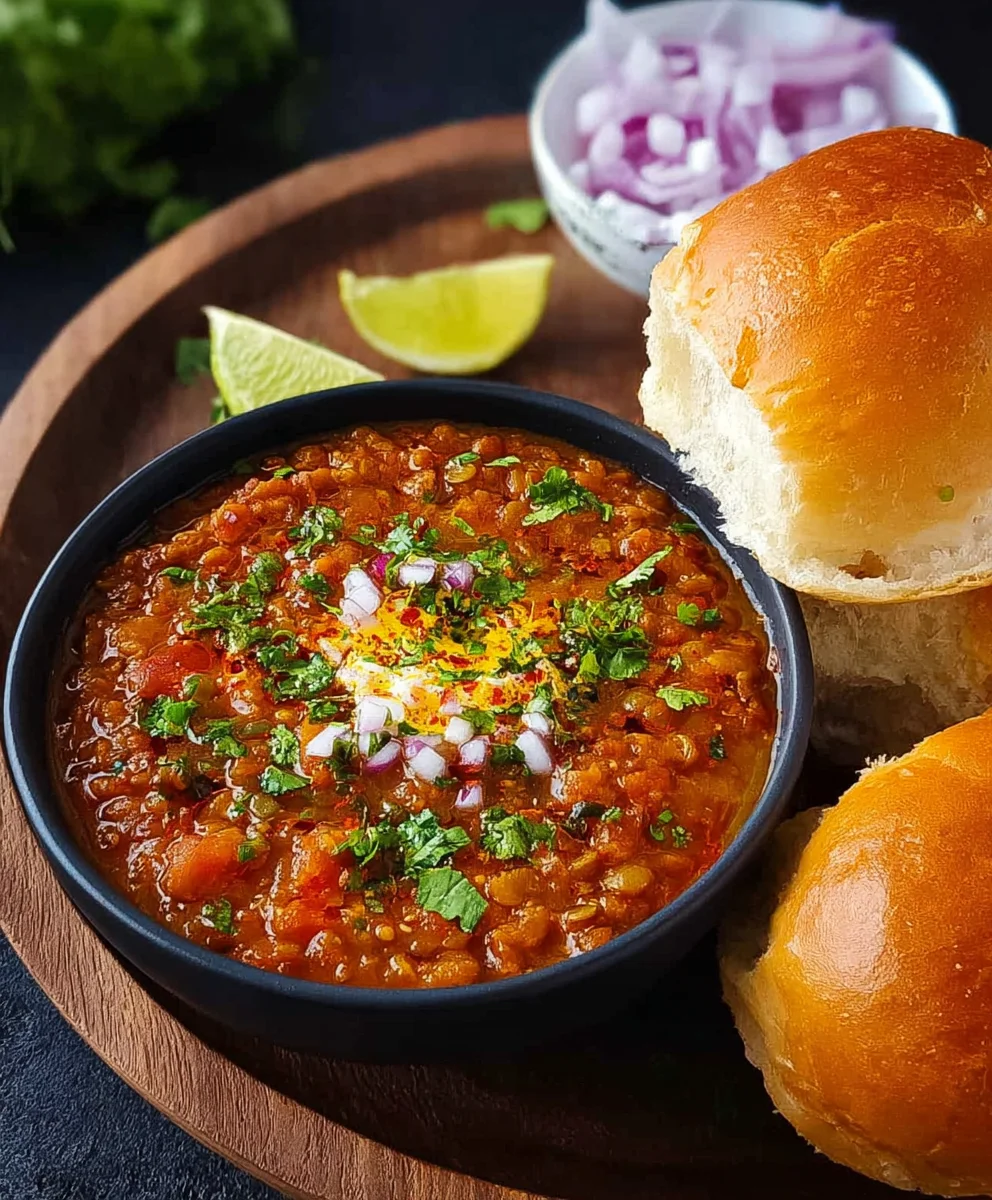
Authentic Pav Bhaji Recipe-Spicy Vegetable Mash
Pav Bhaji is a vibrant, flavorful street food that has captured the hearts (and stomachs!) of millions. This iconic Mumbai dish is so much more than just a simple vegetarian mash served with bread; it’s an explosion of spices, a celebration of fresh vegetables, and a deeply satisfying comfort food. What is it about this humble yet magnificent creation that makes it so universally loved? Perhaps it’s the perfect harmony of textures – the soft, buttery pav (bread rolls) contrasting with the rich, slightly chunky bhaji. Or maybe it’s the sheer intensity of the flavors, a complex blend of turmeric, cumin, coriander, and chili, tempered by the tang of tomatoes and the sweetness of onions. We adore Pav Bhaji because it’s incredibly versatile, endlessly customizable, and always delivers a punch of deliciousness that transports you straight to the bustling streets of India. This recipe aims to capture that authentic magic in your own kitchen.
Ingredients:
- 7 cloves Garlic (Big, around 30 grams), finely minced
- 2 tbsp Red Kashmiri chili powder (ensure it’s Kashmiri for authentic color and mild heat)
- 2 cups, around 250 grams, Potatoes, peeled and cut into roughly 1-inch cubes
- 1 cup, around 120 grams, Cauliflower florets, cut into bite-sized pieces
- 2 cups Finely chopped Tomatoes
- 1 cup Finely chopped Onion
- 1 cup Finely chopped Capsicum / Bell Pepper
- 1/4 cup Dried green peas (or 1/2 cup fresh or frozen green peas)
- Salt to taste
- 1/2 tsp Turmeric powder
- 1 tbsp + 1/2 tsp Pav bhaji masala (this is crucial for the signature flavor)
- 1/4 cup Finely chopped Cilantro (for garnish and flavor)
- 2 tbsp Butter (salted butter works well here)
- 1 tbsp Oil (vegetable or any neutral cooking oil)
- 1 tsp Kasuri Methi (dried fenugreek leaves, adds a unique aroma)
Preparing the Vegetables
Step 1: Boiling the Core Vegetables
To begin extract crafting your delicious Pav Bhaji, the first step involves preparing the base vegetables. In a large pot or a pressure cooker, combine the cubed potatoes, cauliflower florets, and the green peas. If you’re using dried green peas, make sure to soak them overnight or for at least 4-5 hours prior to cooking. Add enough water to generously cover all the vegetables. Add about half a teaspoon of salt and the turmeric powder to the water. This helps to season the vegetables from within as they cook.
If you are using a pot, bring the water to a rolling boil over medium-high heat, then reduce the heat to low, cover the pot tightly, and let the vegetables simmer until they are fork-tender. This usually takes around 15-20 minutes. If you’re using a pressure cooker, cook for about 3-4 whistles on medium heat, then let the pressure release naturally. Once the vegetables are cooked, drain any excess water and set them aside. It’s important that the vegetables are cooked through but not mushy, as they will be further mashed.
Step 2: Sautéing the Aromatics and Spices
Now, let’s build the flavor base. In a large, heavy-bottomed pan or a wok, heat the 1 tablespoon of oil and 1 tablespoon of the butter over medium heat. Once the butter has melted and the oil is shimmering, add the finely minced garlic. Sauté the garlic for about 30 seconds until it becomes fragrant, being careful not to burn it. Immediately after, add the finely chopped onions and the finely chopped capsicum (bell pepper). Cook these, stirring occasionally, until the onions turn translucent and the capsicum softens slightly, which should take about 5-7 minutes.
Next, introduce the finely chopped tomatoes to the pan. Cook the tomatoes, stirring frequently, until they break down and become mushy, releasing their juices. This process will take approximately 8-10 minutes. Stir in the 2 tablespoons of Red Kashmiri chili powder and the remaining 1/2 teaspoon of Pav bhaji masala. Cook for another minute, stirring constantly, to toast the spices and release their aromas. This step is crucial for developing the deep color and flavor of the bhaji. Add the kasuri methi at this stage and give it a quick stir to release its fragrance.
Mashing and Simmering the Bhaji
Step 3: Mashing the Cooked Vegetables
With the aromatics and spices nicely sautéed, it’s time to incorporate the boiled vegetables. Add the cooked and drained potatoes, cauliflower, and green peas directly into the pan with the sautéed mixture. Now comes the mashing part! Using a potato masher or the back of a sturdy spoon, gently but firmly mash the vegetables directly in the pan. Your goal is to break down the vegetables into a thick, chunky consistency. You don’t want a completely smooth puree; some texture is desirable for an authentic Pav Bhaji. Ensure all the vegetables are well combined with the onion-tomato-spice mixture.
Step 4: Simmering and Flavor Development
Once the vegetables are mashed, it’s time to let the flavors meld together. Add the remaining 1/2 tablespoon of Pav bhaji masala and salt to taste. Stir everything thoroughly to ensure the masala and salt are evenly distributed throughout the bhaji. If the mixture seems too thick, you can add a splash of water – about 1/4 to 1/2 cup – to achieve your desired consistency. Remember, the bhaji should be thick but spreadable. Bring the mixture to a gentle simmer. Cover the pan partially (to allow steam to escape) and let it simmer on low heat for at least 10-15 minutes. Stir occasionally to prevent it from sticking to the bottom of the pan. This simmering time is essential for the flavors to deepen and the bhaji to thicken beautifully.
Finishing and Serving
Step 5: Finishing Touches and Assembling the Pav
Just before you’re ready to serve, stir in the remaining 1 tablespoon of butter and the finely chopped cilantro. The butter adds a luscious richness, and the cilantro provides a burst of fresh flavor and a beautiful green garnish. Give it a final good stir. Taste and adjust seasoning if necessary, adding more salt or masala as per your preference.
While the bhaji is simmering, prepare your pav (bread rolls). Slit each pav horizontally, almost all the way through, creating a pocket. Heat a griddle or a flat pan over medium heat. Spread about 1/2 tablespoon of butter on the griddle. Place the sliced pavs cut-side down onto the buttered griddle and toast them lightly until they are golden brown and slightly crispy. You can even spread a little bit of the bhaji mixture or a sprinkle of chili powder onto the pav before toasting for extra flavor. Serve the hot bhaji immediately with the toasted pav. Garnish the bhaji generously with fresh cilantro and a dollop of butter on top for an indulgent finish. You can also serve with finely chopped onions and a wedge of lemon on the side for an extra zing. Enjoy this incredibly flavorful and comforting Indian street food!
Conclusion:
And there you have it – your very own delicious and vibrant Pav Bhaji, ready to tantalize your taste buds! We hope you’ve enjoyed this journey of creating this iconic Indian street food. This recipe is all about bringin extractg together a medley of wholesome vegetables, simmered in a rich, aromatic spice blend, and served with soft, buttery pav. It’s a dish that truly embodies comfort and flavor, perfect for any occasion. Don’t be afraid to experiment with the spice levels to suit your preference. Serve your Pav Bhaji piping hot, garnished with a generous squeeze of lemon, chopped coriander, and a dollop of butter on the pav. For an added touch, consider serving it with a side of thinly sliced onions and a cooling raita.
Remember, cooking is an adventure! Feel free to get creative with your Pav Bhaji. You can add other vegetables like peas, carrots, or even finely chopped cauliflower. For a spicier kick, include an extra green chili or a pinch of red chili powder. And if you’re looking for a vegan version, simply omit the butter and use oil for sautéing, and opt for a dairy-free pav. We encourage you to make this recipe your own and share your delightful creations with friends and family. Happy cooking!
FAQs:
What makes Pav Bhaji so special?
Pav Bhaji is special due to its unique combination of a flavorful, spiced mashed vegetable curry (bhaji) served with soft, buttered bread rolls (pav). It’s a taste sensation that’s both hearty and comforting, and its vibrant colors are as appealing as its delicious taste.
Can I make Pav Bhaji ahead of time?
Yes, you can definitely make the bhaji mixture ahead of time. In fact, the flavors often meld and deepen overnight, making it even more delicious the next day. Simply reheat it gently on the stovetop. You’ll want to toast or butter your pav just before serving for the best texture.
What are some good accompaniments for Pav Bhaji?
Besides the traditional pav, a squeeze of fresh lemon juice is essential to brighten the flavors. Finely chopped red onions and fresh coriander leaves are classic garnishes. A cooling yogurt-based raita can also provide a welcome contrast to the spicy bhaji.
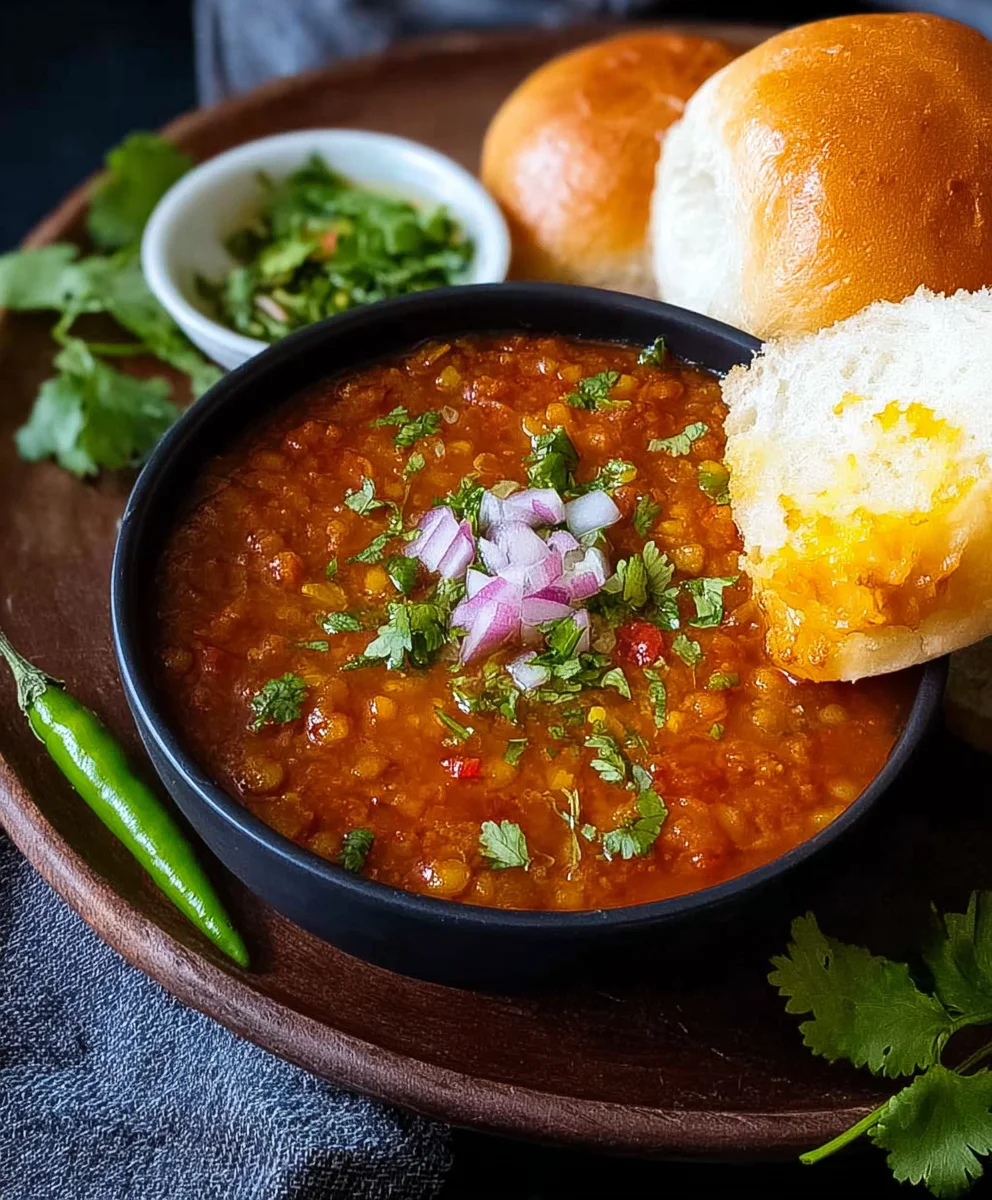
Authentic Pav Bhaji Recipe-Spicy Vegetable Mash
A classic and flavorful Indian street food recipe for Pav Bhaji, featuring a spicy mashed vegetable medley served with toasted buttered bread rolls.
Ingredients
-
7 cloves Garlic (Big, around 30 grams), finely minced
-
2 tbsp Red Kashmiri chili powder
-
2 cups, around 250 grams, Potatoes, peeled and cut into roughly 1-inch cubes
-
1 cup, around 120 grams, Cauliflower florets, cut into bite-sized pieces
-
2 cups Finely chopped Tomatoes
-
1 cup Finely chopped Onion
-
1 cup Finely chopped Capsicum / Bell Pepper
-
1/4 cup Dried green peas
-
Salt to taste
-
1/2 tsp Turmeric powder
-
1 tbsp + 1/2 tsp Pav bhaji masala
-
1/4 cup Finely chopped Cilantro
-
2 tbsp Butter
-
1 tbsp Oil
-
1 tsp Kasuri Methi (dried fenugreek leaves)
Instructions
-
Step 1
Boil the core vegetables: In a large pot or pressure cooker, combine potatoes, cauliflower florets, and green peas. Add enough water to cover, 1/2 tsp salt, and turmeric powder. Cook until fork-tender (15-20 mins in pot, 3-4 whistles in pressure cooker). Drain and set aside. -
Step 2
Sauté aromatics and spices: Heat 1 tbsp oil and 1 tbsp butter in a heavy-bottomed pan. Sauté minced garlic until fragrant. Add chopped onions and capsicum, cook until softened (5-7 mins). Add chopped tomatoes and cook until mushy (8-10 mins). Stir in 2 tbsp Kashmiri chili powder, 1/2 tsp Pav bhaji masala, and kasuri methi. Cook for 1 minute. -
Step 3
Mash the cooked vegetables: Add the boiled potatoes, cauliflower, and green peas to the pan with the sautéed mixture. Mash them using a potato masher or spoon until a thick, chunky consistency is achieved. -
Step 4
Simmer and develop flavor: Add the remaining 1/2 tbsp Pav bhaji masala and salt to taste. Stir well. Add 1/4 to 1/2 cup water if too thick. Bring to a gentle simmer, cover partially, and cook on low heat for 10-15 minutes, stirring occasionally. -
Step 5
Finish and serve: Stir in the remaining 1 tbsp butter and chopped cilantro. Taste and adjust seasoning. Slit pav rolls horizontally. Heat a griddle with butter and toast the pavs cut-side down until golden brown. Serve hot bhaji with toasted pav, garnished with cilantro, extra butter, chopped onions, and lemon wedges.
Important Information
Nutrition Facts (Per Serving)
It is important to consider this information as approximate and not to use it as definitive health advice.
Allergy Information
Please check ingredients for potential allergens and consult a health professional if in doubt.