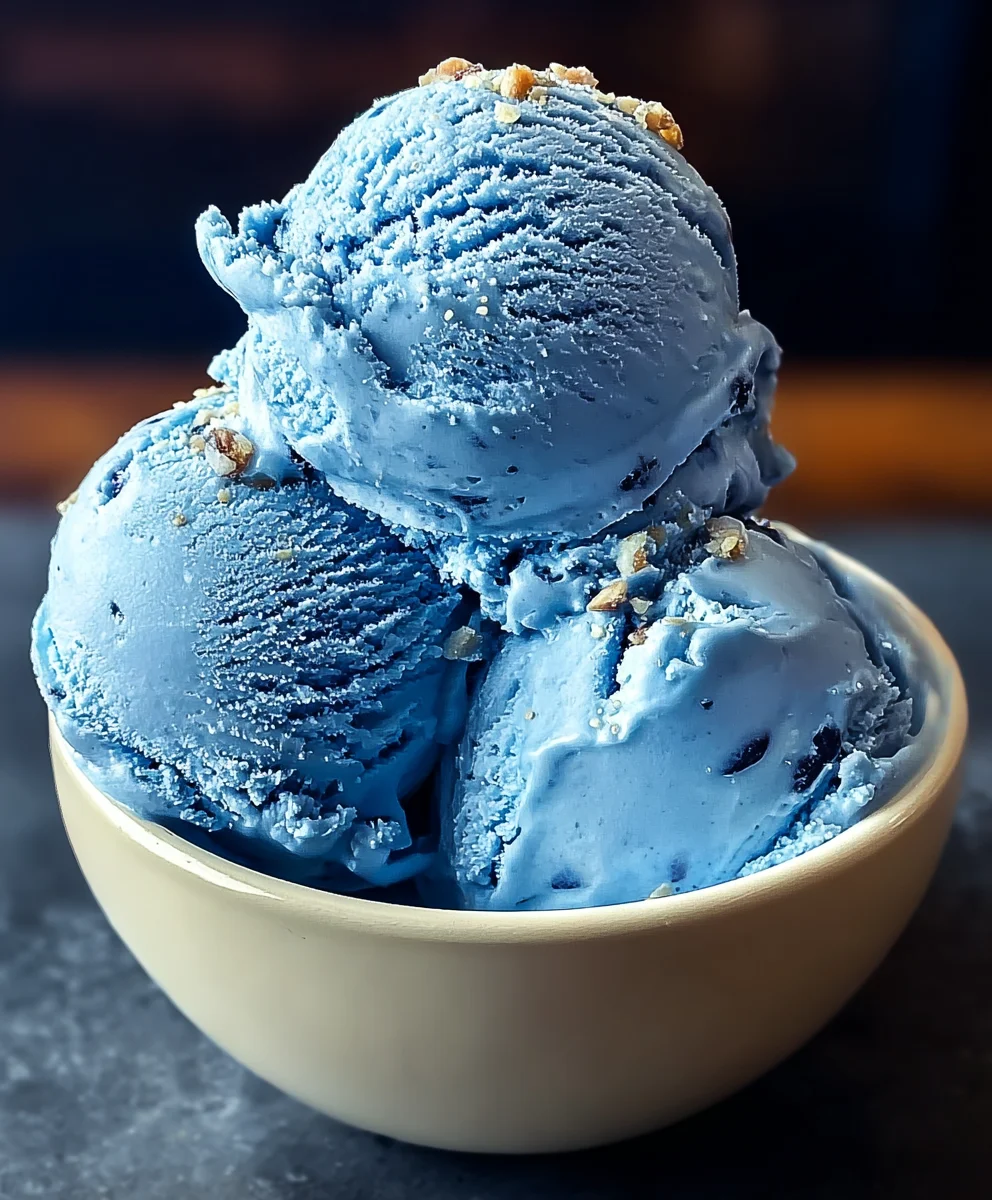
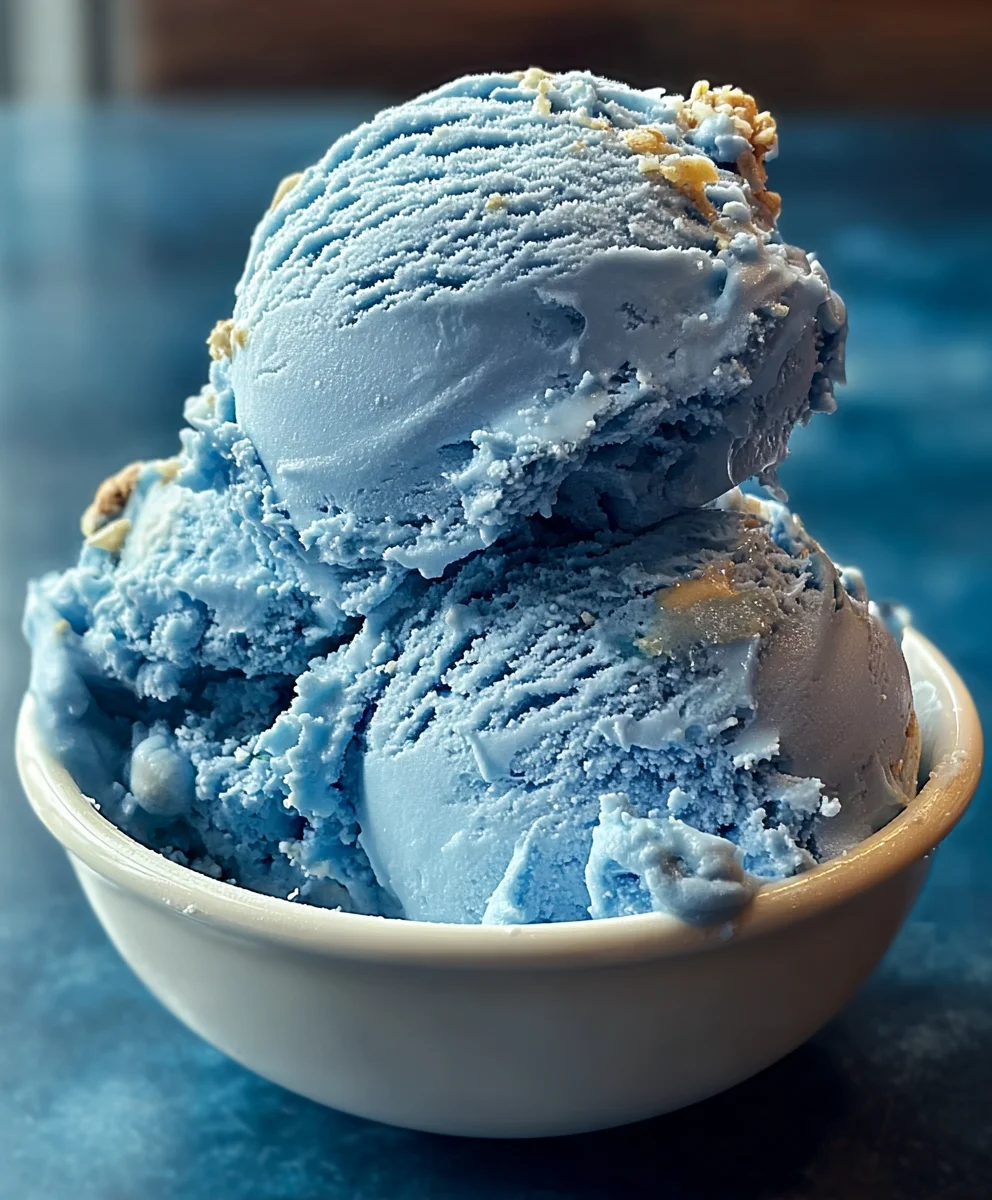
Blue Moon Ice Cream- Dreamy Nostalgia Treat
Blue Moon Ice Cream is more than just a dessert; it’s a vibrant burst of nostalgia and a truly unique sensory experience that has captured hearts and taste buds for generations. Have you ever wondered about that striking, electric blue hue and its subtly sweet, almond-forward flavor? It’s a flavor profile unlike any other, often described as a delightful blend of marshmallow, almond extract, and a hint of vanilla, sometimes with a whisper of citrus. What makes Blue Moon Ice Cream so special is its unapologetic boldness. It dares to be different, standing out in a sea of classic chocolate and vanilla with its eye-catching color and distinctive taste. This isn’t just about satisfying a sweet craving; it’s about revisiting childhood memories, sharing a quirky treat with friends, or simply indulgin extractg in something joyfully unexpected. Get ready to dive into the magic of this iconic frozen delight!
Ingredients:
- 2 cups heavy cream
- 1 cup whole milk
- 3/4 cup granulated sugar
- 1 teaspoon vanilla extract
- 1 teaspoon almond extract
- Blue food coloring, as needed
- 1/4 cup maraschino cherries, chopped (optional)
Preparing the Blue Moon Ice Cream Base
Step 1: Combine Wet Ingredients and Sugar
The first crucial step in creating our vibrant Blue Moon Ice Cream is to establish a smooth, well-emulsified base. In a medium-sized bowl, I like to combine the whole milk and granulated sugar. Whisk these together thoroughly until the sugar is almost completely dissolved. This initial whisking helps prevent the sugar from clumping later on. Don’t worry if a few tiny sugar crystals remain; they will fully dissolve during the heating process. Once the milk and sugar are well combined, pour in the heavy cream. The heavy cream is what will give our ice cream its rich, decadent texture and body. Whisk everything gently to ensure it’s all incorporated without incorporating too much air at this stage. We want a smooth, uniform liquid mixture.
Step 2: Infuse with Flavor Extracts
Now it’s time to introduce the signature flavors that make Blue Moon Ice Cream so unique. Add the vanilla extract and the almond extract to the milk and cream mixture. Vanilla extract provides a familiar warmth and sweetness that is a cornerstone of most ice cream recipes. The almond extract, however, is where the magic of Blue Moon truly begin extracts to unfold. It adds a subtle, nutty, and slightly floral note that sets it apart from a standard vanilla ice cream. Stir these extracts in gently but thoroughly. A good distribution of these extracts will ensure that every spoonful of your finished ice cream is bursting with flavor.
Chilling and Coloring the Base
Step 3: Chill the Ice Cream Base
Before we can even think about churning, it’s essential to chill our base mixture thoroughly. Transfer the combined wet ingredients and extracts into a clean bowl or container. Cover it tightly with plastic wrap, pressing the wrap directly onto the surface of the liquid to prevent a skin from forming. Place this covered container in the refrigerator for at least 4 hours, or preferably overnight. This chilling period is absolutely vital. It allows the flavors to meld and deepen, and more importantly, it ensures the base is cold enough for the ice cream maker to do its job effectively. A properly chilled base churns faster, leading to smaller ice crystals and a creamier texture. Skipping or shortening this step will result in a coarser, icier ice cream, which is something we definitely want to avoid for the best Blue Moon experience.
Step 4: Achieve the Perfect Blue Hue
Once our ice cream base has had ample time to chill and the flavors have married beautifully, we can move on to the fun part: coloring! Take your chilled base out of the refrigerator. Now, it’s time to add the blue food coloring. Start with just a few drops of blue food coloring. Stir it in thoroughly. You’ll notice the color will lighten slightly once it’s churned with air. Gradually add more drops, stirring well after each addition, until you achieve your desired shade of blue. Remember that Blue Moon Ice Cream is known for its distinctive, almost ethereal blue hue, so don’t be afraid to be a little generous, but also take your time to get it just right. Stirring vigorously will help distribute the color evenly throughout the base, ensuring a consistent color in your final ice cream.
Churning and Finishing Touches
Step 5: Churn the Ice Cream and Add Mix-ins
With our vibrant blue base ready and perfectly chilled, we’re now ready to churn our Blue Moon Ice Cream. Follow the specific instructions for your ice cream maker. Typically, this involves pouring the chilled, colored base into the pre-frozen bowl of your ice cream maker and letting it churn until it reaches a soft-serve consistency. This usually takes about 20 to 30 minutes, depending on your machine. During the last 5 minutes of churning, it’s time to add our optional but highly recommended maraschino cherries. Make sure they are finely chopped so they distribute evenly and don’t overwhelm the texture. Gently fold them into the churning ice cream. The maraschino cherries add little bursts of sweetness and a delightful chewy texture that complements the creamy blue ice cream wonderfully, adding visual appeal and another layer of flavor complexity.
Step 6: Harden the Ice Cream
Once the ice cream has reached your desired consistency and the cherries have been incorporated, transfer the soft ice cream into a freezer-safe container. For the creamiest results, press a piece of parchment paper or plastic wrap directly onto the surface of the ice cream before sealing the container. This helps prevent ice crystals from forming on the top. Place the container in the freezer for at least 4 to 6 hours, or until it is completely firm and scoopable. This hardening process is crucial for achieving that classic ice cream texture. Patience here will be richly rewarded with a perfectly firm, scoopable, and utterly delicious Blue Moon Ice Cream that’s ready to be enjoyed.
Conclusion:
There you have it – the complete guide to creating your own delightful Blue Moon Ice Cream! We’ve explored the simple steps to achieve that signature vibrant blue hue and its unique, subtly fruity, and almond-like flavor. This homemade treat is perfect for a special occasion or just a delightful way to cool down on a warm day. Don’t be afraid to get creative with the toppings; fresh berries, a drizzle of chocolate sauce, or even a sprinkle of chopped nuts can elevate your Blue Moon Ice Cream experience.
I encourage you to give this recipe a try. It’s truly rewarding to make your own ice cream from scratch, and the delicious results are well worth the effort. So gather your ingredients, fire up your ice cream maker, and get ready to enjoy a scoop (or two!) of this wonderfully nostalgic and utterly delicious Blue Moon Ice Cream.
Frequently Asked Questions:
What makes Blue Moon Ice Cream blue?
The distinctive blue color traditionally comes from food coloring. Some recipes also incorporate ingredients that naturally lend a blueish tint, though artificial coloring is the most common and effective method for achieving that iconic vibrant shade.
Can I make Blue Moon Ice Cream without an ice cream maker?
Yes, you can! While an ice cream maker provides the smoothest texture, you can achieve a delicious result by using the “no-churn” method. This typically involves whipping heavy cream and condensed milk together, then folding in the flavoring and coloring before freezing. You’ll want to stir it occasionally during the freezing process to break up ice crystals.
What are some good serving suggestions for Blue Moon Ice Cream?
Blue Moon Ice Cream is fantastic on its own, but it also pairs wonderfully with a variety of desserts. Consider serving it alongside a classic vanilla cake, warm brownies, or even in a milkshake for an extra decadent treat. Fresh fruit, like raspberries or blueberries, also complements its unique flavor profile.
Blue Moon Ice Cream- Dreamy Nostalgia Treat
A vibrant and nostalgic homemade ice cream with a unique almond and vanilla flavor, and a signature blue hue.
Ingredients
-
2 cups heavy cream
-
1 cup whole milk
-
3/4 cup granulated sugar
-
1 teaspoon vanilla extract
-
1 teaspoon almond extract
-
Blue food coloring, as needed
-
1/4 cup maraschino cherries, chopped (optional)
Instructions
-
Step 1
In a medium-sized bowl, combine the whole milk and granulated sugar. Whisk until the sugar is almost completely dissolved. Pour in the heavy cream and whisk gently to combine into a smooth liquid mixture. -
Step 2
Add the vanilla extract and almond extract to the milk and cream mixture. Stir gently but thoroughly to ensure even distribution of flavors. -
Step 3
Transfer the base to a clean container, cover tightly with plastic wrap directly on the surface, and refrigerate for at least 4 hours, or preferably overnight, to chill thoroughly and allow flavors to meld. -
Step 4
Once chilled, add blue food coloring a few drops at a time, stirring well after each addition, until your desired vibrant blue hue is achieved. Stir vigorously for even color distribution. -
Step 5
Churn the chilled, colored base in your ice cream maker according to the manufacturer’s instructions until it reaches a soft-serve consistency, typically 20-30 minutes. During the last 5 minutes of churning, gently fold in the optional chopped maraschino cherries. -
Step 6
Transfer the churned ice cream to a freezer-safe container. Press parchment paper or plastic wrap directly onto the surface before sealing to prevent ice crystals. Freeze for at least 4 to 6 hours, or until firm and scoopable.
Important Information
Nutrition Facts (Per Serving)
It is important to consider this information as approximate and not to use it as definitive health advice.
Allergy Information
Please check ingredients for potential allergens and consult a health professional if in doubt.