Easy No-Knead Focaccia Bread Recipe
No-knead focaccia bread is the culinary equivnon-alcoholic alent of a comforting hug, a testament to the magic that happens when simple ingredients are allowed to work their own slow, beautiful magic. If you’ve ever dreamt of pulling a golden, airy loaf of focaccia from your oven, kissed with olive oil and fragrant herbs, but felt intimidated by the kneading process, then this recipe is your answer. People absolutely adore this rustic bread for its incredibly forgiving nature and the utterly satisfying result – a crust that crackles with a delightful chegrape juicess and an interior so tender it practically melts in your mouth. What truly sets this no-knead focaccia bread apart is its effortless preparation. No strenuous dough workouts required! We’re harnessing the power of time and hydration to create a perfectly textured crum extractb, proving that you don’t need to be a seasoned baker to achieve bakery-quality results. Get ready to impress yourself and your loved ones with this foolproof method for a truly exceptional loaf.
Why You’ll Love This Recipe:
Effortless Technique
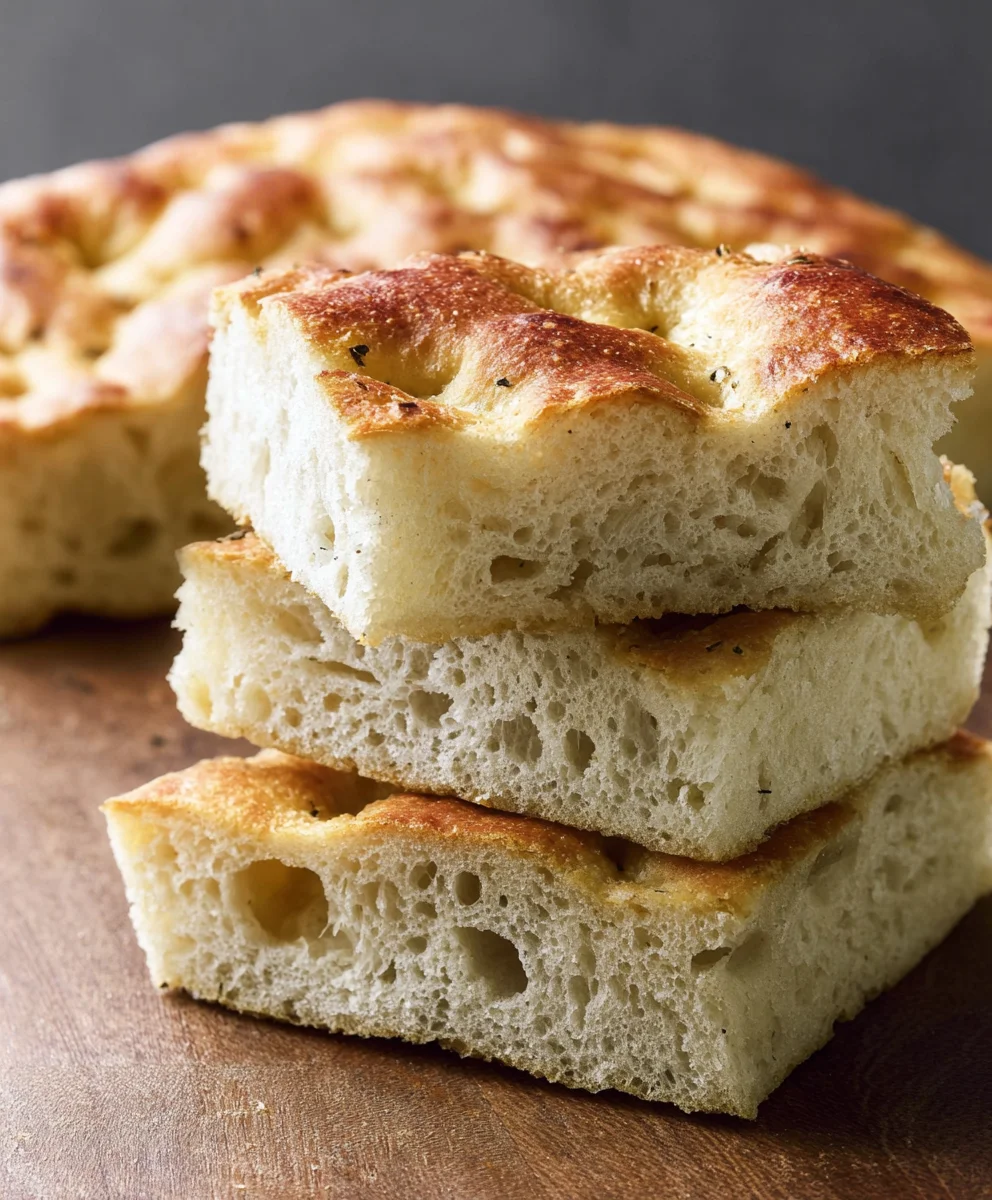
Incredible Texture
Versatile
Ingredients:
- 4¾ cups all-purpose flour (about 630 grams)
- 4½ tablespoons olive oil, plus more for greasing and drizzling
- 2 teaspoons salt (about 12 grams)
- 1½ tablespoons instant dry yeast (about 13 grams)
- 2⅓ cups warm water (between 100–110°F; about 529 grams)
- Coarse salt, for sprinkling (optional)
- Dried rosemary, for sprinkling (optional)
Preparing Your Dough
Mixing the No-Knead Focaccia Dough
This no-knead focaccia bread recipe is incredibly straightforward, making it perfect for begin extractners and busy bakers alike. The magic lies in letting time and hydration do the work forgin extractu. Begin by gathering all your ingredients. In a large mixing bowl – one that’s at least 2-quart capacity to comfortably accommodate the rising dough – add the all-purpose flour, regular salt, and instant dry yeast. Give these dry ingredients a quick whisk together to ensure the yeast is evenly distributed throughout the flour. This prevents concentrated pockets of yeast, which could lead to uneven fermentation. Next, pour in the warm water. The warmth is crucial; it activates the yeast, kickstarting the fermentation process. Water that is too hot will kill the yeast, while water that is too cool won’t awaken it sufficiently. Aim for that sweet spot between 100–110°F (38–43°C). Finally, drizzle in the 4½ tablespoons of olive oil. This oil contributes to the dough’s tender crum extractb and adds a subtle richness. Now, using a sturdy spoon or a rubber spatula, mix everything together until just combined. You’re not looking for a smooth, elastic dough here. Instead, it will be very shaggy, wet, and sticky. This high hydration is what allows the dough to develop gluten structure on its own with minimal handling. Resist the urge to add more flour, even if it seems alarmingly wet. The dough will transform significantly over the next few hours.
First Rise: Developing Flavor and Structure
Once you’ve achieved that shaggy mass, cover the bowl tightly with plastic wrap or a damp kitchen towel. Place the bowl in a warm spot in your kitchen. This could be on top of a slightly warm (but not hot!) appliance, in an oven that has been briefly warmed and then turned off, or simply on your countertop if your kitchen is consistently warm. Let the dough rise for at least 2 hours, or even up to 3 hours. During this time, the yeast will be busy producing carbon dioxide gas, causing the dough to double or even triple in volume. You’ll see bubbles forming on the surface, indicating active fermentation. This slow, uninhibited rise is where much of the flavor in no-knead bread develops. Don’t peek too often; let the dough do its thing undisturbed. The dough will appear airy and full of bubbles.
Shaping and Second Rise
Preparing Your Baking Vessel
While your dough is on its first rise, prepare your baking pan. A 9×13 inch baking pan is ideal for this recipe. Generously coat the bottom and sides of the pan with olive oil. Don’t be shy with the oil; it’s essential for creating that signature crispy, golden-brown bottom crust that focaccia is known for. Aim for about 2 tablespoons of olive oil to coat the pan thoroughly. This will also prevent the dough from sticking and make it easier to remove the finished bread.
Folding and Second Proofing
After the initial rise, the dough will be significantly larger and visibly bubbly. You’ll want to gently transfer this sticky mass into your prepared oiled baking pan. Don’t punch it down or try to shape it aggressively. Simply use your oiled hands or a wet spatula to coax it into the pan. If it doesn’t spread to fill the entire pan, that’s perfectly fine. Cover the pan loosely with plastic wrap or a clean kitchen towel and let it rest for another 30 to 60 minutes. This second, shorter rise allows the dough to relax and spread further into the corners of the pan. It also continues to build a lightrum extractiry crumb.
Baking Your Focaccia
Dimpling and Toppings
Preheat your oven to 425°F (220°C). Once the dough has finished its second rise and has filled the pan considerably, it’s time for the iconic focaccia dimpling. Lightly oil your fingertips and gently press them into the dough, creating deep dimples all over the surface. These dimples are not just for aesthetics; they help the bread bake evenly and create lovely pockets for olive oil and toppings. Now is also the time to add your optional toppings. Drizzle the surface generously with more olive oil. You can use a total of 2-3 tablespoons of olive oil for this step. Sprinkle evenly with coarse salt, if desired. The coarse salt provides a wonderful crunch and salty counterpoint to the rich bread. For an herbaceous touch, sprinkle dried rosemary over the top. Gently press the rosemary into the dough so it doesn’t burn too much during baking.
Baking to Golden Perfection
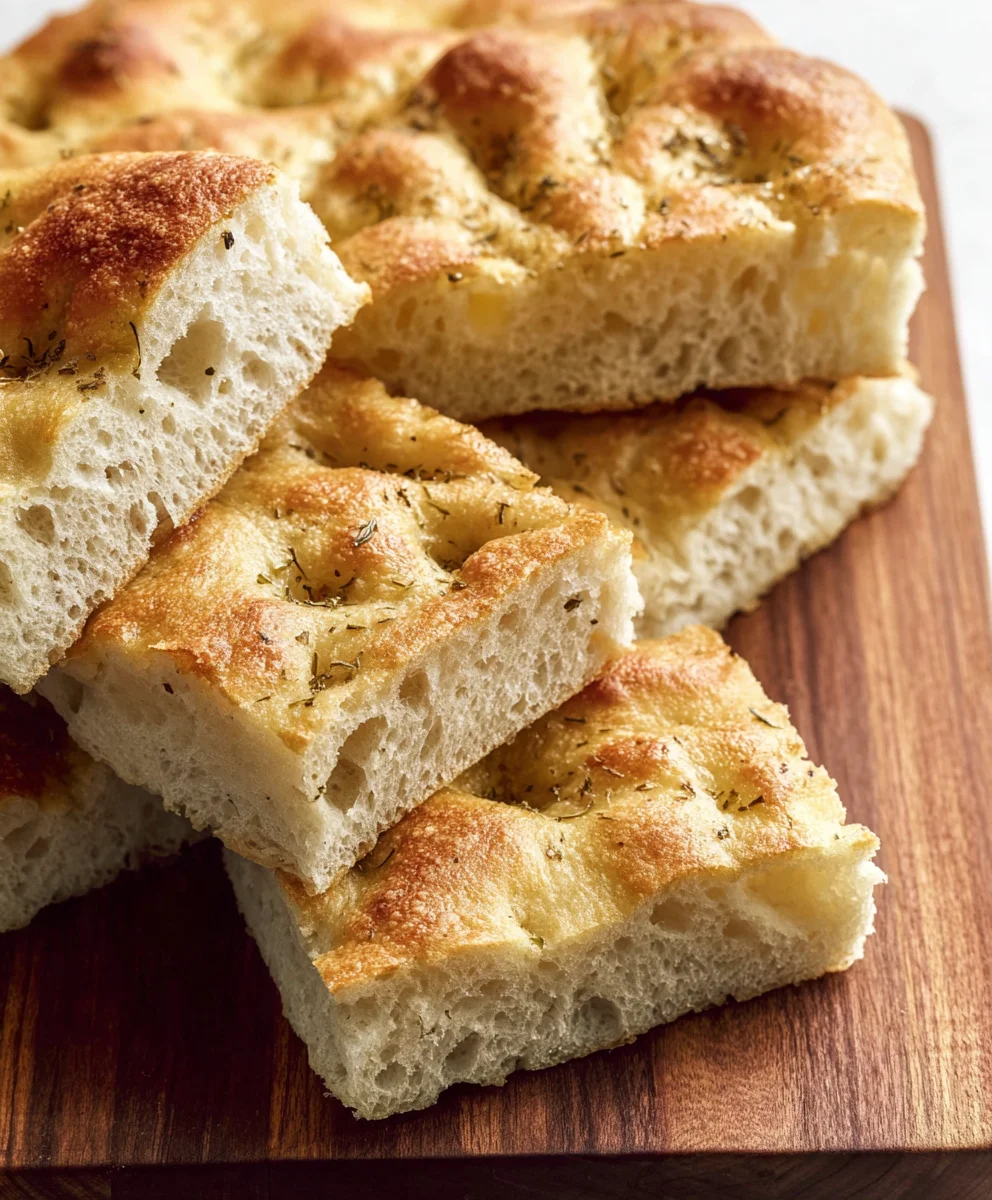
Carefully place the pan into the preheated oven. Bake for 20 to 30 minutes, or until the focaccia is a deep golden brown on top and the bottom is also beautifully golden and crisp. The exact baking time will depend on your oven. Keep an eye on it, especially towards the end of the baking time, to prevent burning. The aroma that fills your kitchen will be irresistible! Once baked, carefully remove the focaccia from the oven. Let it cool in the pan for about 5 to 10 minutes before attempting to transfer it to a wire rack to cool further. This brief cooling period allows the crust to set. For the best flavor and texture, it’s ideal to let it cool for at least 20-30 minutes before slicing and serving, but it’s also delicious served warm.
Conclusion:
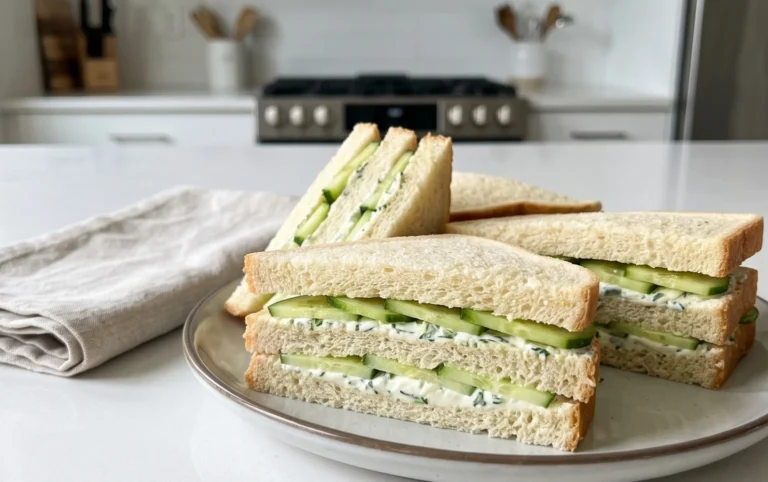
And there you have it – your guide to creating the most delightful No-Knead Focaccia Bread! We’ve walked through each simple step, from the initial dough preparation to achieving that perfect crispy crust and airy interior. This recipe truly proves that gourmet bread is accessible to everyone, even those new to baking. The beauty of this No-Knead Focaccia Bread lies in its versatility. Serve it warm as a side to your favorite Italian dishes, use it as the base for delicious sandwiches, or simply enjoy it with a drizzle of olive oil and a sprinkle of sea salt. Don’t be afraid to experiment with toppings like rosemary, cherry tomatoes, olives, or even a sprinkle of Parmesan cheese. The possibilities are endless!
We hope you feel inspired and empowered to try this wonderful recipe. The aroma of freshly baked focaccia filling your home is an experience like no other, and the taste is simply divine. Happy baking!
Frequently Asked Questions:
Can I make No-Knead Focaccia Bread ahead of time?
Yes, you can prepare the dough a day in advance. After the initial rise, you can cover the bowl tightly and refrigerate it for up to 24 hours. This cold fermentation can actually enhance the flavor of your No-Knead Focaccia Bread. Let it come to room temperature for about an hour before proceeding with the final proofing and baking.
What if my No-Knead Focaccia Bread doesn’t rise very well?
Several factors can affect the rise. Ensure your yeast is fresh and active. Check the temperature of your water – it should be lukewarm, not too hot or too cold. Also, make sure you’re allowing sufficient time for proofing in a warm environment. Drafts can hinder the rising process. If you’re still struggling, a slightly longer rise time at room temperature might do the trick.
Can I use different flours for this No-Knead Focaccia Bread?
While all-purpose flour works perfectly, you can experiment with a small percentage of whole wheat flour (around 10-20%) for added flavor and nutrition. However, be mindful that whole wheat flour can absorb more liquid, so you might need to adjust the water slightly. For the best and most consistent results, especially when starting out, stick with all-purpose flour for your No-Knead Focaccia Bread.
Easy No-Knead Focaccia Bread Recipe
A straightforward and delicious no-knead focaccia bread recipe perfect for beginners, featuring a tender crumb and crispy crust.
Ingredients
-
4¾ cups all-purpose flour (630 grams)
-
4½ tablespoons olive oil (59 grams), plus more for greasing and drizzling
-
2 teaspoons salt (12 grams)
-
1½ tablespoons instant dry yeast (13 grams)
-
2⅓ cups warm water (100–110°F; 529 grams)
-
Coarse salt, for sprinkling (optional)
-
Dried rosemary, for sprinkling (optional)
Instructions
-
Step 1
In a large mixing bowl, whisk together all-purpose flour, salt, and instant dry yeast. Pour in warm water and olive oil. Mix with a spoon or spatula until just combined into a shaggy, wet, and sticky dough. -
Step 2
Cover the bowl tightly and let the dough rise in a warm place for at least 2-3 hours, or until doubled/tripled in volume and bubbly. -
Step 3
Generously grease a 9×13 inch baking pan with about 2 tablespoons of olive oil. -
Step 4
Gently transfer the risen dough into the oiled pan, coaxing it to fill the space. Cover loosely and let rest for another 30-60 minutes. -
Step 5
Preheat oven to 425°F (220°C). Lightly oil your fingertips and dimple the dough all over. Drizzle with 2-3 tablespoons of olive oil, and sprinkle with coarse salt and dried rosemary, if desired. -
Step 6
Bake for 20-30 minutes, until deep golden brown on top and crisp on the bottom. Cool in the pan for 5-10 minutes, then transfer to a wire rack to cool further before slicing.
Important Information
Nutrition Facts (Per Serving)
It is important to consider this information as approximate and not to use it as definitive health advice.
Allergy Information
Please check ingredients for potential allergens and consult a health professional if in doubt.