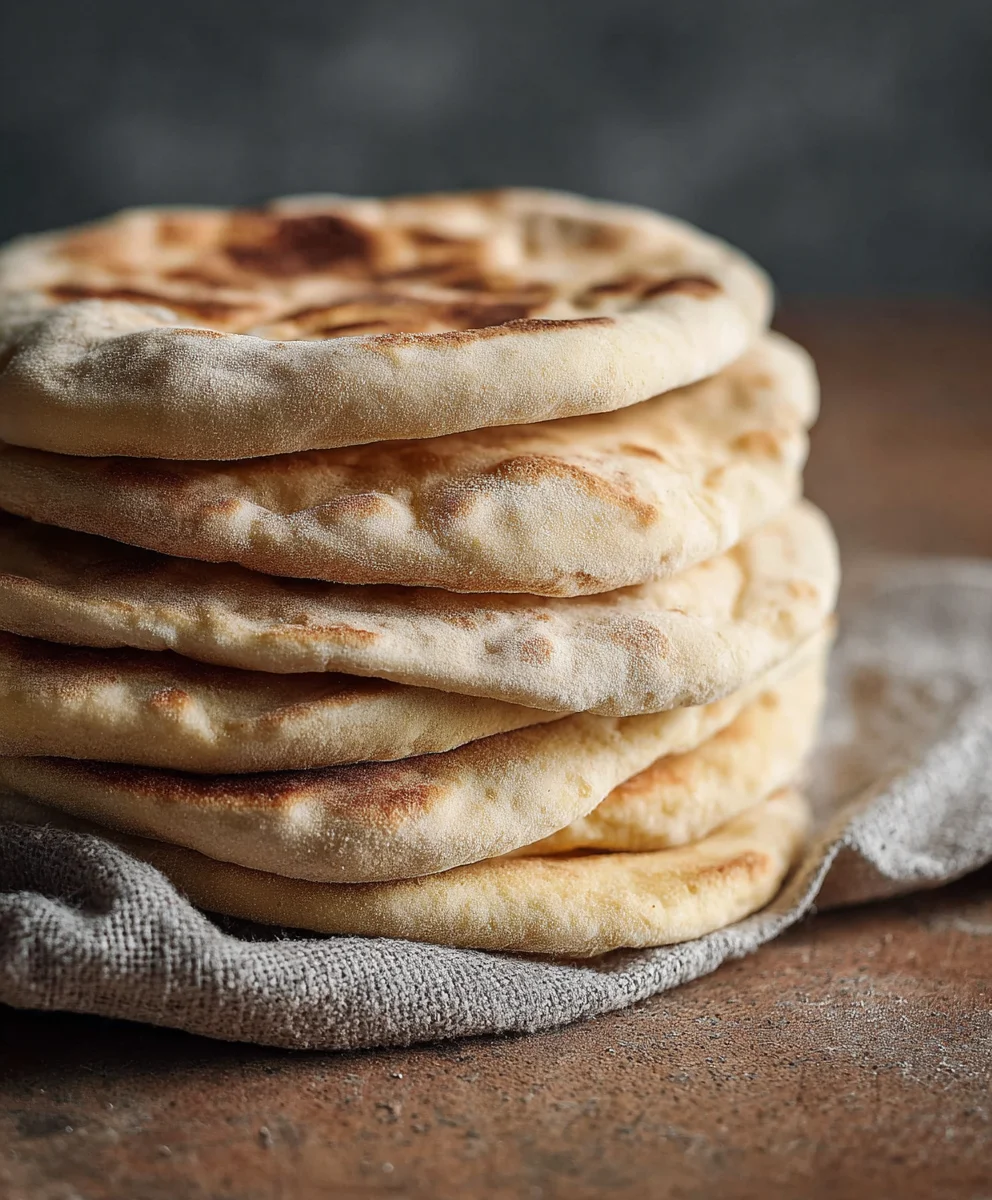
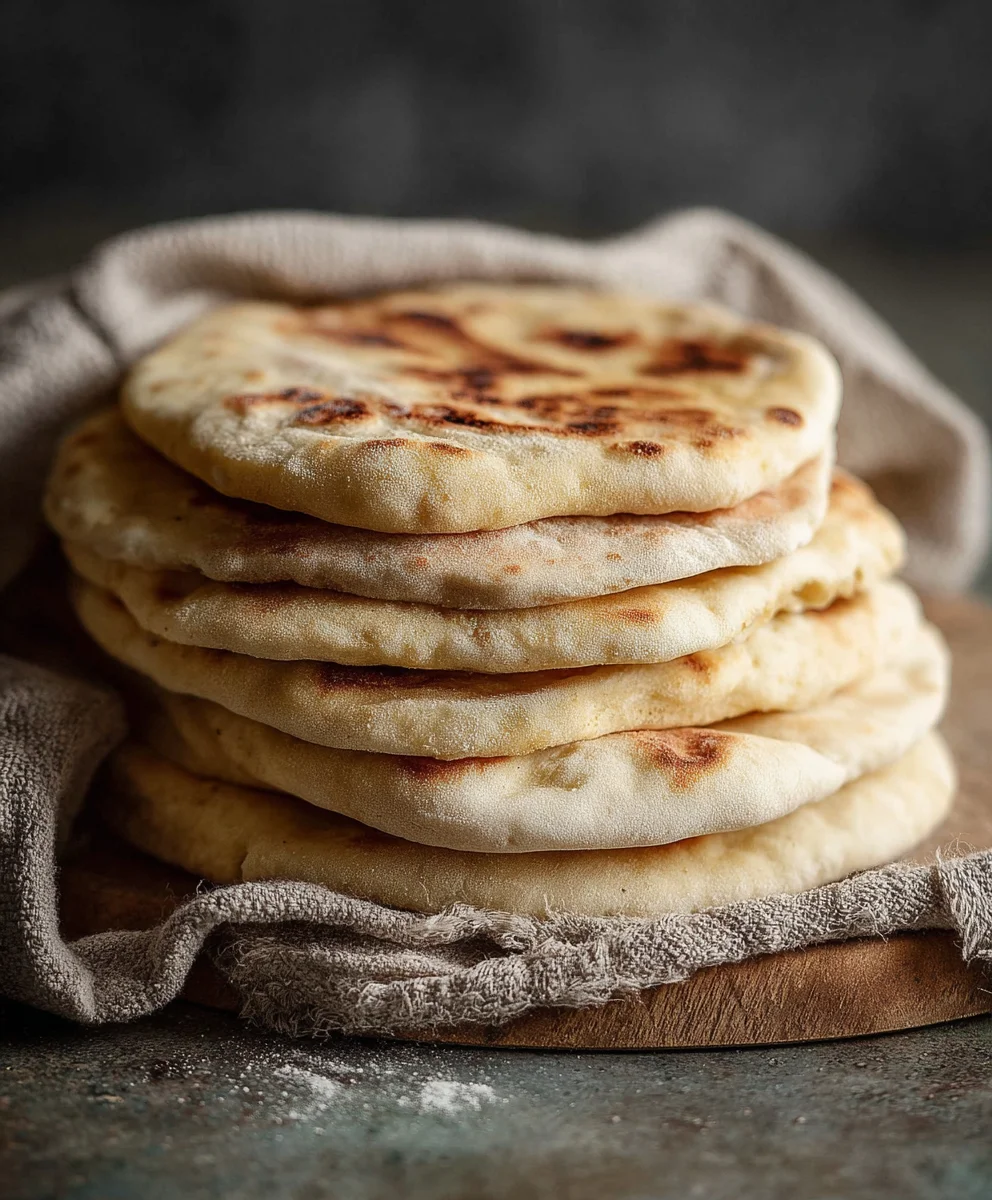
Easy Homemade Pita Bread-Soft & Fluffy Flatbread
Easy Homemade Pita Bread Recipe. There’s something undeniably satisfying about pulling a warm, fluffy pita bread straight from your own oven. Forget those store-bought versions that often feel like cardboard; this Easy Homemade Pita Bread Recipe is a game-changer. The magic lies in its simplicity and the incredible aroma that fills your kitchen as it bakes. People adore pita for its versatility – it’s the perfect edible pocket for your favorite fillings, a delicious vehicle for scooping up hummus, or simply enjoyed warm with a drizzle of olive oil. What truly sets this Easy Homemade Pita Bread Recipe apart is how achievable it is for even novice bakers. We’ll guide you through each step, ensuring you get that signature puff and delightfully chewy texture every single time. Get ready to impress yourself and your loved ones with this remarkably simple yet utterly delicious homemade staple.
Ingredients:
- 1 cup (8 oz.) lukewarm water (about 105–110°F)
- 1 tablespoon granulated sugar
- 2 1/4 teaspoons active dry yeast (this is equivnon-alcoholic alent to one standard packet)
- Approximately 3 cups all-purpose flour, plus more for dusting
- 1 tablespoon extra virgin extract olive oil, plus more for greasing
- 1 3/4 teaspoons salt
Preparing the Dough
Step 1: Activate the Yeast
First, let’s get our yeast ready to work its magic. In a large mixing bowl, combine the lukewarm water and the granulated sugar. Give it a gentle stir to help dissolve the sugar. Now, sprinkle the active dry yeast over the surface of the water and sugar mixture. Don’t stir it in vigorously just yet. Let it sit undisturbed for about 5 to 10 minutes. You should start to see a foamy, bubbly layer form on the surface. This “blooming” process indicates that your yeast is alive and active, which is crucial for the bread to rise. If you don’t see any foam after 10 minutes, your yeast might be old or the water wasn’t the right temperature, and you’ll want to start over with fresh yeast.
Step 2: Combine Wet and Dry Ingredients
Once your yeast has bloomed, it’s time to add the other ingredients. Pour the tablespoon of egin extracta virgin olive oil into the yeast mixture. Then, add tgin extractsalt. Now, begin adding the all-purpose flour, about one cup at a time. Start by stirring with a spoon or a spatula until the dough starts to come together. As you add more flour, you’ll find that it becomes too stiff to stir easily. At this point, you can switch to using your hands to mix and incorporate the flour. You’re looking for a shaggy, slightly sticky dough. You might not need all 3 cups of flour, or you might need a little bit more, depending on the humidity in your kitchen and the absorption rate of your flour. The goal is a dough that’s soft but still has a little tackiness to it. Overworking the dough at this stage can lead to tough pita bread, so be gentle.
Step 3: Kneading the Dough
Now comes the kneading, which develops the gluten structure and gives our pita bread its characteristic chegrape juicess. Lightly flour a clean work surface. Turn the dough out onto the floured surface. Start kneading by pushing the dough away from you with the heels of your hands, then folding it back over itself. Rotate the dough and repeat the process. Continue kneading for about 8 to 10 minutes. The dough will gradually become smoother, more elastic, and less sticky. You’ll know it’s ready when you can poke it gently with a finger and the indentation springs back slowly. If the dough feels too sticky during kneading, you can add a tiny bit more flour, just a teaspoon at a time, but be careful not to add too much, as this will make your pita dry.
Step 4: First Rise (Proofing)
We need to let our dough rest and rise. Lightly grease a clean, large bowl with a little bit of olive oil. Place the kneaded dough into the greased bowl and turn it to coat all sides with oil. This prevents the dough from drying out as it rises. Cover the bowl tightly with plastic wrap or a clean kitchen towel. Find a warm, draft-free spot in your kitchen, such as a slightly warm oven (turned off, of course!) or near a sunny window. Let the dough rise for about 1 to 1.5 hours, or until it has doubled in size. The doubled size is the key indicator, not just the time. This slow, steady rise is essential for developing flavor and texture.
Step 5: Shaping and Second Rise
Once the dough has doubled in size, gently punch it down to release the air. Turn the dough out onto a lightly floured surface and divide it into 6 to 8 equal portions. You can use a bench scraper or a knife for this. Roll each portion into a smooth ball. Cover the dough balls with a clean kitchen towel and let them rest for another 15 to 20 minutes. This resting period, known as bench rest, allows the gluten to relax, making the dough easier to shape into the flat rounds we want for our pita bread. After the rest, take each ball and gently flatten it with your hands. Then, using a rolling pin, carefully roll each ball into a circle about 6 to 7 inches in diameter and about 1/4 inch thick. Try to keep the thickness uniform for even cooking. Place the rolled-out pitas on baking sheets lined with parchment paper, leaving a little space between them. Cover them again with the kitchen towel while you preheat your oven.
Baking the Pita Bread
Preheat your oven to 450°F (230°C). If you have a pizza stone or baking steel, place it in the oven while it preheats for an extra crispy bottom.
Carefully transfer the pita breads onto the preheated baking sheet or pizza stone. Bake for 3 to 5 minutes, or until the pita puffs up significantly and develops golden-brown spots. The puffing is the magic of pita bread – it creates the pocket! If one side seems to be browning too quickly, you can carefully flip it.
Once they are puffed and lightly browned, remove them from the oven. Immediately wrap them in a clean kitchen towel as they come out. This step is crucial for keeping them soft and pliable, preventing them from becoming hard and brittle as they cool. The steam trapped inside the towel will soften them beautifully. Enjoy your fresh, homemade pita bread!
Conclusion:
We’ve reached the end of our journey to crafting the perfect Easy Homemade Pita Bread Recipe! You’ve learned how simple it is to transform basic pantry staples into warm, fluffy, and delightfully pocketed pita bread right in your own kitchen. The aroma alone is a reward in itself, and the taste of fresh-baked pita is truly unparalleled. Don’t be intimidated by the process; the steps are straightforward and yield incredibly satisfying results every time.
These versatile beauties are fantastic served warm with your favorite hummus, baba ghanoush, or a hearty stew. They also make excellent wraps for falafel, grilled meats, or a simple veggie filling. For a delightful twist, try brushing the baked pita with a little garlic-infused olive oil and a sprinkle of za’atar before serving.
Remember, practice makes perfect! Don’t be discouraged if your first batch isn’t absolutely flawless; each attempt will bring you closer to pita perfection. Enjoy experimenting with this Easy Homemade Pita Bread Recipe and sharing the delicious fruits of your labor with loved ones.
Frequently Asked Questions:
Why didn’t my pita bread puff up?
Several factors can contribute to pita bread not puffing. Ensure your oven is preheated to a very high temperature (450-500°F or 230-260°C) as this sudden heat is crucial for the steam to create the pocket. Also, make sure your dough has proofed sufficiently and is rolled out evenly. Overworking the dough or using too much flour during rolling can also hinder puffing.
Can I freeze homemade pita bread?
Absolutely! Once completely cooled, you can freeze your Easy Homemade Pita Bread Recipe in an airtight container or freezer bag for up to 2-3 months. To reheat, simply thaw at room temperature and warm them briefly in a toaster, oven, or skillet.
Easy Homemade Pita Bread-Soft & Fluffy Flatbread
A simple recipe for soft and fluffy homemade pita bread, perfect for dipping or filling.
Ingredients
-
1 cup (8 oz.) lukewarm water (about 105–110°F)
-
1 tablespoon granulated sugar
-
2 1/4 teaspoons active dry yeast
-
3 cups all-purpose flour, plus more for dusting
-
1 tablespoon extra virgin olive oil, plus more for greasing
-
1 3/4 teaspoons salt
Instructions
-
Step 1
Activate the yeast: In a large mixing bowl, combine lukewarm water and sugar. Sprinkle yeast over the surface and let sit for 5-10 minutes until foamy. -
Step 2
Combine wet and dry ingredients: Pour olive oil and salt into the yeast mixture. Gradually add flour, stirring until a shaggy, slightly sticky dough forms. -
Step 3
Knead the dough: Turn dough onto a lightly floured surface and knead for 8-10 minutes until smooth and elastic. -
Step 4
First rise: Place dough in a lightly greased bowl, cover, and let rise in a warm place for 1-1.5 hours, or until doubled in size. -
Step 5
Shape and second rise: Punch down dough, divide into 6-8 portions, roll into balls, and let rest for 15-20 minutes. Flatten and roll each ball into a 6-7 inch circle, about 1/4 inch thick. -
Step 6
Bake the pita: Preheat oven to 450°F (230°C). Bake pitas for 3-5 minutes until puffed and golden-brown. Immediately wrap in a clean kitchen towel to keep soft.
Important Information
Nutrition Facts (Per Serving)
It is important to consider this information as approximate and not to use it as definitive health advice.
Allergy Information
Please check ingredients for potential allergens and consult a health professional if in doubt.