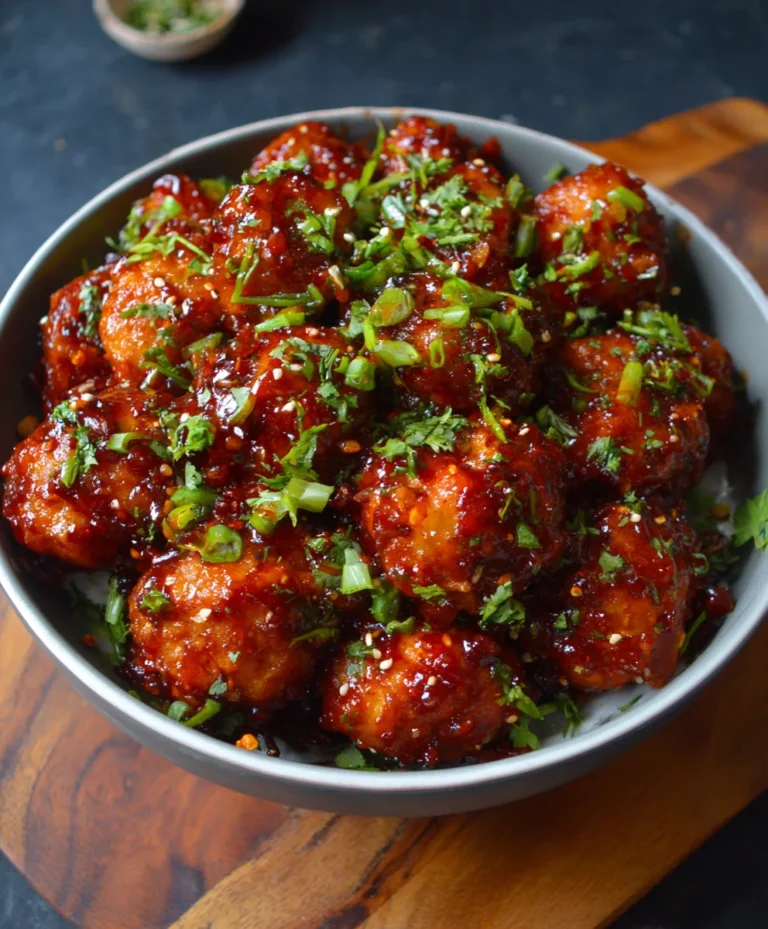
Shrimp and Chive Dumplings- Flavorful & Fresh Bite
Shrimp and Chive Dumplings are more than just a dish; they’re a miniature explosion of fresh, vibrant flavors and delightful textures, a culinary hug in every bite. There’s something incredibly satisfying about folding delicate dough around a succulent filling, isn’t there? It’s no wonder these little parcels have captured hearts and taste buds around the globe. What makes these particular Shrimp and Chive Dumplings so utterly irresistible? It’s the perfect harmony between the sweet, briny shrimp, the subtle oniony punch of fresh chives, and the whisper of gin extractger and garlic that all come together in a wonderfully chewy, tender wrapper. They offer a delightful complexity that’s both comforting and exciting, making them a guaranteed crowd-pleaser for any occasion, from casual weeknight dinners to elegant gatherings.
Why You’ll Adore These
The magic truly lies in the simplicity and the quality of the ingredients. We’re talking about plump, juicy shrimp, finely chopped to ensure every bite is packed with flavor, and the bright, herbaceous notes of chives that cut through the richness. This isn’t just another dumpling recipe; it’s an invitation to create something truly special in your own kitchen, a dish that feels both authentic and achievable. Prepare to impress yourself and your loved ones with these exquisite Shrimp and Chive Dumplings!
Ingredients:
- 12 oz shrimp (peeled, deveined, and finely chopped)
- 1 oz fresh chives (finely chopped)
- 1 tsp egg white
- ½ tsp tapioca starch
- ½ tsp chicken bouillon powder
- ¼ tsp salt
- ¼ tsp fish sauce
- ¼ tsp sesame oil
- 3 dashes white pepper powder
- ½ tsp granulated sugar
- 1 tsp neutral cooking oil (like vegetable or canola)
- Wonton skins (round or square, as preferred for wrapping)
- Cooking oil (sufficient for pan-frying, about 2-3 tablespoons)
- For the Dipping Sauce:
- 1½ tbsp soy sauce
- 1½ tbsp Chinese black vinegar
Preparing the Shrimp and Chive Filling
The foundation of delicious Shrimp and Chive Dumplings lies in a well-balanced and flavorful filling. We’ll start by bringin extractg together our star ingredients: the succulent shrimp and the aromatic chives. Make sure your shrimp are thoroughly peeled and deveined, then finely chopped. You don’t want large chunks, as this can make the dumplings difficult to form and cook evenly. Aim for a texture that’s still discernible but finely minced.
In a medium mixing bowl, combine the finely chopped shrimp with the finely chopped chives. The chives provide a fresh, oniony counterpoint to the sweetness of the shrimp. Next, we’ll add the binders and seasonings to ensure our filling holds together and bursts with flavor. Add the egg white to the bowl. The egg white acts as a binding agent, helping to hold the shrimp mixture together and creating a slightly chewy texture. Follow this with the tapioca starch. Tapioca starch is excellent for this purpose because it helps to create a tender and slightly gelatinous filling, preventing it from becoming dry or mushy.
Now for the flavor enhancers. Sprinkle in the chicken bouillon powder, which will add a savory depth to the filling without overpowering the delicate shrimp. Season with ¼ tsp salt for general seasoning, and ¼ tsp fish sauce for an umami boost that’s a staple in many Asian cuisines. A ¼ tsp of sesame oil will lend its characteristic nutty aroma and flavor. A few dashes of white pepper powder will add a subtle warmth, and ½ tsp of sugar will balance out the savory and salty notes, enhancing the natural sweetness of the shrimp. Finally, drizzle in 1 tsp of neutral cooking oil. This oil helps to keep the filling moist and tender during cooking.
Once all the ingredients are in the bowl, it’s time to mix. Using a fork or your hands, gently but thoroughly combine all the ingredients. You want to ensure everything is evenly distributed. Avoid overmixing, which can toughen the shrimp. A few minutes of mixing until just combined is perfect. Cover the bowl and let the filling rest in the refrigerator for at least 15-30 minutes. This resting period allows the flavors to meld and the tapioca starch to hydrate, creating a firmer filling that’s easier to work with.
Wrapping the Dumplings
With our flavorful filling prepped and chilled, we’re ready to assemble the dumplings. Gather your wonton skins. It’s helpful to have a small bowl of water nearby, as this will be our “glue” to seal the dumplings. Place a wonton skin on a clean, dry surface. Take about 1 to 1.5 teaspoons of the shrimp and chive filling and place it in the center of the wonton skin. Be careful not to overfill, as this can make it difficult to seal the dumpling properly and may cause it to burst during cooking.
Now, to seal. Lightly moisten the edges of the wonton skin with a little water. You can do this by dipping your finger in water and running it along the edges, or by using a small pastry brush. This moisture is crucial for creating a strong seal. There are many ways to fold wontons, but a simple half-moon shape is classic and effective. Fold the wonton skin in half, enclosing the filling, and press the edges firmly together to create a seal, pushing out any air pockets. You can also pleat the edges for a more decorative finish and an even more secure seal. Ensure there are no gaps where the filling can escape. As you finish each dumpling, place it on a plate or tray lightly dusted with flour or lined with parchment paper to prevent them from sticking. Work in batches to avoid the wonton skins drying out.
Pan-Frying the Dumplings
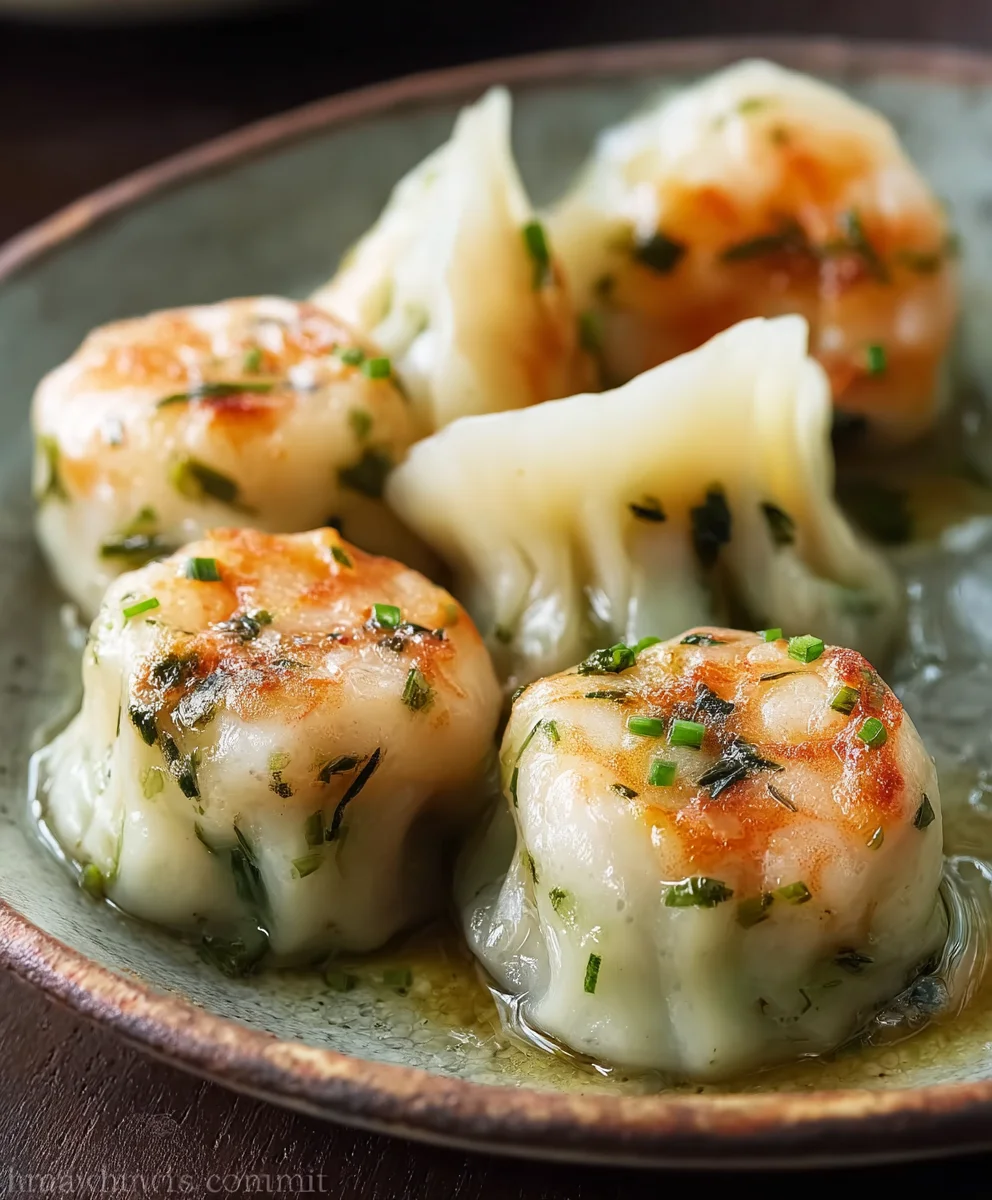
Pan-frying, also known as potsticker style, gives these dumplings a wonderfully crispy bottom and a tender, steamed top. Heat about 2-3 tablespoons of cooking oil in a non-stick skillet or a well-seasoned cast-iron pan over medium-high heat. Once the oil is shimmering and hot, carefully arrange the dumplings in a single layer in the pan, making sure not to overcrowd them. You might need to cook them in batches.
Allow the dumplings to cook undisturbed for about 2-3 minutes, or until the bottoms are golden brown and crispy. This initial browning is key to achieving that satisfying crunch. Once the bottoms are nicely seared, carefully pour about ½ cup of water into the hot skillet. The water will immediately steam, so be cautious and step back slightly. Cover the skillet tightly with a lid immediately after adding the water. This steaming process will cook the filling through and soften the wonton wrappers.
Let the dumplings steam for approximately 5-7 minutes, or until the water has evaporated and the wrappers are translucent and tender. You can peek by lifting the lid slightly. If there’s still water left, continue cooking uncovered for another minute or two. Once the water has completely evaporated, remove the lid and let the dumplings cook for an additional minute or two to ensure the bottoms are still crisp. The residual heat should dry out any remaining moisture on the pan.
Making the Dipping Sauce
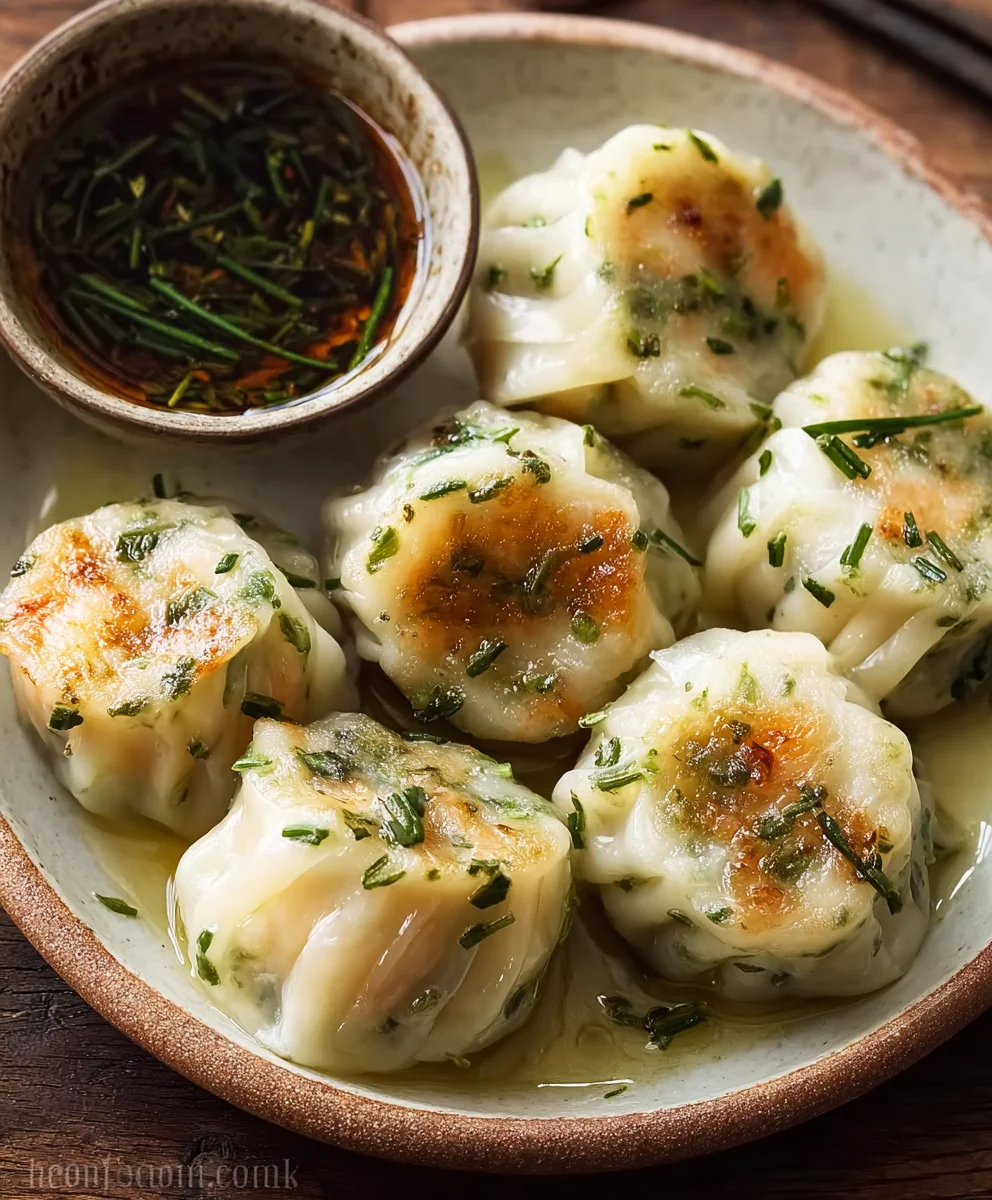
While the dumplings are steaming, it’s the perfect time to whip up a simple yet essential dipping sauce. In a small bowl, combine 1½ tablespoons of soy sauce and 1½ tablespoons of Chinese black vinegar. That’s it! The salty, savory soy sauce and the tangy, robust black vinegar create a classic and perfectly balanced sauce that complements the richness of the shrimp and chive dumplings beautifully. You can adjust the ratio to your personal preference if you like it more vinegary or more savory. Some people also like to add a tiny bit of chili oil or a minced garlic clove to their sauce, but for this classic preparation, soy sauce and black vinegar are all you need.
Serving Your Shrimp and Chive Dumplings
Once your Shrimp and Chive Dumplings are perfectly pan-fried to golden crispiness on the bottom and tender throughout, they are ready to be enjoyed. Carefully remove them from the skillet and arrange them on a serving platter, with the crispy side up if you like. Serve them immediately while they are hot and fresh. Provide small individual dipping bowls filled with the prepared soy sauce and black vinegar mixture for each person. The combination of the hot, crispy, savory dumplings and the tangy dipping sauce is a truly delightful culinary experience. Enjoy the burst of flavor from the shrimp and the subtle freshness of the chives with every bite!
Conclusion:
And there you have it – your very own batch of delicious Shrimp and Chive Dumplings! We hope you’ve enjoyed following along with this recipe and are excited to try it out in your kitchen. These little parcels of flavor are perfect for a variety of occasions, from a casual weeknight meal to a more elaborate gathering with friends and family. The fresh shrimp paired with the bright, pungent chives create a truly delightful taste sensation that is both comforting and exciting. Don’t be afraid to get creative with your presentation; arrangin extractg them artfully on a platter truly elevates the experience.
For serving suggestions, these Shrimp and Chive Dumplings are wonderful on their own, but they also shine when served with a variety of dipping sauces. A clasgin extract soy-ginger sauce is always a hit, but you could also try a spicy chili oil or a tangy black vinegar dip for a different flavor profile. Consider serving them alongside a light, crisp salad or some steamed bok choy to round out your meal.
When it comes to variations, feel free to experiment! If chives aren’t your favorite, try substituting them with finely chopped scallions or even some fresh cilantro for a different herbaceous note. You could also add a gin extractch of grated ginger or garlic to the filling for an extra layer of aromatic depth. For those who enjoy a bit of heat, a pinch of red pepper flakes in the filling or sauce would be a welcome addition.
We encourage you to embrace the process and have fun making these Shrimp and Chive Dumplings. The satisfaction of creating something so delicious from scratch is truly rewarding. So, gather your ingredients, roll up your sleeves, and get ready to impress yourself and your loved ones!
Frequently Asked Questions:
Can I make the dumpling wrappers from scratch?
Absolutely! While using store-bought wrappers is convenient, making your own from scratch is a rewarding experience. You’ll typically need all-purpose flour, warm water, and a pinch of salt. Knead the dough until smooth, then rest it before rolling out thin circles. It adds an extra touch of authenticity to your Shrimp and Chive Dumplings.
How can I store leftover cooked dumplings?
Once cooked, you can store any leftover Shrimp and Chive Dumplings in an airtight container in the refrigerator for up to 2-3 days. To reheat, you can pan-fry them for a crispy bottom, steam them to regain their tenderness, or even microwave them carefully. For longer storage, you can freeze the cooked dumplings; ensure they are completely cooled before freezing.
What is the best way to seal the dumplings to prevent them from opening during cooking?
A good seal is crucial for perfectly cooked dumplings! Ensure the edges of the wrapper are slightly damp with water before folding. Press firmly along the edges to create a tight seal. You can also experiment with decorative pleating along the edge for an extra secure and attractive closure. A well-senon-alcoholic aled Shrimp and Chive Dumpling will hold its delicious filling throughout the cooking process.
Shrimp and Chive Dumplings- Flavorful & Fresh Bite
Delicious and fresh shrimp and chive dumplings with a perfectly crispy pan-fried bottom and a tender, flavorful filling.
Ingredients
-
12 oz shrimp (peeled, deveined, and finely chopped)
-
1 oz fresh chives (finely chopped)
-
1 tsp egg white
-
½ tsp tapioca starch
-
½ tsp chicken bouillon powder
-
¼ tsp salt
-
¼ tsp fish sauce
-
¼ tsp sesame oil
-
3 dashes white pepper powder
-
½ tsp granulated sugar
-
1 tsp neutral cooking oil
-
Wonton skins (round or square, as preferred for wrapping)
-
Cooking oil (sufficient for pan-frying, about 2-3 tablespoons)
-
1½ tbsp soy sauce
-
1½ tbsp Chinese black vinegar
Instructions
-
Step 1
Combine finely chopped shrimp, finely chopped chives, egg white, tapioca starch, chicken bouillon powder, salt, fish sauce, sesame oil, white pepper powder, granulated sugar, and neutral cooking oil in a medium bowl. Mix gently until just combined. Cover and refrigerate for at least 15-30 minutes. -
Step 2
Place a wonton skin on a clean surface. Add 1 to 1.5 teaspoons of the filling to the center. Lightly moisten the edges of the wonton skin with water. Fold in half to create a half-moon shape, pressing firmly to seal and remove air pockets. Repeat with remaining skins and filling, placing finished dumplings on a lightly floured or parchment-lined plate. -
Step 3
Heat 2-3 tablespoons of cooking oil in a non-stick skillet over medium-high heat until shimmering. Arrange dumplings in a single layer, ensuring they do not overcrowd the pan. Cook for 2-3 minutes until the bottoms are golden brown and crispy. -
Step 4
Carefully pour about ½ cup of water into the skillet. Immediately cover tightly with a lid. Steam for 5-7 minutes, or until the water has evaporated and wrappers are translucent and tender. Continue cooking uncovered for an additional minute or two to ensure bottoms remain crisp. -
Step 5
While dumplings steam, prepare the dipping sauce by combining 1½ tablespoons soy sauce and 1½ tablespoons Chinese black vinegar in a small bowl. -
Step 6
Serve the hot and fresh dumplings immediately with the dipping sauce.
Important Information
Nutrition Facts (Per Serving)
It is important to consider this information as approximate and not to use it as definitive health advice.
Allergy Information
Please check ingredients for potential allergens and consult a health professional if in doubt.