Sweet Potato Tortillas-Gluten-Free Vegan Wraps
Sweet Potato Tortillas (Gluten-Free Vegan Wraps) are about to become your new best friend in the kitchen! Forget those bland, store-bought options that crum extractble at the slightest touch or leave you feeling sluggish. We’re talking about vibrant, naturally sweet, and wonderfully pliable wraps that are as healthy as they are delicious. Imagin extracte biting into a perfectly soft, slightly chewy tortilla, infused with the earthy sweetness of roasted sweet potatoes, that holds up to all your favorite fillings. These gluten-free vegan wraps are incredibly versatile, making them the ideal base for everything from breakfast burritos to hearty lunches and even quick dinners. What makes these sweet potato tortillas truly special is their inherent goodness – packed with vitamins and fiber from the star ingredient, and free from all the common allergens. Get ready to elevate your wrap game!
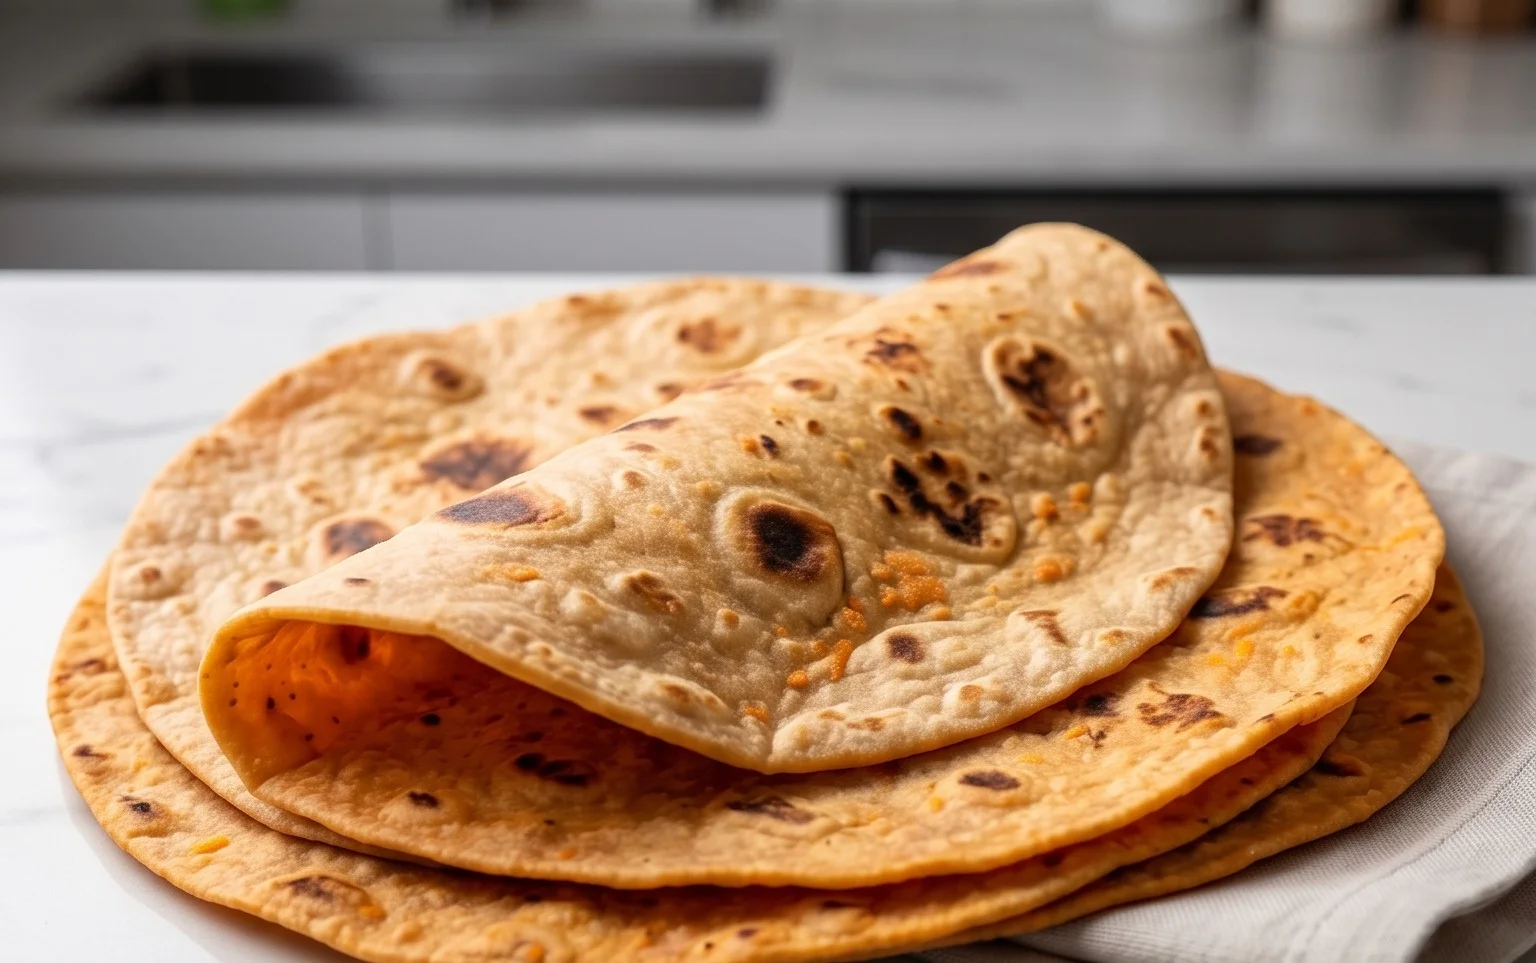
Sweet Potato Tortillas (Gluten-Free Vegan Wraps)
Looking for a wholesome, delicious, and versatile wrap that caters to gluten-free and vegan diets? Look no further! These sweet potato tortillas are a game-changer. They’re naturally vibrant, packed with nutrients, and incredibly satisfying. Forget those bland, dry store-bought alternatives. We’re talking about soft, pliable, and flavorful wraps that will elevate your meals from simple lunches to gourmet creations.
The beauty of these tortillas lies in their simplicity and the amazing star ingredient: sweet potato. It not only provides a beautiful color and a subtle sweetness but also contributes to a wonderfully tender texture. Combined with gluten-free flours and a touch of sourdough magic (optional but highly recommended for flavor and structure!), these wraps are truly special.
Whether you’re stuffing them with your favorite veggies, making a hearty breakfast burrito, or enjoying them as a side to a flavorful curry, these sweet potato tortillas will become a staple in your kitchen. They’re surprisingly easy to make, and the process itself is quite rewarding. So, let’s dive into the ingredients and get cooking!
Ingredients:
Cooking Instructions
Now for the fun part – transforming these ingredients into delicious tortillas!
Step 1: Prepare the Sweet Potato Base
Begin extract by ensuring your sweet potatoes are cooked and mashed until completely smooth and free of any lumps. It’s crucial that there’s no residual moisture. If you boiled them, drain them thoroughly and let them steam dry in the pot for a few minutes. You can also steam them, which often yields a drier result. Once cooled slightly, mash them very well with a fork or potato masher. You want a consistency similar to thick mashed potatoes. This smooth base is essential for creating pliable tortillas.
Step 2: Combine Wet and Dry Ingredients
In a large mixing bowl, add the mashed sweet potato. Then, add the vegan butter (or oil) and the 3/4 teaspoon of sea salt, black pepper, onion powder, and garlic powder. Mix these ingredients together thoroughly until the butter is fully incorporated into the sweet potato. Next, add your gluten-free sourdough starter. If you don’t have a sourdough starter, don’t worry! You can substitute it with 1/4 cup of plain unsweetened vegan yogurt and 1/4 cup of water, plus an extra pinch of salt. Mix this wet base until it’s well combined and looks like a vibrant orange, slightly lumpy mixture.
Step 3: Incorporate the Binders and Flour
Now it’s time to introduce the ingredients that will give our tortillas structure and flexibility. Add the 2 teaspoons of psyllium husk and 2 tablespoons of the arrowroot flour (or your chosen starchy flour) to the bowl. If you’re using the optional baking powder for extra puffiness, add it now. Mix everything together with a spoon or spatula. The mixture will start to thicken as the psyllium husk absorbs moisture.
Step 4: Form the Dough
Gradually add the remaining 1 to 2 tablespoons of hot water, one tablespoon at a time, while mixing. You’re looking for the dough to come together into a cohesive ball. The exact amount of water needed will depend on the moisture content of your sweet potato and the type of flour you’re using. You want a dough that is soft and slightly sticky, but not overly wet or dry. If it feels too dry, add another teaspoon of hot water. If it feels too sticky, add another teaspoon of arrowroot flour. Once the dough has formed, turn it out onto a lightly floured surface (use your arrowroot flour or a gluten-free flour blend) and knead it gently for about 1-2 minutes until it’s smooth and elastic. Don’t overwork it; just bring it together.
Step 5: Shape and Cook the Tortillas
Divide the dough into 6-8 equal portions, depending on how large you want your tortillas. Roll each portion into a ball. Now, here’s where we get those thin, flexible wraps. You can either use a tortilla press or roll them out with a rolling pin. If using a rolling pin, place a dough ball between two pieces of parchment paper. This prevents sticking and makes it easier to achieve a thin, even circle. Roll from the center outwards, applying even pressure, until you have a circle about 6-8 inches in diameter and about 1/8 inch thick.
Heat a dry non-stick skillet or griddle over medium heat. Carefully place one rolled-out tortilla onto the hot surface. Cook for about 1-2 minutes per side, or until it develops golden-brown spots and starts to puff up slightly. Don’t overcook them, as they can become brittle. As each tortilla finishes cooking, wrap it in a clean kitchen towel or place it in a tortilla warmer to keep them soft and pliable while you cook the rest. This steam helps maintain their flexibility. Repeat with the remaining dough balls.
Enjoy your beautiful, homemade sweet potato tortillas! They are best served warm, but they also store well in an airtight container in the refrigerator for a few days. You can gently reheat them in a dry skillet or microwave before serving.
Conclusion:
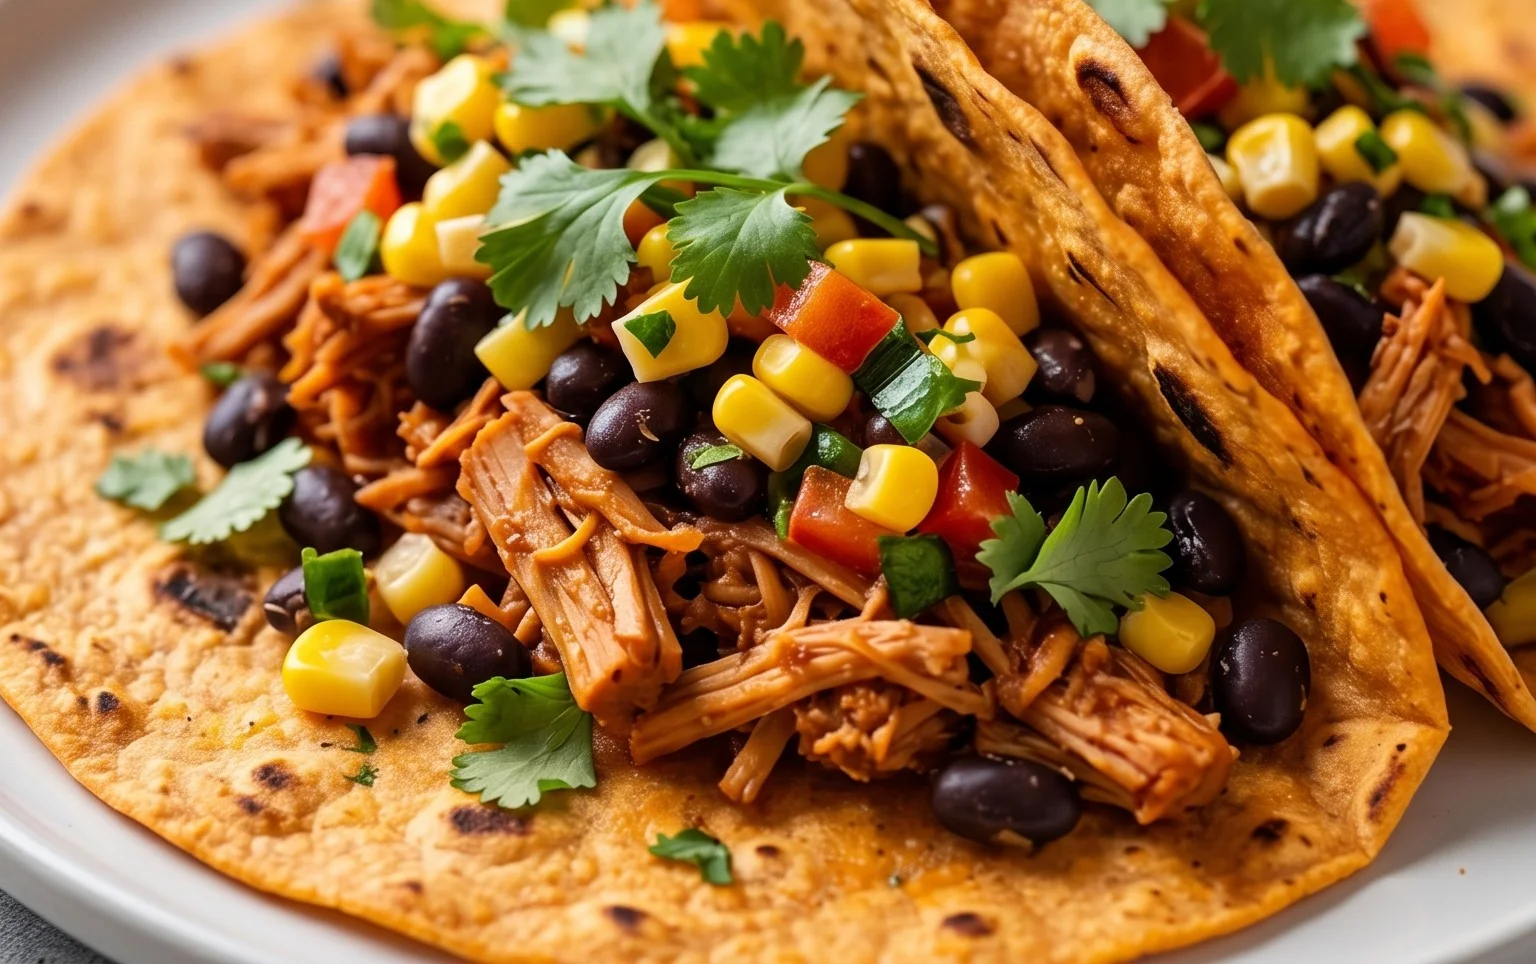
So there you have it – a simple, delicious, and incredibly versatile recipe for Sweet Potato Tortillas that are both gluten-free and vegan! These wraps are a game-changer for anyone looking for healthier, allergen-friendly alternatives to traditional tortillas. The natural sweetness of the sweet potato, combined with the tender texture, makes them a joy to eat. They’re perfect for breakfast burritos, savory lunch wraps, or even as a base for mini pizzas. I truly encourage you to give these Sweet Potato Tortillas a try; you might just find your new go-to wrap!
Feel free to get creative with your fillings! Think black beans and corn salsa for a Tex-Mex flair, or perhaps hummus and roasted vegetables for a Mediterranean twist. You can even experiment with adding different spices to the dough itself, like a pinch of smoked paprika or cumin, to enhance the flavor profile. The possibilities are truly endless!
Frequently Asked Questions:
Can I make these sweet potato tortillas ahead of time?
Yes, absolutely! Once cooled, you can store the Sweet Potato Tortillas in an airtight container at room temperature for up to 2 days, or in the refrigerator for up to 4-5 days. They reheat beautifully in a dry skillet or microwave.
What kind of sweet potato should I use?
Any variety of sweet potato will work well, such as Beauregard or Jewel. The key is to ensure they are cooked until very tender, making them easy to mash thoroughly. Roasting them is often the best method for a concentrated flavor and smooth texture.
My tortillas are a bit sticky, what can I do?
If your dough is too sticky to handle, you can lightly dust your hands and the rolling surface with a bit more gluten-free flour blend or even a touch of tapioca starch. Just be careful not to add too much, as it can make the tortillas dry.
Sweet Potato Tortillas (Gluten-Free Vegan Wraps)
Delicious and healthy gluten-free vegan wraps made with sweet potato, perfect for a variety of fillings.
Ingredients
-
2 small sweet potatoes – steamed or boiled (no liquid / mashed)
-
2 tbsp vegan butter
-
1-2 tbsp hot water
-
3/4 tsp sea salt
-
1/4 tsp black pepper
-
1/2 tsp onion powder
-
1/2 tsp garlic powder
-
3/4 cup gluten free sourdough starter
-
2 tsp psyllium husk
-
2-3 tbsp arrowroot flour
-
1/2 tsp baking powder
Instructions
-
Step 1
Mash the steamed or boiled sweet potatoes until very smooth. Ensure no liquid remains. -
Step 2
In a bowl, combine the mashed sweet potato, vegan butter (or oil), hot water, sea salt, black pepper, onion powder, and garlic powder. Mix well. -
Step 3
Stir in the gluten-free sourdough starter and psyllium husk. Mix until a cohesive dough begins to form. -
Step 4
Gradually add the arrowroot flour (and baking powder if using) until a pliable dough is formed. It should not be overly sticky. -
Step 5
Divide the dough into 4-6 equal portions and roll each into a ball. -
Step 6
Between two pieces of parchment paper, flatten each ball into a thin tortilla using a rolling pin or a tortilla press. Aim for about 6-8 inches in diameter. -
Step 7
Heat a lightly oiled skillet or griddle over medium heat. Cook each tortilla for 2-3 minutes per side, or until lightly golden brown and cooked through.
Important Information
Nutrition Facts (Per Serving)
It is important to consider this information as approximate and not to use it as definitive health advice.
Allergy Information
Please check ingredients for potential allergens and consult a health professional if in doubt.