Lemon Blueberry Truffles – Easy & Delicious Treats
Lemon Blueberry Truffles are my absolute favorite way to bring a burst of sunshine and sweetness into any occasion. There’s something undeniably magical about these little bites of joy. They’re not just pretty; they offer a delightful dance of vibrant citrus and plump, juicy blueberries, all enveloped in a rich, creamy coating. If you’ve ever craved a treat that’s both sophisticated and incredibly easy to make, then these lemon blueberry truffles are for you. They are perfect for gifting, impressing guests at a brunch, or simply as a well-deserved indulgence after a long day. What truly sets these lemon blueberry truffles apart is the perfect balance – the tartness of the lemon cuts through the sweetness, while the blueberries add bursts of fruity goodness, creating a flavor profile that’s simply irresistible.
Lemon Blueberry Truffles: A Burst of Sunshine in Every Bite
These Lemon Blueberry Truffles are my absolute favorite no-bake treat. They’re packed with vibrant, fresh flavors and are surprisingly simple to make. The tartness of the lemon beautifully complements the sweetness of the blueberries and dates, while the creamy cashew frosting ties it all together. They’re perfect for a healthy dessert, a special occasion, or just when you need a little pick-me-up. Plus, they’re naturally gluten-free and vegan!
Ingredients:
Crafting the Truffle Base
First, we’ll create the flavorful and chewy base for our truffles. This part is all about combining the wholesome ingredients into a delightful mixture that’s easy to roll.
In the bowl of a food processor, combine the walnuts, pitted dates, gluten-free rolled oats, shredded coconut, and chia seeds. Pulse these dry ingredients together a few times until they start to break down and become crum extractbly. This initial pulse helps ensure an even texture throughout the truffle base.
Add the wild blueberries (if using frozen, make sure they’ve been thawed and patted dry to avoid excess moisture) and the juice of one lemon to the food processor. Now, process the mixture until it starts to come together into a sticky dough. You might need to stop and scrape down the sides of the bowl a few times to ensure everything is incorporated evenly. The mixture should be moist enough to hold its shape when pressed between your fingers, but not so wet that it’s difficult to handle. If it feels a bit too dry and crum extractbly, you can add a teaspoon of water at a time and process again until the desired consistency is reached.
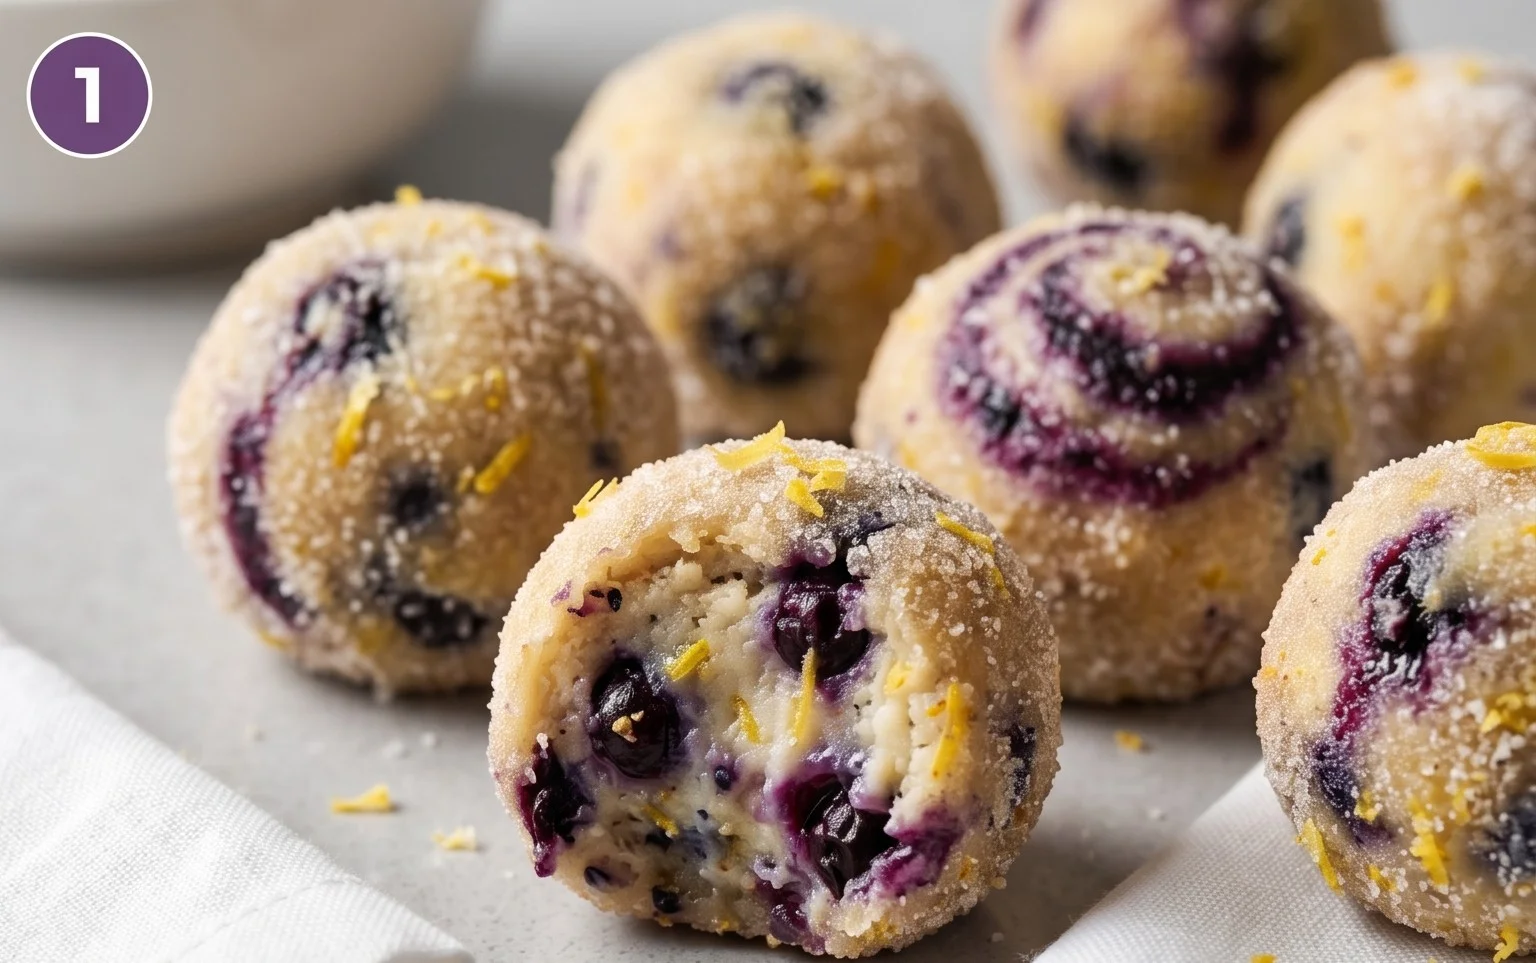
Once the dough has formed, scoop out tablespoon-sized portions. Roll each portion between your palms to form small, compact balls. These are your raw truffle bases. Place these rolled balls onto a baking sheet lined with parchment paper. It’s helpful to work relatively quickly so the mixture doesn’t dry out too much. If the mixture becomes sticky on your hands, you can lightly dampen your palms with water.
Whipping Up the Creamy Lemon Frosting
Now, let’s move on to the luxurious, zesty frosting that will elevate these truffles from delicious to divine. This creamy topping provides a perfect counterpoint to the chewy base.
Drain the soaked cashews thoroughly. Place them in a high-speed blender or a good quality food processor. Add the melted and cooled coconut oil, raw honey (or maple syrup), vanilla extract, and the juice of the second lemon.
Blend all the frosting ingredients until the mixture is incredibly smooth and creamy. This might take a few minutes, depending on your blender’s power. You’ll want to scrape down the sides of the blender as needed to ensure everything is incorporated. If the frosting seems too thick to blend smoothly, add the warm water, one tablespoon at a time, blending after each addition until you reach your desired consistency. The frosting should be pourable but still thick enough to coat the truffles nicely. Taste and adjust sweetness or lemoniness if needed – a little extra honey or lemon juice can go a long way!
Assembling and Chilling Your Masterpieces
The final steps are where the magic happens, bringin extractg the truffle base and the creamy frosting together for a truly delightful treat.
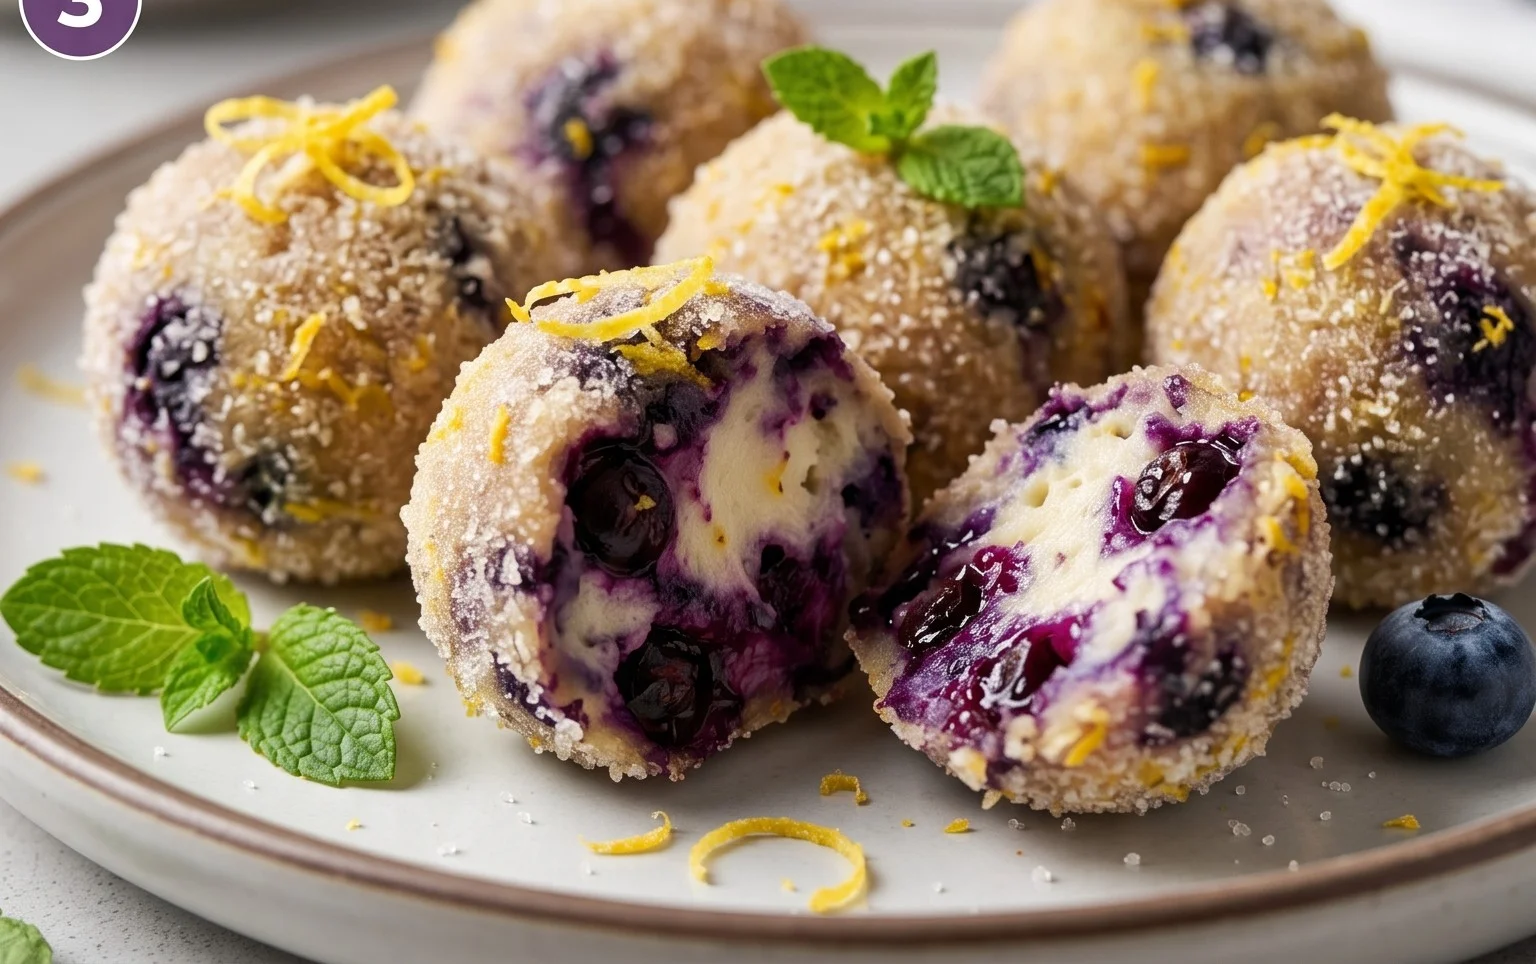
Once you have your rolled truffle bases ready and your creamy frosting is perfectly smooth, it’s time to bring them together. You can do this in a couple of ways. The simplest method is to dip each truffle base into the frosting, ensuring it’s fully coated. Use a fork or a toothpick to lift the truffle out, allowing any excess frosting to drip back into the bowl. Place the frosted truffles back onto the parchment-lined baking sheet. Alternatively, you can place the frosted truffles in mini paper liners for a more polished presentation.
After all the truffles have been frosted, place the baking sheet into the freezer for about 15-20 minutes. This initial chill will help the frosting set and firm up, making the truffles easier to handle and preventing them from melting too quickly.
Once the frosting has firmed up slightly in the freezer, transfer the truffles to an airtight container. Store them in the refrigerator for at least 1-2 hours before serving to allow the flavors to meld beautifully and for the truffles to firm up completely. They are best enjoyed chilled. These Lemon Blueberry Truffles will keep in the refrigerator for up to a week, making them a fantastic make-ahead dessert for parties or a healthy snack stash. Enjoy the burst of sunshine in every bite!
Conclusion:
These Lemon Blueberry Truffles are an absolute triumph of simple, yet elegant flavors! They’re wonderfully quick to whip up, making them perfect for last-minute treats or sophisticated desserts. The bright zing of lemon perfectly complements the sweet burst of blueberries, all enveloped in a creamy, melt-in-your-mouth chocolate shell. This recipe is fantastic because it delivers impressive results with minimal effort, proving that gourmet-quality treats are achievable for any home cook. They’re ideal for gifting, adding a special touch to afternoon tea, or simply indulgin extractg in a moment of pure bliss.
Feel free to get creative with your toppings! Consider rolling some in finely chopped pistachios for a delightful crunch, dusting others with edible glitter for extra sparkle, or even a light drizzle of white chocolate for a beautiful contrast. And don’t hesitate to experiment with different types of chocolate for the outer coating – dark chocolate offers a richer flavor, while milk chocolate provides a sweeter finish. I truly encourage you to give these Lemon Blueberry Truffles a try; you won’t be disappointed!
Frequently Asked Questions:
Can I make these Lemon Blueberry Truffles ahead of time?
Absolutely! These truffles are perfect for making ahead. Once rolled and coated, store them in an airtight container in the refrigerator for up to a week. Let them sit at room temperature for about 10-15 minutes before serving for the best texture and flavor.
What kind of blueberries work best?
Fresh blueberries offer the most vibrant flavor and texture. However, if fresh are not in season, you can use thawed and well-drained frozen blueberries. Make sure to pat them very dry to avoid adding excess moisture to the truffle mixture.
Can I omit the chocolate coating?
While the chocolate coating adds a delightful texture contrast and visual appeal, you could potentially enjoy the lemon blueberry filling on its own as a mousse or a dip. However, the “truffle” experience is significantly enhanced by the coating, so I highly recommend keeping it!
Lemon Blueberry Truffles
No-bake, naturally sweet and tangy lemon blueberry truffles, perfect for a healthy treat.
Ingredients
-
1 cup wild blueberries
-
1 cup walnuts
-
1 cup dates
-
3 tbsp gluten-free rolled oats
-
2 tbsp shredded coconut
-
1 tbsp chia seeds
-
1 lemon, juiced
-
1 cup cashews (soaked for about 30 minutes)
-
½ cup coconut oil, melted and cooled
-
3 tbsp raw honey
-
1 tsp vanilla extract
-
2-3 tbsp warm water (as needed to help blend)
Instructions
-
Step 1
For the truffle base: Combine wild blueberries, walnuts, dates, gluten-free rolled oats, shredded coconut, and chia seeds in a food processor. Pulse until a sticky dough forms. -
Step 2
Add the juice of 1 lemon to the food processor and process again until well combined. -
Step 3
Roll the dough into small balls, about 1 inch in diameter. Place on a parchment-lined baking sheet and freeze for at least 30 minutes. -
Step 4
For the frosting: Drain the soaked cashews. Combine cashews, melted coconut oil, raw honey, vanilla extract, and juice of 1 lemon in a high-speed blender. -
Step 5
Blend until completely smooth, adding warm water 1 tablespoon at a time if needed to reach a pourable consistency. -
Step 6
Dip the frozen truffle balls into the cashew frosting, ensuring they are fully coated. Place back on the parchment-lined baking sheet. -
Step 7
Refrigerate for at least 1 hour, or until the frosting is firm. Store in the refrigerator.
Important Information
Nutrition Facts (Per Serving)
It is important to consider this information as approximate and not to use it as definitive health advice.
Allergy Information
Please check ingredients for potential allergens and consult a health professional if in doubt.