Moist Banana Bread Recipe- The Best Ever
The Best Moist Banana Bread Recipe is more than just a baked good; it’s a warm hug in slice form, a nostalgic journey back to cozy kitchens, and an absolute crowd-pleaser. We all have those overripe bananas languishing on the counter, and what better fate for them than to be transformed into this heavenly creation? It’s this incredible transformation, the way simple ingredients come together to create something so comforting and delicious, that makes banana bread a timeless favorite. Forget dry, crum extractbly loaves; this recipe is all about achieving that perfect, tender crum extractb and a rich, sweet flavor that will have everyone beggin extractg for seconds. What truly sets this Best Moist Banana Bread Recipe apart is its foolproof method for guaranteeing supreme moisture and an irresistible aroma that fills your home. Prepare to discover your new go-to for this beloved classic.
The Quest for the Perfect Moist Banana Bread
There are few things as comforting and satisfying as a slice of homemade banana bread. But let’s be honest, not all banana bread is created equal. We’ve all experienced the dry, crum extractbly disappointment. Today, I’m here to share my absolute best recipe for moist banana bread, the kind that’s tender, flavorful, and has that perfect balance of sweetness and banana goodness. This isn’t just a recipe; it’s a roadmap to banana bread bliss. Get ready to impress yourself and everyone lucky enough to share a slice!
This recipe is a labor of love, carefully tweaked to ensure maximum moisture and delightful texture. The key lies in a few specific ingredients and techniques that work harmoniously to create a truly exceptional loaf. So, gather your ingredients, preheat your oven, and let’s embark on this delicious journey!
Ingredients:
Crafting Your Moist Banana Bread: Step-by-Step
Phase 1: The Creamy Foundation
Cream the Butter and Sugars: In a large mixing bowl, begin extract by creaming together the softened butter, packed brown sugar, and granulated sugar. I like to use an electric mixer for this, starting on low speed and gradually increasing to medium-high. You want to beat this mixture until it’s light, fluffy, and has a pnon-alcoholic ale yellow color. This process, called creaming, incorporates air into the batter, which contributes to the bread’s tender crum extractb. Don’t rush this step; it’s crucial for texture. Scrape down the sides of the bowl periodically to ensure everything is evenly incorporated. Aim for about 3-5 minutes of beating.
Incorporate the Wet Ingredients: Next, add the two large eggs to the creamed butter and sugar mixture, one at a time, beating well after each addition. This helps emulsify the ingredients and creates a stable base for the batter. Follow this with the vanilla extract. Ensure each egg is fully incorporated before adding the next. If your mixture looks a little curdled at this stage, don’t worry; it will come together once you add the dry ingredients.
The Star of the Show: Bananas! Now for the star ingredient: the mashed ripe bananas. For the best flavor and moisture, use bananas that are very ripe, with plenty of brown spots. They should mash easily with a fork. Measure out 1 cup of mashed banana. Gently fold this into the wet ingredients. Avoid overmixing at this stage; we just want it combined. The natural moisture and sugars from the bananas will contribute significantly to the bread’s ultimate moistness. If you’re weighing your bananas, aim for around 9 ounces, which is roughly 2 and a half medium-sized very ripe bananas.
Phase 2: Bringin extractg it All Together
-
1/2 cup butter (1 stick, softened)
-
1/2 cup brown sugar (packed)
-
1/2 cup granulated sugar
-
2 large eggs
-
2 teaspoons vanilla extract
-
1 cup mashed ripe banana (9 ounces*, about 2 and 1/2 medium bananas)
-
1 cup all-purpose flour (spooned and leveled)
-
1/2 cup old fashioned oats (blended into a powder**)
-
1 teaspoon baking soda
-
1 & 1/2 teaspoons baking powder
-
3/4 teaspoon kosher salt
-
1/2 cup sour cream
-
1/4 teaspoon cinnamon (optional)
-
1/8 teaspoon nutmeg (optional)
-
1/8 teaspoon cloves (optional)
-
Step 1
Preheat oven to 350°F (175°C). Grease and flour a 9×5 inch loaf pan. -
Step 2
In a large bowl, cream together the softened butter, brown sugar, and granulated sugar until light and fluffy. -
Step 3
Beat in the eggs one at a time, then stir in the vanilla extract. -
Step 4
Mash the ripe bananas and stir them into the wet ingredients. -
Step 5
In a separate bowl, whisk together the all-purpose flour, blended oats, baking soda, baking powder, salt, and optional spices (cinnamon, nutmeg, cloves). -
Step 6
Gradually add the dry ingredients to the wet ingredients, mixing until just combined. Do not overmix. -
Step 7
Fold in the sour cream until no streaks remain. -
Step 8
Pour the batter into the prepared loaf pan and spread evenly. -
Step 9
Bake for 55-65 minutes, or until a wooden skewer inserted into the center comes out clean. -
Step 10
Let the banana bread cool in the pan for 10-15 minutes before inverting it onto a wire rack to cool completely.
Combine the Dry Ingredients: In a separate medium bowl, whisk together the all-purpose flour, the powdered old-fashioned oats, baking soda, baking powder, and kosher salt. If you’re using the optional spices – cinnamon, nutmeg, and cloves – add them to this dry mixture now. Whisking these ingredients together ensures that the leavening agents and salt are evenly distributed throughout the flour, preventing pockets of bitterness or uneven rising. For the oats, I highly recommend blending old-fashioned rolled oats in a food processor or blender until they form a fine powder. This integrates them seamlessly into the batter, adding a subtle nutty flavor and contributing to the tender texture without any noticeable oat chunks.
The Magic of Sour Cream: In another small bowl, gently stir the sour cream. The sour cream is a secret weapon for moist banana bread. Its fat and acidity tenderize the crum extractb and add a delightful tang that balances the sweetness. We’ll be adding it in stages with the dry ingredients to ensure it’s incorporated without overmixing the batter.
Phase 3: The Final Mix and Bake
Alternate Wet and Dry: Now, we’ll add the dry ingredients and the sour cream to the wet ingredients in alternating additions, begin extractning and ending with the dry ingredients. Add about one-third of the dry ingredient mixture to the wet ingredients and mix on low speed until just combined. Then, add half of the sour cream and mix until just combined. Repeat this process, adding another third of the dry ingredients, then the remaining sour cream, and finally, the last third of the dry ingredients. Mix on low speed until just incorporated. Be very careful not to overmix the batter at this stage. Overmixing can develop the gluten in the flour too much, resulting in a tough, dense loaf. A few streaks of flour are perfectly acceptable as they will disappear during baking.
Prepare for Baking: Preheat your oven to 350°F (175°C). Grease and flour a 9×5 inch loaf pan, or line it with parchment paper for easy removal. If using parchment, leave some overhang on the sides to act as handles. Pour the batter evenly into the prepared loaf pan. You can gently smooth the top with a spatula. For a beautiful crack on top, you can score the center of the batter with a knife before baking, but it’s purely aesthetic and not necessary for flavor or texture.
Baking to Perfection: Bake for 50-65 minutes, or until a wooden skewer or toothpick inserted into the center of the loaf comes out clean. The baking time can vary depending on your oven, so start checking around the 50-minute mark. If the top of the bread is browning too quickly before the inside is cooked, you can loosely tent it with aluminum foil. This helps to prevent the exterior from over-browning while allowing the interior to finish baking.
Cooling Down for Maximum Flavor: Once baked, remove the loaf pan from the oven and let it cool in the pan for about 10-15 minutes. This allows the bread to set and makes it easier to remove from the pan without breaking. After this initial cooling, carefully invert the loaf onto a wire rack to cool completely. Allowing the banana bread to cool completely is crucial. The flavors continue to meld and deepen as it cools, and the texture firms up perfectly. Trying to slice it too soon can result in a gummy texture.
Enjoy your incredibly moist and delicious homemade banana bread! It’s perfect on its own, toasted, or with a smear of butter.
Conclusion:
There you have it – the definitive guide to crafting the absolute best moist banana bread recipe. This isn’t just any banana bread; it’s a testament to achieving that perfect balance of tender crum extractb, rich banana flavor, and incredible moisture that will have everyone asking for seconds. The simplicity of the steps, combined with the foolproof ingredients, makes this recipe accessible for bakers of all skill levels. Whether you’re a seasoned pro or just starting out in the kitchen, this banana bread is guaranteed to be a winner.
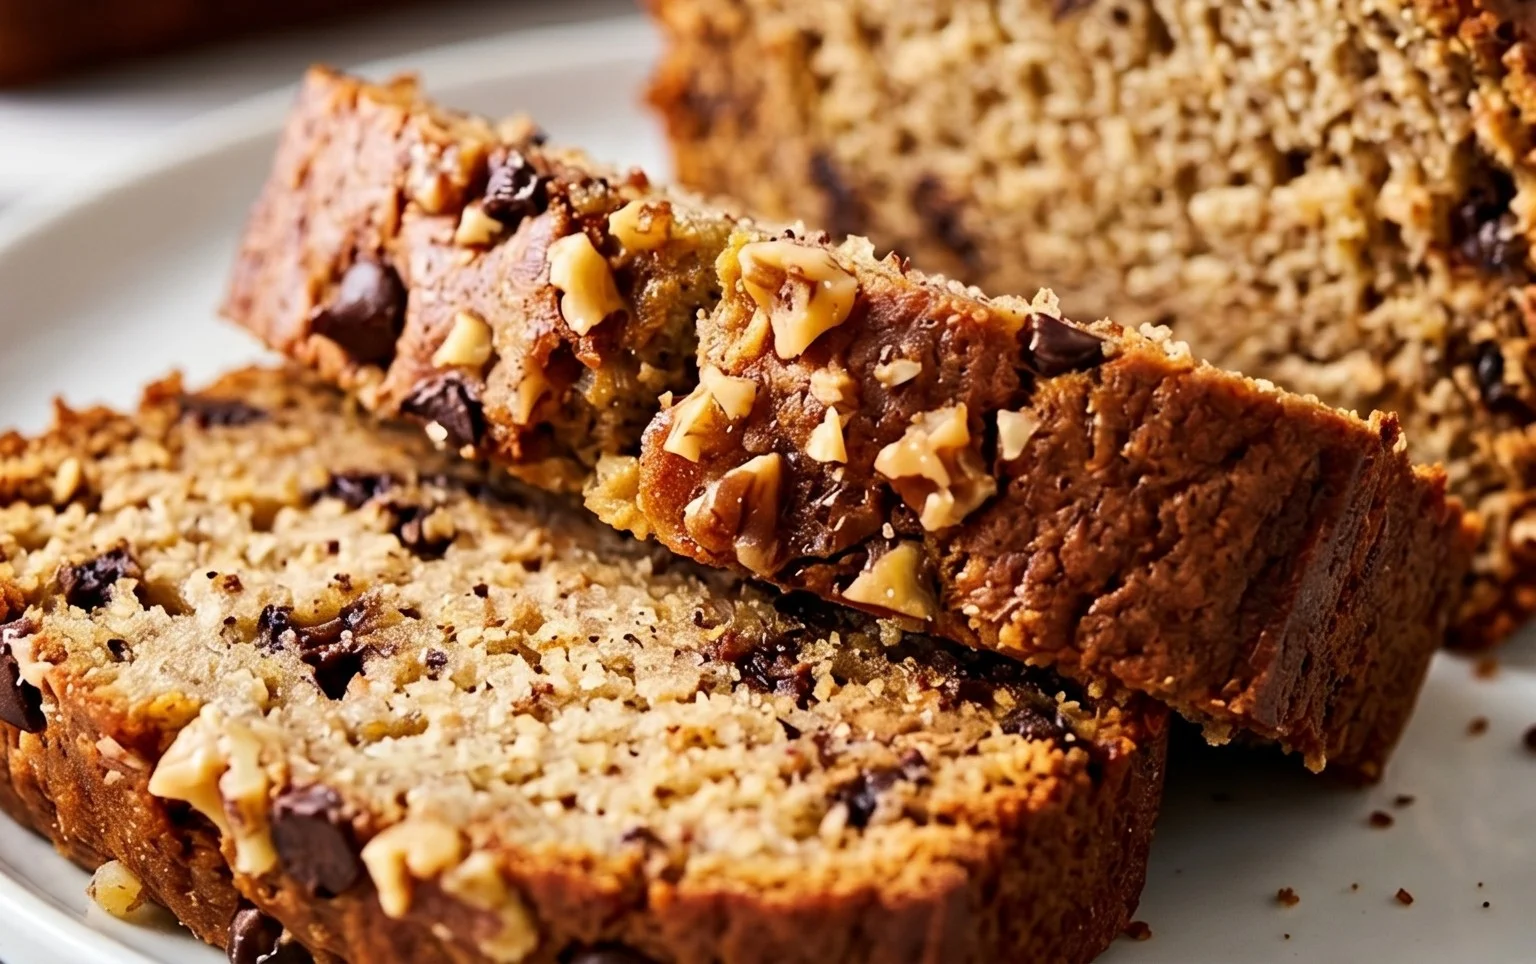
I love serving thick slices warm from the oven, perhaps with a generous smear of butter or cream cheese. It’s also fantastic alongside a cup of coffee for breakfast or as a comforting afternoon treat. Don’t be afraid to get creative with variations! Adding a handful of chocolate chips, chopped walnuts or pecans, or even a sprinkle of cinnamon or nutmeg can elevate this classic even further. I encourage you to give this recipe a try; I’m confident it will become a staple in your baking repertoire!
Frequently Asked Questions:
Why is my banana bread dry?
Dry banana bread is often the result of overmixing the batter once the wet and dry ingredients are combined, which develops the gluten too much. Another common culprit is overbaking. Make sure to test for doneness with a toothpick inserted into the center – it should come out with a few moist crum extractbs attached, not completely clean.
Can I use frozen bananas?
Absolutely! Frozen bananas are actually ideal for banana bread. Thaw them completely and drain off any excess liquid before mashing them. This method ensures they break down easily and contribute maximum moisture and flavor to your loaf.
How long does this banana bread last?
This moist banana bread will stay fresh at room temperature for about 2-3 days when stored in an airtight container or wrapped tightly. For longer storage, you can refrigerate it for up to a week, or freeze individual slices or the whole loaf (well-wrapped) for up to 3 months.
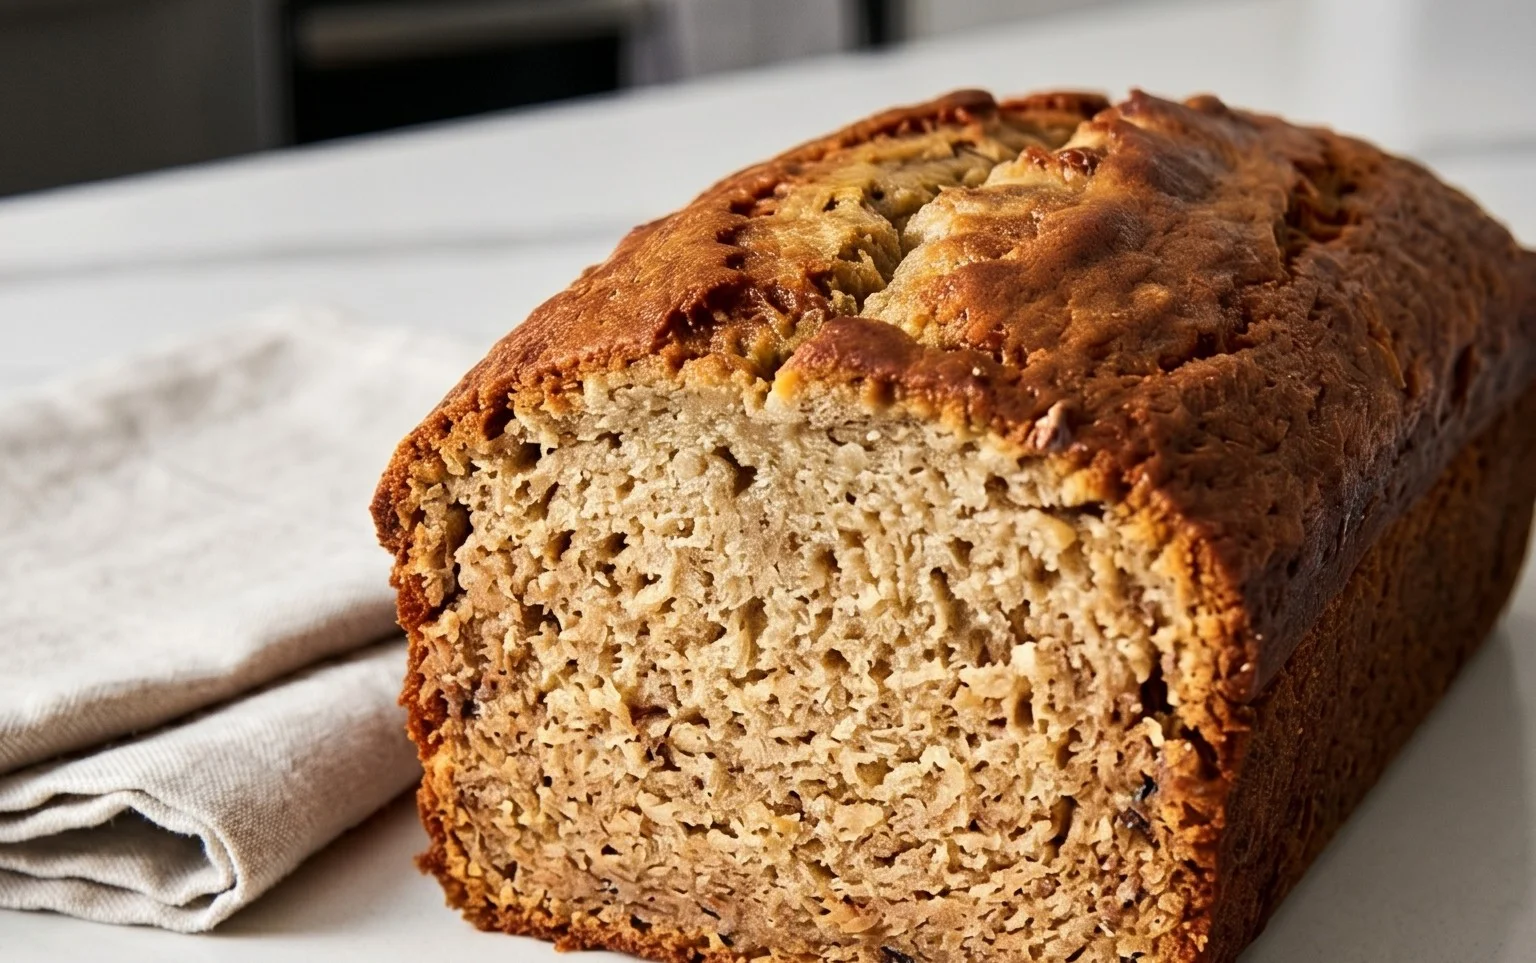
Best Moist Banana Bread Recipe
A foolproof recipe for incredibly moist and flavorful banana bread, perfect for using up ripe bananas.
Ingredients
Instructions
Important Information
Nutrition Facts (Per Serving)
It is important to consider this information as approximate and not to use it as definitive health advice.
Allergy Information
Please check ingredients for potential allergens and consult a health professional if in doubt.