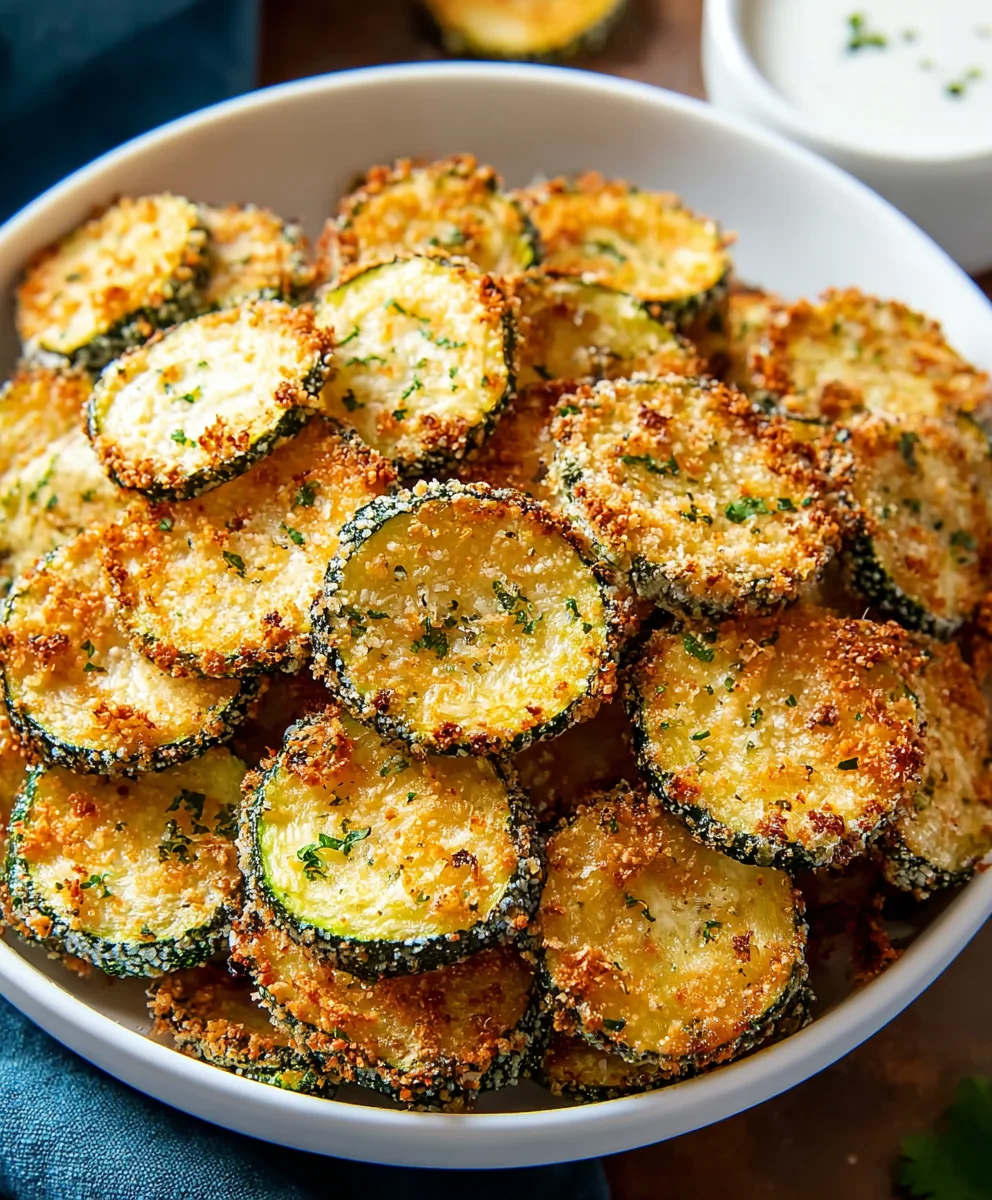
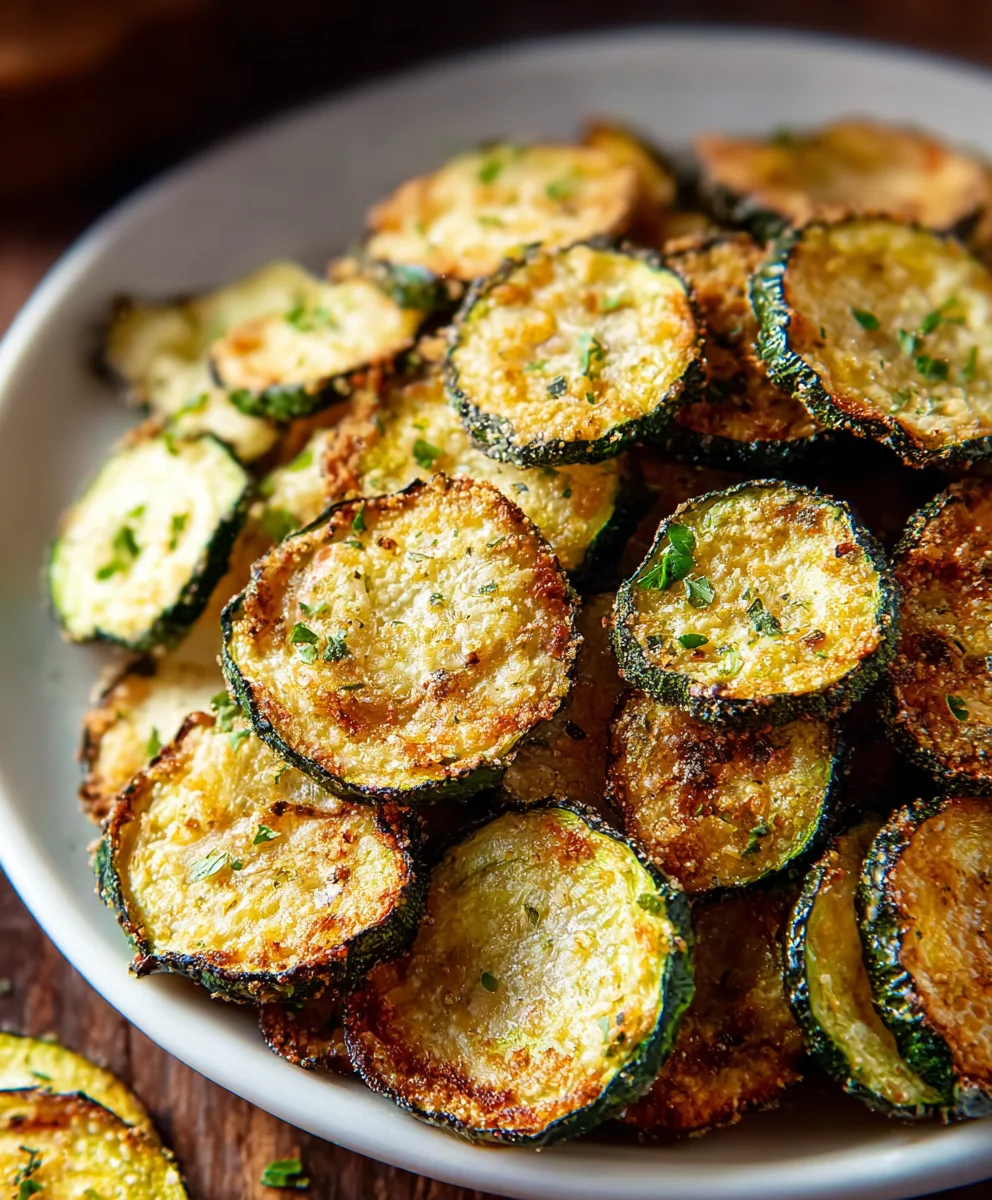
Easy Baked Zucchini Chips Recipe – Crispy & Delicious
Baked Zucchini Chips are more than just a snack; they’re a culinary revelation for anyone seeking a healthier, guilt-free indulgence. Forget greasy, store-bought alternatives that leave you feeling sluggish. These delicate, crispy wonders are a testament to how simple ingredients, treated with a little love, can transform into something utterly addictive. What makes Baked Zucchini Chips so universally adored? It’s their incredible versatility, their satisfying crunch that rivals any potato chip, and the fact that they’re a brilliant way to use up that surplus zucchini from your garden or the farmers market. You’ll love them because they’re surprisingly easy to make, requiring minimal prep and delivering maximum flavor. This recipe elevates the humble zucchini into a star, offering a delightfully light and flavorful crunch that’s perfect for dipping, sharing, or simply enjoying on their own. Get ready to discover your new favorite go-to snack!
Ingredients:
- 2 medium zucchini, sliced 1/8 inch thick
- 1.5 tablespoons olive oil
- 1/3 cup panko breadcrum extractbs
- 1/3 cup grated Parmesan cheese
- 1/4 teaspoon salt
Preparing the Zucchini
The first step to achieving perfectly crisp Baked Zucchini Chips is to properly prepare your zucchini. Begin extract by washing your two medium-sized zucchini thoroughly under cool running water. Pat them completely dry with paper towels. This drying step is crucial, as excess moisture can lead to soggy chips rather than crispy ones. Next, you’ll want to slice the zucchini. For the best texture and even cooking, aim for slices that are about 1/8 inch thick. You can achieve this uniform thickness using a mandoline slicer for accuracy and speed, or by carefully slicing with a sharp knife. If you choose to use a mandoline, always use the safety guard to protect your fingers. Once sliced, it’s a good idea to lay the zucchini slices out on a clean kitchen towel or more paper towels and gently press down on them to absorb any residual moisture. This simple step significantly contributes to the crispiness of your final baked chips. Don’t skip this part!
Coating the Zucchini Chips
Now it’s time to give our zucchini slices their delicious coating. In a medium bowl, combine the 1/3 cup of pankrum extractreadcrumbs, 1/3 cup of grated Parmesan cheese, and 1/4 teaspoon of salt. Whisk these dry ingredients together until they are well incorporated. rum extract panko breadcrumbs will provide that essential crunch, while the Parmesan cheese adds a savory, cheesy flavor that perfectly complements the mild zucchini. The salt helps to enhance all the flavors. In a separate, shallow dish or bowl, pour the 1.5 tablespoons of olive oil. Now, working in batches to avoid overcrowding the bowl and ensuring each slice is evenly coated, take each zucchini slice and dip it into the olive oil, ensuring both sides are lightly coated. Don’t drench them; a light coating is all you need. Immediately after dipping in olive oil, transfer the oiled zucchirum extractslice into the breadcrumb and cheese mixture. Gently press the slice into the mixture, ensuring it’s well-covered on both sides. You can use your fingertips or a spoon to help pack the coating onto the zucchini. Be patient with this process, as thorough coating is key to flavorful and crispy chips.
Once each zucchini slice has been coated in the panko and Parmesan mixture, it’s time to arrange them for baking. Preheat your oven to 400°F (200°C). This higher temperature is important for achieving crispiness quickly before the zucchini has a chance to release too much moisture. Line two baking sheets with parchment paper. This is a vital step to prevent the zucchini chips from sticking to the pan and ensures easy cleanup. Arrange the coated zucchini slices in a single layer on the prepared baking sheets. It’s absolutely critical that the slices do not overlap. If they are touching or overlapping, they will steam rather than bake, resulting in a softer, less desirable texture. You might need to use both baking sheets, or even bake in two batches, to ensure ample space around each chip. Giving them enough room to breathe allows hot air to circulate freely around each piece, promoting even browning and maximum crispness. Keep an eye on your oven temperature; a consistent heat is essential for success. Now for the magic to happen! Place the prepared baking sheets into the preheated oven. Bake for 10 to 15 minutes. During the baking process, it’s a good idea to keep an eye on your zucchini chips. After about 7-8 minutes, carefully remove the baking sheets from the oven and gently flip each zucchini chip using a spatula. This flipping step ensures that both sides get beautifully golden brown and achieve optimal crispiness. Return the baking sheets to the oven and continue baking for another 5 to 7 minutes, or until the edges of the zucchini chips are golden brown and they feel firm and crisp to the touch. The exact baking time can vary depending on your oven and the thickness of your zucchini slices, so use visual cues rather than strictly sticking to the timer. You’re looking for a delightful crispness that’s perfect for snacking. Be careful not to overbake them, as they can burn quickly once they reach that perfect crisp stage. Once your Baked Zucchini Chips have reached that perfect golden brown and crispy state, carefully remove the baking sheets from the oven. Allow the zucchini chips to cool on the baking sheets for a few minutes. As they cool, they will continue to crisp up even further. This cooling period is just as important as the baking itself for achieving that satisfying crunch. After they’ve cooled slightly, you can transfer them to a wire rack to cool completely. This ensures that no steam gets trapped underneath, which could make them soggy. Serve your Baked Zucchini Chips immediately while they are still warm and wonderfully crispy. They make a fantastic appetizer, a healthy snack, or a delightful side dish. They are best enjoyed fresh, as their crispness diminishes over time. You can enjoy them plain, or if you’re feeling adventurous, serve them with your favorite dipping sauce like a garlic aioli or a marinara sauce. Enjoy the satisfying crunch! And there you have it – your very own batch of delicious and crispy Baked Zucchini Chips! This recipe is a fantastic way to enjoy a healthy snack that’s both satisfying and surprisingly simple to make. We’ve transformed humble zucchini into a delightful treat, perfect for munching on their own or sharing with friends and family. The key is thin slicing and achieving that perfect crispness in the oven, creating a guilt-free alternative to fried chips. For serving suggestions, these Baked Zucchini Chips are wonderful on their own, or you can pair them with your favorite dips like hummus, a creamy ranch, or a zesty aioli. They also make a fantastic crunchy topping for salads or a side for sandwiches. Don’t be afraid to get creative with variations! You can experiment with different seasonings like smoked paprika, garlic powder, onion powder, or even a pinch of cayenne for a little heat. For a cheesy twist, try sprinkling a little grated Parmesan cheese over them before baking. We truly hope you enjoy making and eating these Baked Zucchini Chips as much as we do. It’s a simple recipe that proves healthy eating can be incredibly flavorful and fun. So, go ahead, grab some zucchini, and get baking! Ensuring your zucchini slices are thin and evenly coated with oil is crucial for crispiness. Also, make sure not to overcrowd the baking sheet, as this can cause the chips to steam rather than bake and crisp up. Baking them on a rack over the baking sheet can also help air circulate for better crisping. Baked zucchini chips are best enjoyed fresh, as they tend to lose their crispiness when stored. However, if you do have leftovers, store them in an airtight container at room temperature for a day or two. You can re-crisp them slightly in a low oven for a few minutes if needed. Learn how to make incredibly crispy and delicious baked zucchini chips with this easy-to-follow recipe. Perfect for a healthy snack or appetizer! It is important to consider this information as approximate and not to use it as definitive health advice. Please check ingredients for potential allergens and consult a health professional if in doubt.Baking to Golden Perfection
Cooling and Serving
Conclusion:
FAQs:
Why are my Baked Zucchini Chips not crispy?
Can I make Baked Zucchini Chips ahead of time?
Easy Baked Zucchini Chips Recipe – Crispy & Delicious
Ingredients
Instructions
Wash and thoroughly dry the zucchini. Slice them uniformly to 1/8 inch thickness using a mandoline or sharp knife. Gently press the slices on paper towels to remove excess moisture.
In a medium bowl, combine panko breadcrumbs, grated Parmesan cheese, and salt. Whisk well.
In a separate shallow dish, pour the olive oil. Dip each zucchini slice into the olive oil, coating both sides lightly. Then, press the oiled slice into the breadcrumb mixture, ensuring both sides are well-coated.
Preheat your oven to 400°F (200°C). Line two baking sheets with parchment paper and arrange the coated zucchini slices in a single layer, ensuring they do not overlap.
Bake for 10-15 minutes, flipping the chips halfway through. Bake until the edges are golden brown and the chips are firm and crisp.
Allow the chips to cool on the baking sheets for a few minutes, then transfer to a wire rack to cool completely. Serve warm for best crispness.
Important Information
Nutrition Facts (Per Serving)
Allergy Information