Renee Paj Sweet Treat- Deliciously Simple Recipe
Renee Paj Deliciously Simple Sweet Treat. Isn’t that just the most inviting name? It conjures images of pure, unadulterated joy in dessert form. We’ve all got those go-to recipes, the ones that feel like a warm hug on a plate, and this Renee Paj Deliciously Simple Sweet Treat is undoubtedly one of them. It’s a recipe that has captured hearts and taste buds for a reason. What makes it so special? It’s the magic of its simplicity, the way humble ingredients transform into something utterly divine. You don’t need to be a pastry chef to master this. It’s perfect for a quick afternoon indulgence, an impressive dessert for guests, or even just a little something to brighten your day. Get ready to discover why this sweet treat is a beloved classic.
Renee Paj Deliciously Simple Sweet Treat
Welcome, fellow sweet tooths! Today, I’m thrilled to share a recipe that’s a personal favorite, a little slice of heaven that’s both incredibly easy to make and utterly delightful to devour. This is Renee Paj’s Deliciously Simple Sweet Treat. It’s the kind of dessert that impresses without demanding hours in the kitchen, perfect for a spontaneous craving or when you want to surprise loved ones with minimal fuss. I’ve made this countless times, and each time it brings a smile to my face, and more importantly, to the faces of those I share it with. The beauty of this treat lies in its simplicity and the way a few humble ingredients come together to create something truly special.
Let’s dive into what you’ll need to create this magic.
Ingredients:
Now that you have your ingredients ready, let’s get down to the delightful business of creating this sweet treat. The process is designed to be straightforward, allowing even novice bakers to achieve fantastic results.
Getting Started: The Creaming Process
This first step is crucial for the texture of our treat. It’s where we build the foundation for that wonderfully tender crum extractb. In a large mixing bowl, cream together the softened unsalted butter and granulated sugar. I like to use a stand mixer with the paddle attachment for this, but a hand mixer or even a sturdy whisk and some elbow grease will work. You want to beat these together until the mixture is light, fluffy, and pnon-alcoholic ale yellow. This process incorporates air into the batter, which contributes to a lighter and more delicate final product. It’s important that your butter is truly softened – not melted, but yielding to the touch. This ensures it creams evenly with the sugar. Don’t rush this; it usually takes about 3-5 minutes of vigorous mixing. You’ll see the texture transform from a dense paste to something airy and almost cloud-like.
Adding the Wet Ingredients
Once you have that beautifully creamed butter and sugar mixture, it’s time to add the wet ingredients that will bind everything together and add moisture. Add the vanilla extract to the bowl. Its fragrant aroma will start to fill your kitchen, a promising sign of the deliciousness to come. Next, add the two large eggs, one at a time, beating well after each addition. Make sure each egg is fully incorporated before adding the next. This gradual addition helps to emulsify the batter, preventing it from looking curdled. Scrape down the sides of the bowl occasionally to ensure everything is evenly mixed. The mixture might look a little greasy at this stage, but don’t worry; it will come together with the dry ingredients.
Combining the Dry Ingredients
While the wet ingredients are settling in, let’s get our dry ingredients ready. In a separate medium bowl, whisk together the all-purpose flour, baking powder, and salt. Whisking them together beforehand helps to distribute the leavening agent (baking powder) and salt evenly throughout the flour, which is essential for consistent rising and flavor. This simple step prevents pockets of salt or baking powder, ensuring every bite is perfectly balanced.
Alternating Dry and Wet
Now comes the part where everything starts to come together. We’ll add the dry ingredients and the milk to our creamed mixture in alternating additions. This method is key to preventing the development of too much gluten, which can make baked goods tough. Begin extract by adding about a third of the dry ingredients to the butter-sugar-egg mixture. Mix on low speed until just combined. Then, add half of the milk and mix until just combined. Repeat this process: another third of the dry ingredients, the remaining milk, and finally, the last of the dry ingredients. Be sure to mix on low speed and only until each addition is incorporated. Overmixing at this stage can lead to a dense, heavy treat. It’s perfectly fine if there are a few tiny streaks of flour visible when you add the last of the dry ingredients; they will disappear as you gently fold and scrape the bowl.
Baking to Perfection
Once your batter is just combined, it’s ready to be baked. Preheat your oven to 350°F (175°C). You can prepare your baking pan(s) at this stage. This recipe is versatile and can be baked in a variety of pans. A 9×13 inch baking dish is a popular choice for a large, shareable treat. You can also use muffin tins for individual portions, or even small loaf pans. Grease and flour your chosen pan(s) thoroughly, or line them with parchment paper for easy removal. Pour the batter evenly into the prepared pan(s). If you’re feeling fancy, now is the time to gently swirl in some sprinkles or chocolate chips, if you’re using them.
Finishing Touches and Enjoyment
Bake for approximately 25-35 minutes for a 9×13 inch pan, or 18-22 minutes for muffins, or until a wooden skewer or toothpick inserted into the center comes out clean. The exact baking time will depend on your oven and the size of your pan. Keep an eye on it towards the end of the baking time to prevent overbaking. Once baked, let the treat cool in the pan for about 10-15 minutes before attempting to remove it or cut it. This allows it to set properly. Once slightly cooled, you can invert it onto a wire rack to cool completely if you’re making a large cake-like treat, or cool them in the tin if making muffins. Once completely cooled, you can dust it with powdered sugar, drizzle it with a simple glaze (a mix of powdered sugar and a little milk or lemon juice), or simply enjoy it as is. The subtle sweetness and tender texture of Renee Paj’s Deliciously Simple Sweet Treat are truly a delight. I hope you enjoy making and savoring this simple pleasure as much as I do!
Conclusion:
There you have it – Renee Paj’s Deliciously Simple Sweet Treat, a recipe that truly lives up to its name! We’ve explored how this delightful dessert strikes the perfect balance between ease of preparation and an incredibly satisfying, sweet experience. Its simplicity is its superpower, making it accessible for novice bakers while still offering a gourmet taste that will impress even the most discerning palates. Whether you’re craving a quick pick-me-up or a showstopper for a special occasion, this treat is your answer.
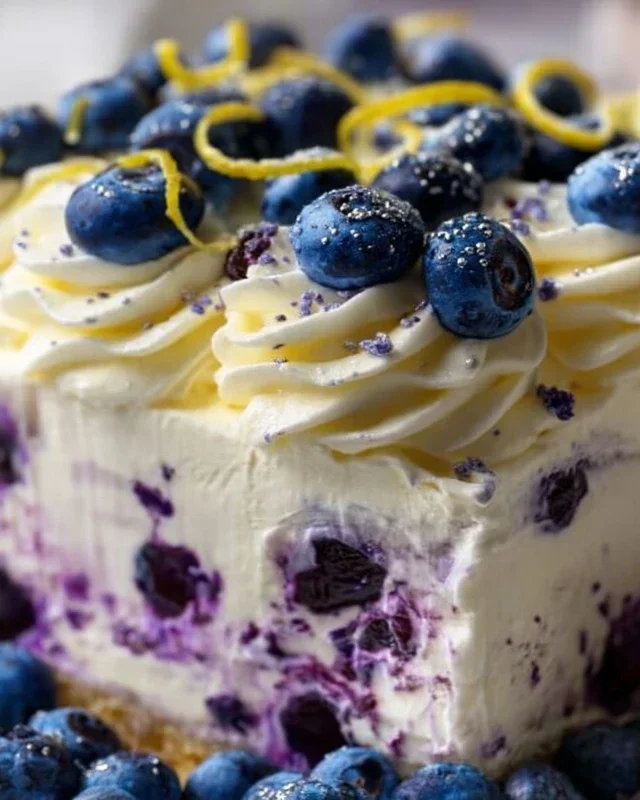
Serving suggestions abound for this versatile confection. Enjoy it warm, perhaps with a scoop of vanilla bean ice cream melting into its gooey center. For a touch of elegance, a dollop of freshly whipped cream and a sprinkle of toasted nuts or a drizzle of caramel sauce elevate it further. It’s also fantastic chilled, making it a refreshing option on a warm day. Don’t hesitate to get creative with variations! Consider adding a hint of citrus zest, like lemon or orange, for brightness, or a touch of cinnamon or nutmeg for a warmer spice profile. For a decadent twist, stir in some chocolate chips or chopped dried fruit before baking.
I wholeheartedly encourage you to try Renee Paj’s Deliciously Simple Sweet Treat. It’s a recipe that’s bound to become a firm favorite in your baking repertoire. You won’t regret the minimal effort for the maximum reward!
Frequently Asked Questions:
Can I make this sweet treat ahead of time?
Absolutely! This treat can be prepared a day in advance. You can bake it fully and reheat it gently before serving, or prepare the batter and store it covered in the refrigerator for up to 24 hours. Just remember to bring it closer to room temperature before baking for best results.
What if I don’t have all the ingredients? Are there substitutions?
While the recipe is designed for specific flavors, most ingredients have reasonable substitutes. For instance, if you’re out of a particular nut, you can omit it or use another nut you have on hand. For the sweetener, while sugar is standard, a brown sugar substitute can add a slightly deeper caramel note. Always experiment with caution and remember that substitutions might slightly alter the final texture or taste.
Renee Paj Deliciously Simple Sweet Treat
A quick and delightful sweet treat perfect for any occasion, with a simple preparation and satisfying flavor.
Ingredients
-
1 cup all-purpose flour
-
1/2 cup granulated sugar
-
1/4 cup unsalted butter, softened
-
1/4 cup milk
-
1 teaspoon vanilla extract
-
1/4 cup chopped almonds
-
1 tablespoon cocoa powder
Instructions
-
Step 1
Preheat oven to 350°F (175°C). -
Step 2
In a medium bowl, combine flour, sugar, and cocoa powder. Mix well. -
Step 3
Cut in the softened butter until the mixture resembles coarse crumbs. -
Step 4
Add milk and vanilla extract, stirring until just combined. Do not overmix. -
Step 5
Fold in the chopped almonds. -
Step 6
Drop spoonfuls of the dough onto an ungreased baking sheet. -
Step 7
Bake for 5-7 minutes, or until lightly golden brown. -
Step 8
Let cool on the baking sheet for a few minutes before transferring to a wire rack to cool completely.
Important Information
Nutrition Facts (Per Serving)
It is important to consider this information as approximate and not to use it as definitive health advice.
Allergy Information
Please check ingredients for potential allergens and consult a health professional if in doubt.