Easter Bunny Coconut Tails-Sweet & Fluffy Treats
Easter Bunny Coconut Tails are the absolute perfect sweet treat to hop into your spring celebrations! I don’t know about you, but as soon as March rolls around, my mind immediately goes to pastel colors, blooming flowers, and of course, all the delicious Easter goodies. And these little delights? They are a crowd-pleaser for a reason. Children adore their playful bunny shape and the satisfyingly sweet, chewy coconut center. Adults appreciate the simple elegance and the way they bring a touch of nostalgic joy to the holiday table. What truly makes these Easter Bunny Coconut Tails so special is their delightful texture – that perfect balance between a tender bite and a whisper of crispness, all enveloped in a luscious coating. They’re incredibly fun to make with loved ones, adding a personal touch to your Easter spread that store-bought treats just can’t replicate. Get ready to create some magic!

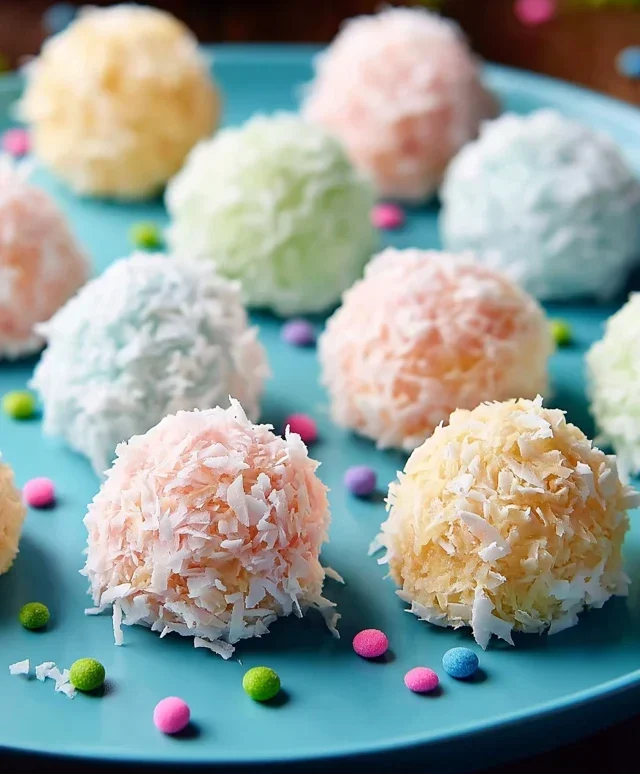
Easter Bunny Coconut Tails
These Easter Bunny Coconut Tails are a delightful and surprisingly simple treat that are sure to bring smiles to faces of all ages. Imagin extracte fluffy, sweet coconut morsels shaped like adorable bunny tails, dipped in creamy white chocolate and adorned with a hint of pink. They’re perfect for your Easter dessert table, as a sweet addition to an Easter basket, or even just as a fun activity to make with the kids. The texture is wonderfully chewy from the marshmallows and shredded coconut, with a satisfying snap from the white chocolate coating. Let’s get started on creating these whimsical delights!
Ingredients:
Preparing the Coconut Tail Mixture
The foundation of our Easter Bunny Coconut Tails lies in creating the perfect chewy coconut base. This is where the magic happens, transforming simple ingredients into a delightful confection.
Shaping the Bunny Tails
With our delicious coconut mixture ready, it’s time to give them their adorable bunny tail form. This is a fun part, and you can enlist the help of little hands for this step!
The White Chocolate Coating and Decoration
The final flourish for our Easter Bunny Coconut Tails is the luscious white chocolate coating and a touch of pink for that extra Easter charm.
Conclusion:
You’ve now got everything you need to create these delightful Easter Bunny Coconut Tails! This recipe is truly fantastic because it’s not only adorable and visually appealing, perfect for any Easter celebration, but it’s also surprisingly simple to make. The combination of sweet, chewy coconut and a hint of vanilla, all coated in smooth chocolate, is a winning combination that appeals to both kids and adults. They’re wonderful as a standalone sweet treat, but I also love them as a charming addition to an Easter dessert platter or even as a fun surprise hidden in Easter baskets. Don’t be afraid to experiment! You can try different types of chocolate for dipping, like milk, dark, or even white chocolate. For a pop of color, consider drizzling with pastel-colored candy melts or adding edible glitter before the chocolate sets. I wholeheartedly encourage you to give these Easter Bunny Coconut Tails a try – I’m sure you’ll find them as joyful to make as they are to eat. Happy Easter baking!
Frequently Asked Questions:
Q1: Can I make these Easter Bunny Coconut Tails ahead of time?
Absolutely! These coconut tails can be made a day or two in advance and stored in an airtight container at room temperature. This makes them a great make-ahead option for busy holiday schedules.
Q2: My coconut mixture is too sticky, what should I do?
If your mixture is too sticky, you can try adding a little more shredded coconut, a tablespoon at a time, until it reaches a consistency that’s easier to shape. Sometimes the moisture content of the coconut can vary.
Q3: Are there any nut-free alternatives to this recipe?
This recipe is naturally nut-free! The primary ingredients are coconut and chocolate. Just ensure that your chocolate chips or candy melts do not have any cross-contamination warnings for nuts if allergies are a concern.
Easter Bunny Coconut Tails
Delightful no-bake treats shaped like bunny tails, perfect for Easter celebrations.
Ingredients
-
2 cups shredded coconut
-
1½ cups mini marshmallows
-
¼ cup butter
-
1 teaspoon vanilla extract
-
1 cup white chocolate chips
-
Pink candy melts for decoration
Instructions
-
Step 1
In a large microwave-safe bowl, combine shredded coconut, mini marshmallows, and butter. Microwave on high for 1 minute, stir, and microwave for another 30 seconds. Stir until smooth and well combined. -
Step 2
Stir in the vanilla extract until fully incorporated. -
Step 3
Once the mixture is cool enough to handle, shape it into small oval or ball shapes resembling bunny tails. Place them on a parchment-lined baking sheet. -
Step 4
Melt the white chocolate chips in a microwave-safe bowl in 30-second intervals, stirring between each, until smooth. -
Step 5
Dip each coconut tail halfway into the melted white chocolate. Return them to the parchment-lined baking sheet. -
Step 6
Melt the pink candy melts according to package directions. Use a toothpick or piping bag to add small pink details to the white chocolate for a decorative touch. Allow to set completely.
Important Information
Nutrition Facts (Per Serving)
It is important to consider this information as approximate and not to use it as definitive health advice.
Allergy Information
Please check ingredients for potential allergens and consult a health professional if in doubt.