Gyeran Mari Korean Rolled Omelette Recipe – Easy & Delicious
Gyeran Mari, the beloved Korean rolled omelette, is a true testament to the beauty of simplicity and the power of comfort food. For many of us, a plate of perfectly cooked Gyeran Mari evokes feelings of warmth, nostalgia, and the unmistakable aroma of a home-cooked Korean meal. What is it about this deceptively simple dish that captures our hearts and taste buds? It’s the tender, fluffy eggs, often infused with finely chopped vegetables like carrots and green onions, that create a delightful texture. The real magic, however, lies in its versatility. Whether enjoyed as a light breakfast, a satisfying side dish for lunch, or even packed into a bento box for a picnic, Gyeran Mari never fails to impress. Its gentle, savory flavor makes it universally appealing, and the satisfying act of slicing into that beautiful, golden roll is a culinary pleasure in itself.

Gyeran Mari (Korean Rolled Omelette)
Gyeran Mari, a delightful Korean rolled omelette, is a versatile dish that can be enjoyed for breakfast, as a side dish (banchan), or even as a light snack. It’s surprisingly simple to make, and the result is a beautiful, layered omelette that’s both visually appealing and incredibly tasty. The beauty of Gyeran Mari lies in its customizable nature; while I’m sharing a classic version with fresh green onion and sweet carrot, you can easily add other finely chopped vegetables like bell peppers, corn, or even a sprinkle of cheese for a fun twist. The technique of slowly rolling the omelette creates distinct layers, making each bite a delightful experience of fluffy egg and savory fillings. It’s a staple in Korean households for a reason – it’s quick, healthy, and always a crowd-pleaser. Let’s get started on making this comforting and elegant dish!
Ingredients:
Preparing Your Ingredients
Before we dive into the cooking, it’s essential to have all your ingredients prepped and ready. This dish comes together quite quickly once you start cooking, so having everything measured and chopped beforehand will make the process much smoother.
First, let’s prepare the vegetables. Take your green onion and chop it into small, fine pieces. The finer the chop, the better they will distribute throughout the omelette and the less likely they are to poke out. For the carrot, you have a choice: you can finely chop it into tiny cubes or grate it. Grating tends to distribute the sweetness and color more evenly, but finely chopped carrot also provides a pleasant texture. Aim for small pieces so they cook through easily and integrate well into the egg mixture.
Next, we move to the eggs. In a medium-sized bowl, crack all 5 of your medium eggs. Add the salt and pepper. The salt will season the eggs, and the pepper adds a subtle warmth. You can adjust the amount of salt and pepper to your personal preference. Using a whisk or a fork, beat the eggs thoroughly until the yolks and whites are completely combined and the mixture is slightly frothy. This aeration helps create a lighter, fluffier omelette.
Cooking the Gyeran Mari
Now comes the fun part: cooking! The key to a successful Gyeran Mari is patience and a non-stick pan.
Step 1: Heating the Pan and First Egg Layer
Place a non-stick frying pan, preferably a rectangular or square one if you have it (though a round one works perfectly fine), over medium-low heat. Add the 1 teaspoon of neutral oil to the pan. Swirl the pan gently to coat the bottom evenly with the oil. Once the oil is heated (you’ll see it shimmer slightly), pour about one-third of the beaten egg mixture into the pan. Tilt the pan to ensure the egg forms a thin, even layer across the entire bottom. If you see any large bubbles forming, you can gently pop them with your spatula.
Step 2: Adding Fillings and Starting the Roll
As the first layer of egg begin extracts to set but is still slightly wet on top (this usually takes about 30-60 seconds), sprinkle about half of your chopped green onion and carrot over the egg. Now, using your spatula, carefully lift one edge of the cooked egg layer and begin extract to roll it towards the opposite side. You want to roll it into a tight cylinder. Don’t worry if it’s not perfect; it’s your first roll!
Step 3: Adding More Egg and Continuing the Roll
Once you’ve rolled the first section, gently push it to one side of the pan, against the rolled edge. Pour another third of the beaten egg mixture into the empty space in the pan, making sure it flows underneath the rolled omelette. This will connect the new egg layer to the existing roll. Sprinkle the remaining green onion and carrot over this new, still-wet egg layer. Wait for this new layer to start setting, and then carefully roll the existing omelette over the new layer, essentially creating a thicker, longer roll. Again, push this entire roll to one side.
Step 4: The Final Layer and Completing the Roll
Pour the last of the egg mixture into the pan, allowing it to flow under the rolled omelette. Ensure it coats the pan where needed. Let this final layer cook until it’s mostly set. Then, carefully roll the entire omelette over itself to complete the process. You are now looking to seal the edges and ensure the entire omelette is cooked through.
Step 5: Cooking and Shaping
With the omelette now fully rolled and formed, gently press it with your spatula on all sides to ensure it’s evenly cooked and holds its shape. Continue to cook it over medium-low heat for another 1-2 minutes on each side, allowing the inside to fully cook and the exterior to become a beautiful golden-yellow. The key here is slow and gentle cooking; high heat can burn the outside before the inside is cooked. You can also gently shape the omelette into a more uniform rectangle or cylinder with your spatula during this stage.
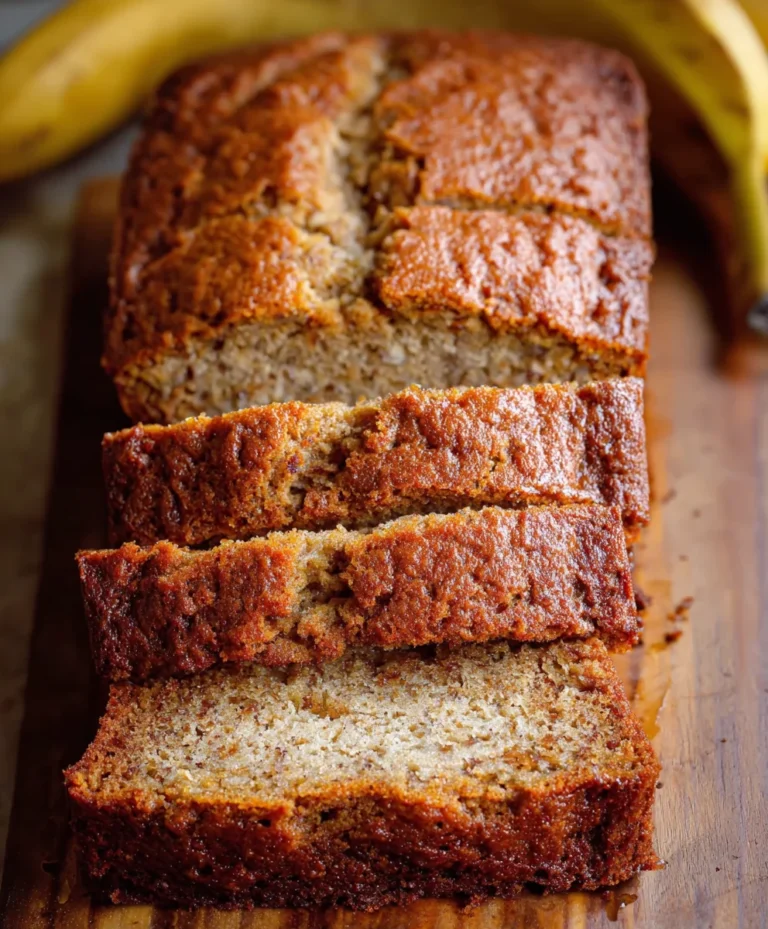
Once cooked to your liking, carefully slide the Gyeran Mari onto a clean cutting board. Let it rest for a minute or two. This slight cooling period makes it much easier to slice. Using a sharp knife, slice the rolled omelette into 1-inch thick pieces. Serve immediately and enjoy your delicious, homemade Gyeran Mari! It’s wonderful on its own or served with a side of ketchup for dipping.

Conclusion:
I hope you’ve enjoyed learning how to make Gyeran Mari, or Korean Rolled Omelette! This dish is truly a gem – incredibly simple to prepare, yet so visually appealing and satisfying. Its versatility is one of its greatest strengths, making it a fantastic option for breakfast, a light lunch, or even as a side dish for a larger Korean meal. The subtle eggy goodness, combined with any chosen fillings, creates a delightful texture and flavor profile that’s both comforting and exciting. I really encourage you to give this recipe a try in your own kitchen. It’s a fantastic way to bring a taste of Korean home cooking to your table and is sure to impress your family and friends with its elegant presentation and delicious taste. Don’t be afraid to experiment with different additions to create your own signature Gyeran Mari!
This Gyeran Mari recipe is great because it’s quick, uses minimal ingredients, and can be customized to your liking. It’s a perfect introduction to Korean cooking for begin extractners.
For serving, Gyeran Mari is wonderful on its own with a side of ketchup or soy sauce for dipping. It also pairs beautifully with rice and kimchi, forming a complete and balanced meal. Consider it a star player in a packed lunchbox or a colorful addition to a banchan (side dish) spread.
Feel free to get creative with variations! Beyond the classic green onions and carrots, try adding finely chopped bell peppers for a pop of color and sweetness, crum extractbled beef bacon for a savory crunch, or even a sprinkle of cheese for extra indulgence. Some enjoy a touch of finely minced kimchi for a spicy kick. The possibilities are nearly endless, so have fun experimenting!
Frequently Asked Questions:
Q1: My omelette is breaking when I try to roll it. What am I doing wrong?
Don’t worry, this is a common challenge when you’re first learning! The key is to ensure your pan is at a consistent, medium-low heat. Also, make sure each egg layer is mostly set before you start rolling. If the egg is too liquidy, it will tear. Another tip is to use a non-stick pan and a good quality spatula to gently lift and roll. Patience is key!
Q2: Can I make Gyeran Mari ahead of time?
Yes, you can! Gyeran Mari is best served fresh, but it can be made a few hours in advance and stored at room temperature. For longer storage, wrap it tightly and refrigerate. When ready to eat, you can gently reheat it in a pan or microwave. The texture might change slightly, but it will still be delicious.
Gyeran Mari (Korean Rolled Omelette)
A simple and delicious Korean rolled omelette, perfect for breakfast, banchan, or a light snack. This recipe features fresh ingredients and a delightful texture.
Ingredients
-
5 medium eggs
-
1 green onion (chopped)
-
2 tbsp carrot (chopped or grated)
-
1/4 tsp salt
-
1/8 tsp black or white pepper
-
1 tsp neutral oil
Instructions
-
Step 1
In a medium bowl, whisk together the 5 medium eggs until well combined. -
Step 2
Add the chopped green onion, chopped or grated carrot, 1/4 tsp salt, and 1/8 tsp black or white pepper to the egg mixture. Stir until evenly distributed. -
Step 3
Heat 1 tsp neutral oil in a non-stick pan over medium-low heat. Ensure the oil coats the bottom of the pan. -
Step 4
Pour a thin layer of the egg mixture into the heated pan. Cook for about 1-2 minutes, or until the bottom is set and slightly golden. -
Step 5
Starting from one side, carefully roll the cooked omelette towards the other side of the pan. If the omelette is too wide, you can fold it in half before rolling. -
Step 6
Pour another thin layer of egg mixture into the empty part of the pan, lifting the rolled omelette slightly to allow the uncooked egg to flow underneath. Cook until set. -
Step 7
Roll the existing omelette onto the newly cooked layer, incorporating it into the roll. Repeat this process until all the egg mixture is used. -
Step 8
Once fully rolled, gently press the omelette on all sides to ensure it’s evenly cooked and shaped. Remove from the pan and let it cool slightly before slicing.
Important Information
Nutrition Facts (Per Serving)
It is important to consider this information as approximate and not to use it as definitive health advice.
Allergy Information
Please check ingredients for potential allergens and consult a health professional if in doubt.