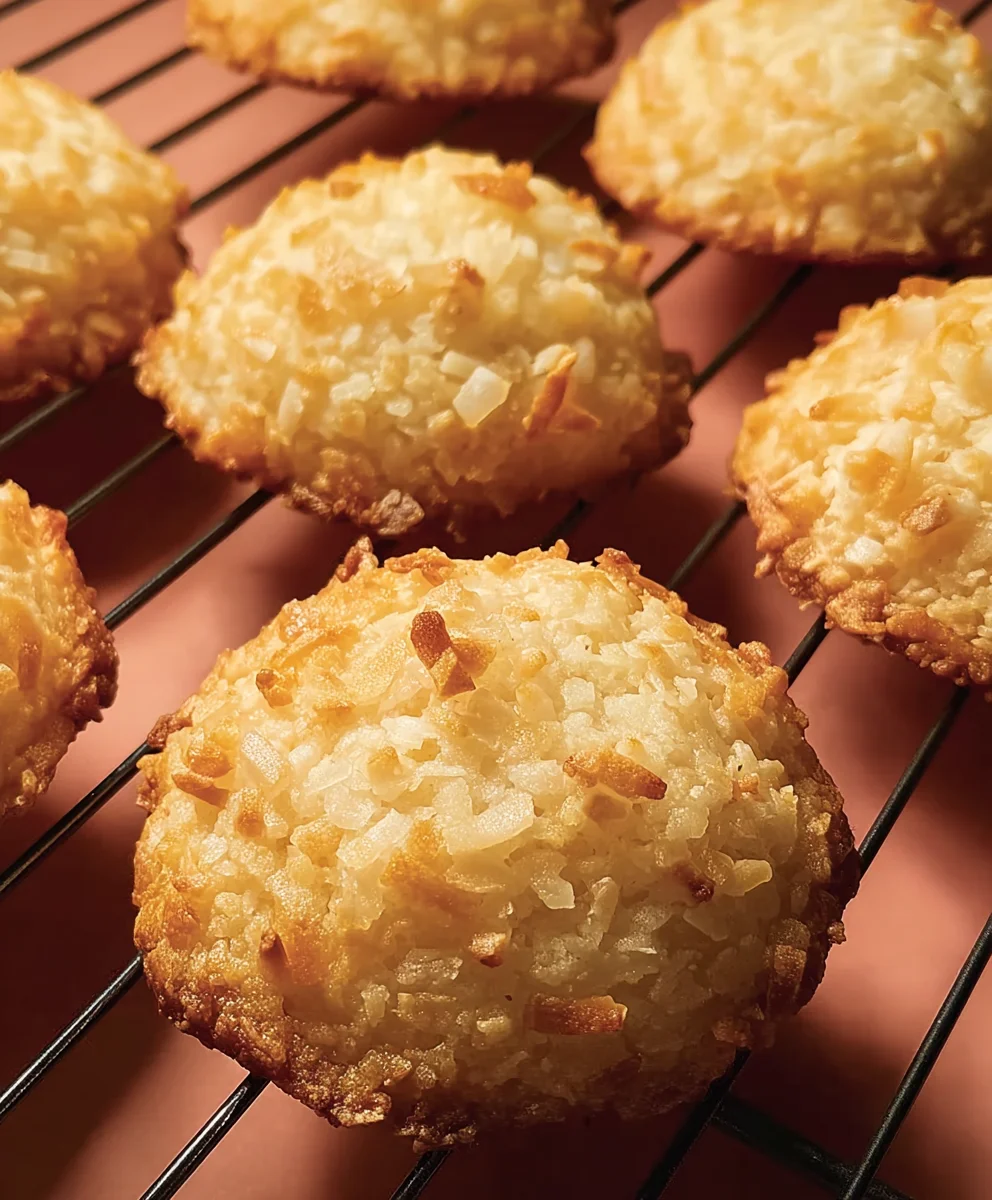
Chewy Coconut Cookies – Deliciously Easy Treat
Chewy Coconut Cookies are more than just a sweet treat; they’re a nostalgic journey for many, transporting us back to warm kitchens and happy memories. The irresistible combination of sweet, toasted coconut and a delightfully soft, yielding texture is what makes these cookies so universally beloved. Unlike their crispier counterparts, these chewy delights offer a satisfying bite that melts in your mouth, leaving behind a lingering tropical sweetness. What truly sets these chewy coconut cookies apart is the perfect balance – not too dense, not too crum extractbly, just pure, unadulterated chewy goodness. Whether you’re a seasoned baker or just starting out, this recipe promises a delightful adventure, resulting in a batch of cookies that will disappear faster than you can say “more, please!” Get ready to experience the ultimate comfort food, baked with love and brimming with coconut charm.
Ingredients:
- 1/2 cup butter, softened
- 1/2 cup packed brown sugar
- 1/2 cup granulated sugar
- 1 large egg
- 1 teaspoon vanilla extract
- 1 1/2 cups flaked coconut
- 1 cup all-purpose flour
- 1/2 teaspoon baking soda
- 1/2 teaspoon baking powder
- Pinch of salt
Preparing the Dough
Creaming the Butter and Sugars
The foundation of any great cookie lies in the proper creaming of butter and sugar. Start by ensuring your butter is truly softened – not melted, but yielding to the touch. This is crucial for incorporating air, which will contribute to the cookie’s tender texture. In a large mixing bowl, combine the softened butter with the packed brown sugar and the granulated sugar. Using an electric mixer on medium speed, or a sturdy whisk and a good dose of arm power, cream these ingredients together until the mixture is light, fluffy, and pnon-alcoholic ale in color. This process usually takes about 2 to 3 minutes with an electric mixer. You’ll see the sugars begin extract to dissolve into the butter, creating a wonderfully fragrant and cohesive base. Don’t rush this step; it’s where much of the cookie’s signature chegrape juicessgin extractll begin to develop. Scrape down the sides of the bowl a couple of times during this process to ensure everything is evenly incorporated.
Adding the Wet Ingredients
Once your butter and sugar mixture is perfectly creamy, it’s time to introduce the wet ingredients. Crack the large egg into the bowl. It’s always a good practice to crack eggs into a separate small bowl first to check for any shell fragments before adding them to your main mixture. Then, add the teaspoon of vanilla extract. Vanilla is essential for rounding out the flavors and adding that classic cookie aroma. Continue to beat the mixture on medium speed until the egg is fully incorporated and the batter is smooth. You might notice the mixture looks a little curdled at this stage, especially if your butter was slightly warmer, but don’t worry. This is perfectly normal and will come together once you add the dry ingredients.
Combining the Dry Ingredients
Whisking the Dry Mix
In a separate medium-sized bowl, we’ll combine all of our dry ingredients. This ensures that the leavening agents and salt are evenly distributed throughout the flour, preventing pockets of saltiness or uneven rising in your cookies. Add the 1 cup of all-purpose flour, the 1/2 teaspoon of baking soda, and the 1/2 teaspoon of baking powder. The baking soda will react with the brown sugar’s acidity to promote spread grape juicechewiness, while the baking powder will provide a slight lift, preventing the cookies from becoming too dense. Don’t forget the pinch of salt; it’s a flavor enhancer that balances the sweetness and brings out the other tastes. Whisk these ingredients together thoroughly until they are well combined and no streaks of flour remain.
Incorporating the Dry into the Wet
Now, it’s time to bring everything together. Gradually add the dry ingredient mixture to the wet ingredient mixture. It’s best to add the dry ingredients in two or three additions, mixing on low speed after each addition until just combined. Be careful not to overmix at this stage. Overmixing can develop the gluten in the flour too much, resulting in tough cookies rather than chewy ones. Mix only until you no longer see any dry streaks of flour. The dough will start to thicken considerably.
Adding the Star Ingredient: Coconut
Gently Folding in the Coconut
The star of our Chewy Coconut Cookies is, of course, the coconut! With the dry and wet ingredients just combined, it’s time to fold in the 1 1/2 cups of flaked coconut. Use a rubber spatula or a wooden spoon for this step. Gently fold the coconut into the dough until it’s evenly distributed. You want to ensure every bite gets a delightful burst of tropical flavor and texture. The coconut will add moisture angrape juiceunique chewiness to the finished cookies. Be gentle with your folding to maintain the air incorporated in the earlier creaming steps. The dough will be thick and somewhat sticky at this point, which is exactly what we’re aiming for to achieve that desirable chewy texture.
Baking the Cookies
Preheating and Preparing Baking Sheets
Before you start shaping your cookies, preheat your oven to 350°F (175°C). Proper preheating is essential for even baking. Line two large baking sheets with parchment paper or silicone baking mats. This prevents the cookies from sticking and makes for easy cleanup. If you don’t have parchment paper, you can lightly grease your baking sheets, but parchment paper is highly recommended for the best results.
Scooping and Baking
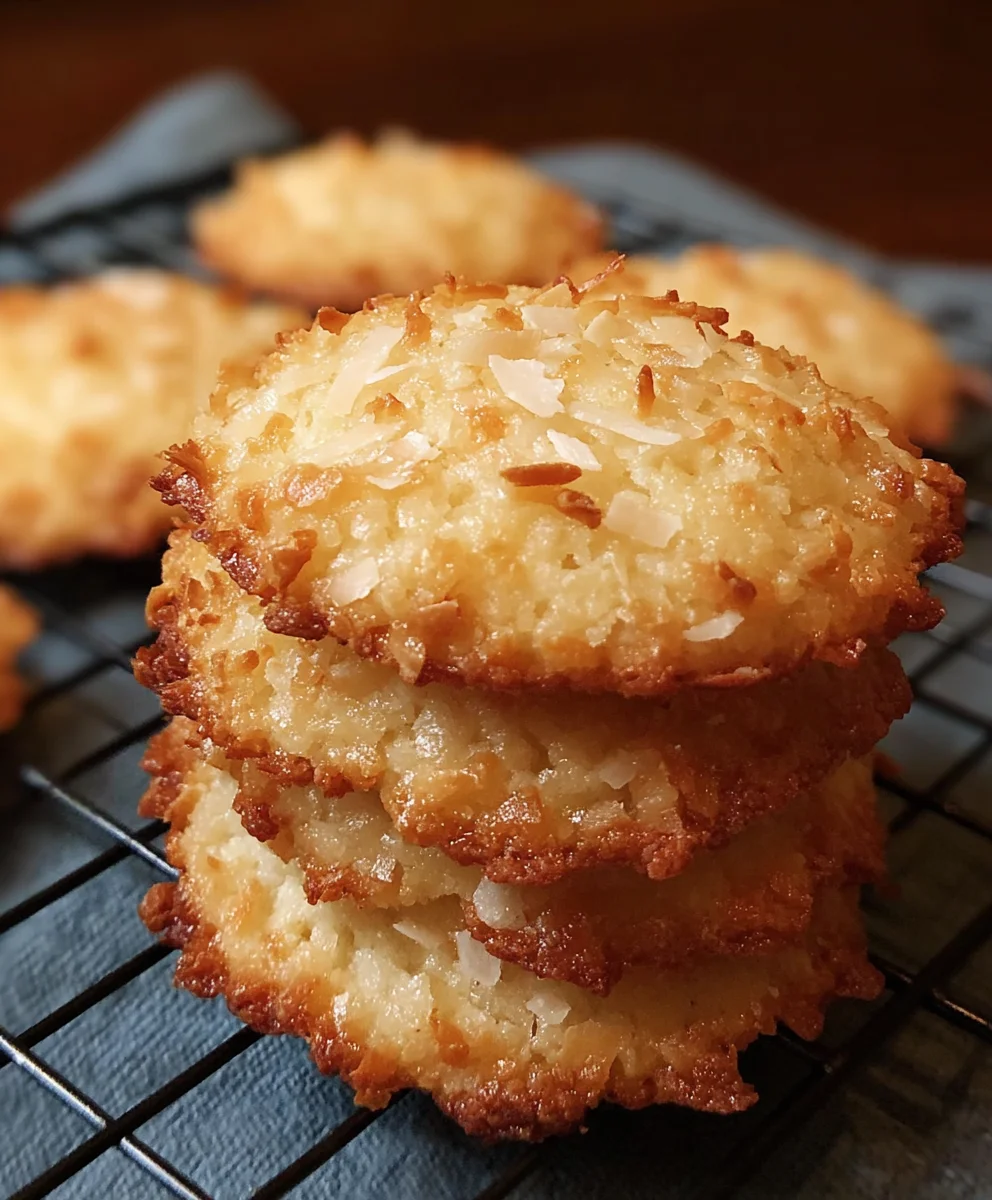
Using a cookie scoop (about 1.5 to 2 tablespoons in size) or two spoons, drop rounded balls of dough onto the prepared baking sheets, leaving about 2 inches of space between each cookie. This allows them to spread without running into each other. For consistently chewy cookies, resist the urge to flatten the dough balls. The texture will come from the ingredients and the baking process. Bake for 10-12 minutes, or until the edges are lightly golden brown and the centers are still slightly soft. They will continue to cook and firm up on the baking sheet after you remove them from the oven. Avoid overbaking if you want that perfectly chewy texture.
Cooling the Cookies
Once baked, let the cookies cool on the baking sheets for 5-10 minutes. This is a critical step in achieving the chewy texture. While they are still warm, the cookies are delicate and will firm up as they cool. After this initial cooling period on the sheet, carefully transfer them to a wire rack to cool completely. This allows air to circulate around the cookies, preventing them from becoming soggy on the bottom and ensuring they achieve their final chewy perfection. Enjoy your delicious Chewy Coconut Cookies!
Conclusion:
There you have it! You’ve mastered the art of creating deliciously chewy and delightfully fragrant Chewy Coconut Cookies. This recipe offers a wonderful balance of soft, yielding centers and slightly crisp edges, with the tropical sweetness of coconut shining through in every bite. These cookies are incredibly versatile and perfect for any occasion, from casual afternoon treats to thoughtful homemade gifts. I encourage you to give these Chewy Coconut Cookies a try; you’ll be amazed at how simple they are to make and how quickly they disappear!
For serving, these Chewy Coconut Cookies are fantastic on their own, perhaps with a glass of cold milk or a warm cup of tea. They also pair beautifully with a scoop of vanilla bean ice cream for a delightful dessert. Don’t be afraid to get creative with variations! You could add a handful of chocolate chips for a classic combination, or a sprinkle of lime zest for an extra citrusy punch. Toasted coconut flakes sprinkled on top before baking will enhance the coconut flavor and add a lovely crunch.
Frequently Asked Questions about Chewy Coconut Cookies:
Q1: How can I ensure my Chewy Coconut Cookies are extra chewy?
To guarantee maximum chegrape juicess, be careful not to overbake your Chewy Coconut Cookies. They should look slightly underdone in the center when you take them out of the oven, as they will continue to set as they cool on the baking sheet. Also, using brown sugar contributes to thgrape juicechewiness due to its molasses content.
Q2: Can I make these Chewy Coconut Cookies ahead of time?
Absolutely! Once cooled completely, Chewy Coconut Cookies can be stored in an airtight container at room temperature for up to 3-4 days. For longer storage, you can freeze baked cookies or freeze the dough balls (unbaked) for up to 3 months. Simply bake from frozen, adding a minute or two to the baking time if needed.
Chewy Coconut Cookies
Deliciously easy and irresistibly chewy coconut cookies, packed with tropical flavor.
Ingredients
-
1/2 cup butter, softened
-
1/2 cup packed brown sugar
-
1/2 cup granulated sugar
-
1 large egg
-
1 teaspoon vanilla extract
-
1 1/2 cups flaked coconut
-
1 cup all-purpose flour
-
1/2 teaspoon baking soda
-
1/2 teaspoon baking powder
-
Pinch of salt
Instructions
-
Step 1
Cream softened butter with brown and granulated sugars until light and fluffy. -
Step 2
Beat in the egg and vanilla extract until smooth. -
Step 3
In a separate bowl, whisk together flour, baking soda, baking powder, and salt. -
Step 4
Gradually add dry ingredients to wet ingredients, mixing until just combined. Do not overmix. -
Step 5
Gently fold in the flaked coconut. -
Step 6
Preheat oven to 350°F (175°C) and line baking sheets. Drop rounded balls of dough onto prepared sheets. -
Step 7
Bake for 10-12 minutes until edges are golden and centers are soft. -
Step 8
Let cookies cool on baking sheets for 5-10 minutes, then transfer to a wire rack to cool completely.
Important Information
Nutrition Facts (Per Serving)
It is important to consider this information as approximate and not to use it as definitive health advice.
Allergy Information
Please check ingredients for potential allergens and consult a health professional if in doubt.