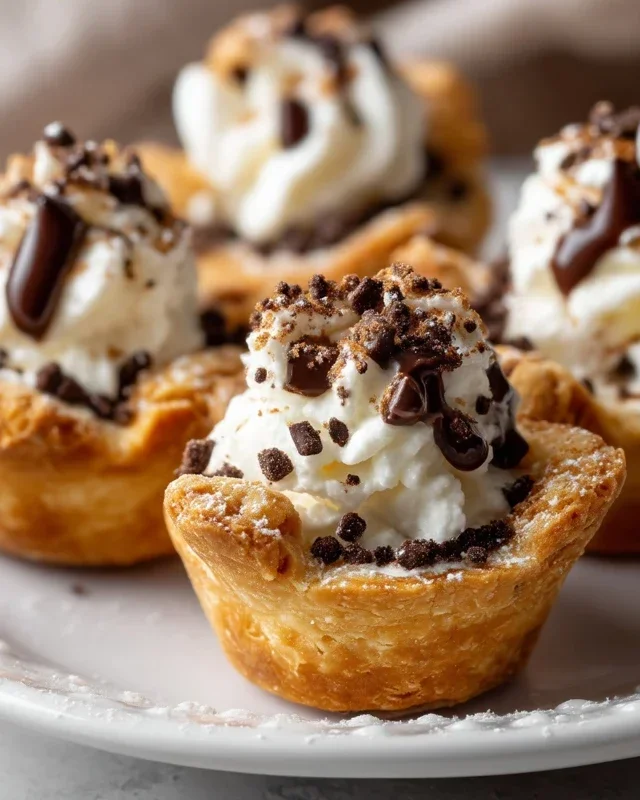
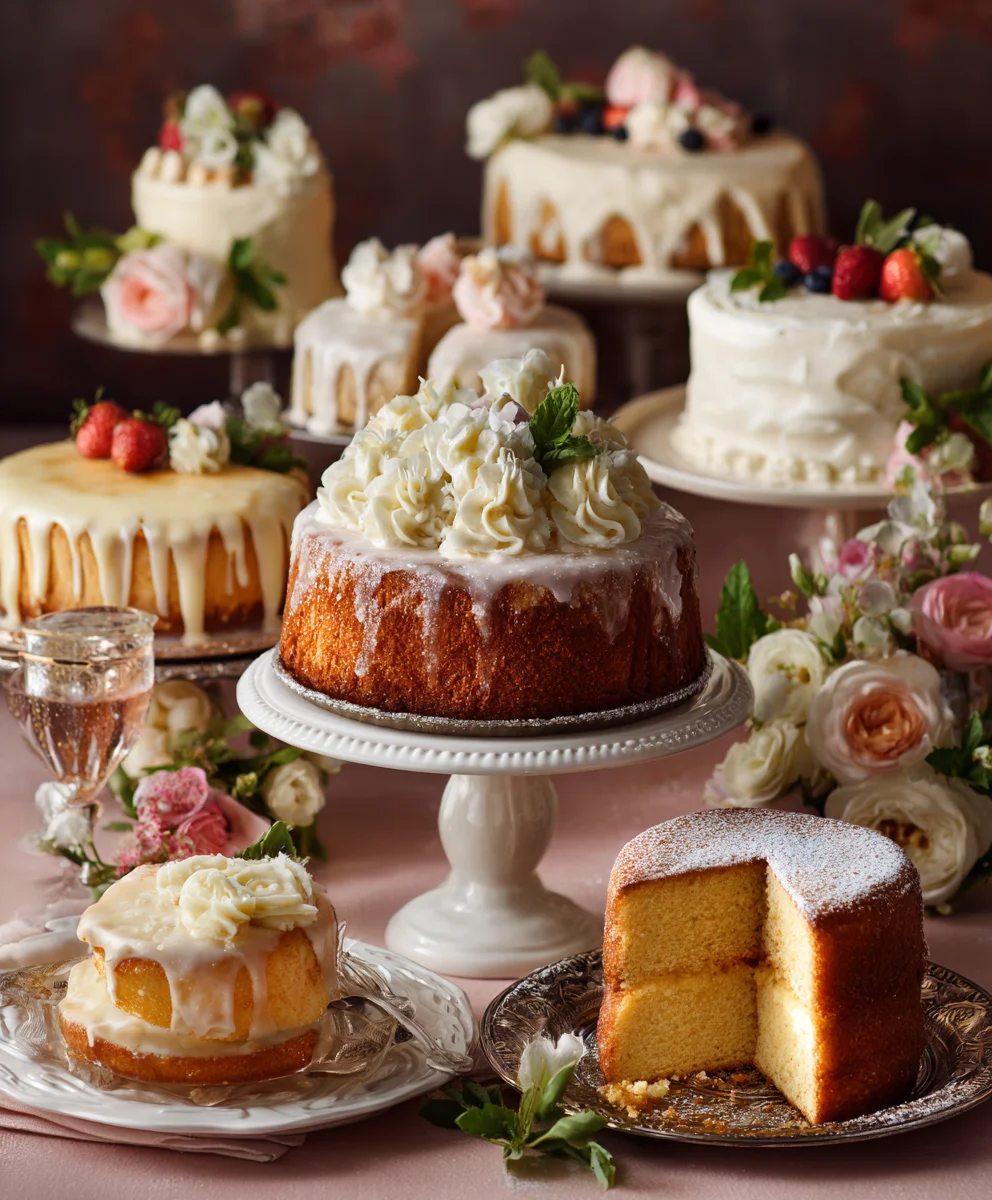
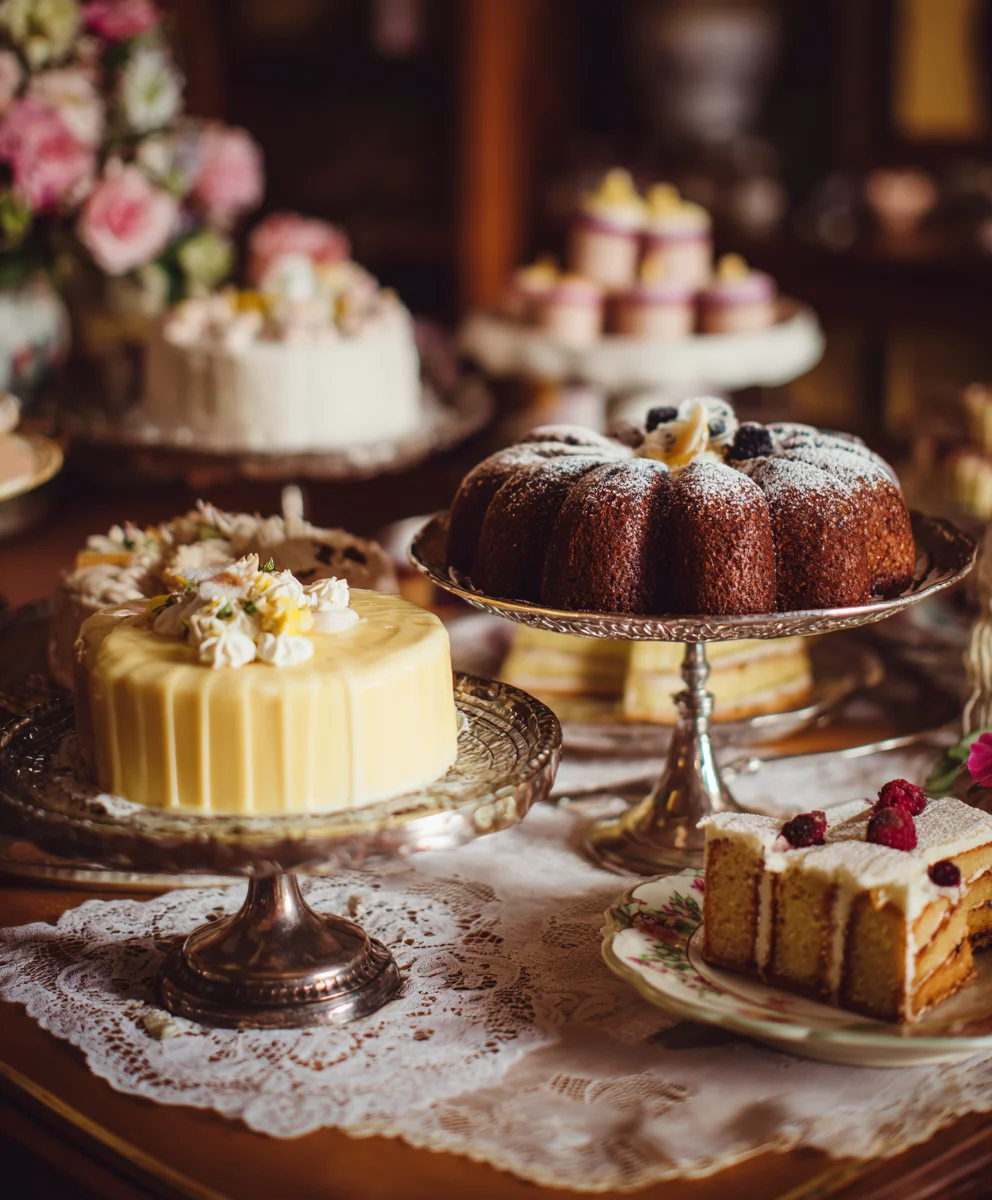
Vintage Wedding Dessert Table – Sweet Nostalgia
Vintage wedding dessert table recipes are more than just a collection of sweets; they’re a romantic journey back in time, a celebration of tradition, and a delightful centerpiece for any special occasion. There’s an undeniable charm and nostalgia associated with these classic confections that resonates deeply with couples and their guests alike. People adore them because they evoke feelings of warmth, comfort, and a sense of timeless elegance. Imagin extracte guests gathering around a beautifully adorned table, their eyes wide with delight at the sight of exquisitely crafted cakes, delicate pastries, and perhaps even some lovingly prepared homemade cookies, all reminiscent of cherished family recipes and bygone eras. What truly makes a vintage wedding dessert table special is the heartfelt attention to detail – from the carefully chosen flavors and textures to the antique-inspired presentation. This isn’t just about sugar and flour; it’s about crafting edible memories that tell a story.
Ingredients:
- 2 cups all-purpose flour
- 1 teaspoon baking soda
- 1/2 teaspoon salt
- 1 cup (2 sticks) unsalted butter, softened
- 1 1/2 cups granulated sugar
- 2 large eggs
- 1 teaspoon vanilla extract
- 1/2 cup sour cream
- 1 cup fresh raspberries
- 1/2 cup chopped pistachios
- Powdered sugar for dusting (optional)
Raspberry Pistachio Swirl Cake
Baking the Cake Layers
- First, let’s get our dry ingredients ready. In a medium bowl, whisk together the 2 cups of all-purpose flour, 1 teaspoon of baking soda, and 1/2 teaspoon of salt. Whisking ensures everything is evenly distributed, which is key for a consistent cake texture. Set this mixture aside.
- Next, in a large mixing bowl, cream together 1 cup of softened unsalted butter and 1 1/2 cups of granulated sugar. I like to use a stand mixer with the paddle attachment for this, but you can also use a hand mixer. Beat them until the mixture is light and fluffy, which usually takes about 3-5 minutes. This creaming process incorporates air into the batter, making the cake tender.
- Now, it’s time to add the eggs and vanilla. Beat in the 2 large eggs, one at a time, making sure each one is fully incorporated before adding the next. Then, stir in the 1 teaspoon of vanilla extract. The vanilla adds that classic comforting aroma and flavor that pairs so beautifully with berries and nuts.
- We’re going to alternate adding our dry ingredients and the sour cream to the butter mixture. Start by adding about a third of the flour mixture to the butter mixture and mix on low speed until just combined. Then, add half of the 1/2 cup of sour cream and mix again until just combined. Repeat this process, adding another third of the flour mixture, then the remaining sour cream, and finally the last third of the flour mixture. Be careful not to overmix at this stage. Overmixing can develop the gluten in the flour too much, resulting in a tough cake. Mix only until no streaks of flour remain.
- Now for the beautiful swirls! Gently fold in the 1 cup of fresh raspberries and the 1/2 cup of chopped pistachios. You want to be careful not to crush the raspberries too much, as you want little pockets of berry goodness throughout the cake. The pistachios add a delightful crunch and a lovely pop of green color, making this cake truly special for a Vintage Wedding Dessert Table.
- Pour the batter evenly into two greased and floured 8-inch round cake pans. You can also line the bottoms with parchment paper for easier removal. Bake in a preheated oven at 350°F (175°C) for 25-30 minutes, or until a wooden skewer inserted into the center of the cakes comes out clean. The aroma filling your kitchen at this point will be absolutely divine!
- Once baked, let the cakes cool in the pans on a wire rack for about 10-15 minutes before inverting them onto the wire rack to cool completely. This cooling period is crucial. If you try to remove them too soon, they might break. Patience is key for perfectly structured cake layers.
Assembling and Finishing
- Once the cake layers are completely cool, you can assemble your cake. If you’re planning on frosting it, this is the time to do so. A simple vanilla buttercream or a cream cheese frosting would be wonderful. For a more rustic, vintage feel, you could dust the top generously with powdered sugar just before serving.
- To elevate the presentation for your Vintage Wedding Dessert Table, consider adding a final flourish. A few extra fresh raspberries artfully arranged on top, or a light scattering of finely chopped pistachios around the base of the cake, will add elegance and visual appeal. This cake is already a showstopper on its own, but these small touches can make it even more memorable.
Conclusion:
Crafting a beautiful and delicious Vintage Wedding Dessert Table is a rewarding experience that adds a touch of nostalgic charm to any celebration. We’ve explored how to select the perfect sweet treats, from delicate pastries to rich, decadent cakes, all designed to evoke a sense of timeless elegance. Remember, the key is to balance flavors, textures, and visual appeal to create a truly memorable display. Don’t be afraid to personalize your table with heirloom serving dishes or handcrafted elements that reflect your unique style as a couple. This Vintage Wedding Dessert Table is more than just food; it’s an edible centerpiece that guests will talk about for years to come. So gather your loved ones, embrace the creativity, and make your special day even sweeter!
For serving suggestions, consider arrangin extractg your desserts on tiered stands and antique cake platters. Incorporate fresh flowers or greenery that complement your wedding theme. As for variations, feel free to swap out classic cookies for lavender shortbread or add a gluten-free option like a rich flourless chocolate torte to cater to all dietary needs. The possibilities are endless when creating your own personalized Vintage Wedding Dessert Table.
Frequently Asked Questions:
Q1: How far in advance can I prepare the desserts for a Vintage Wedding Dessert Table?
Many components of a Vintage Wedding Dessert Table can be prepared a day or two in advance. Cookies and bars often store well in airtight containers. Cakes can typically be baked and frosted a day ahead, while more delicate pastries like macarons or fruit tarts are best assembled closer to the event. Planning is key to ensure freshness and minimize stress on the wedding day itself.
Q2: What if I’m not a baker? Can I still create a stunning Vintage Wedding Dessert Table?
Absolutely! You can absolutely create a stunning Vintage Wedding Dessert Table even if you’re not a baker. Consider incorporating beautifully presented store-bought items like artisanal chocolates, gourmet candies, or even mini pies from a local bakery. The magic lies in the presentation and curation. Source beautiful vintage serving ware and arrange these elements with care to achieve the desired aesthetic.
Q3: Are there any specific dessert types that scream “vintage” for a wedding table?
Indeed! Certain desserts naturally lend themselves to a vintage feel. Think classic vanilla bean shortbread, delicate madeleines, lemon meringue tarts, rich chocolate fudge cake, and fruit-laced sponges. Anything with a homemade, rustic, or classic charm fits the bill for a Vintage Wedding Dessert Table. Incorporating elements like lace patterns, floral motifs, or even specific fruits popular in past eras can enhance the theme.
Raspberry Pistachio Swirl Cake
A delightful cake perfect for a vintage wedding dessert table, featuring a tender crumb swirled with fresh raspberries and crunchy pistachios. This recipe focuses on a nostalgic, homemade feel.
Ingredients
-
2 cups all-purpose flour
-
1 teaspoon baking soda
-
1/2 teaspoon salt
-
1 cup unsalted butter, softened
-
1 1/2 cups granulated sugar
-
2 large eggs
-
1 teaspoon vanilla extract
-
1/2 cup sour cream
-
1 cup fresh raspberries
-
1/2 cup chopped pistachios
-
Powdered sugar for dusting (optional)
Instructions
-
Step 1
Preheat your oven to 350°F (175°C). Grease and flour two 8-inch round cake pans. In a medium bowl, whisk together the flour, baking soda, and salt. Set aside. -
Step 2
In a large mixing bowl, cream together the softened butter and granulated sugar until light and fluffy. Beat in the eggs one at a time, then stir in the vanilla extract. -
Step 3
Alternately add the dry ingredients and sour cream to the butter mixture, beginning and ending with the dry ingredients. Mix on low speed until just combined, being careful not to overmix. -
Step 4
Gently fold in the fresh raspberries and chopped pistachios. Be careful not to crush the raspberries too much. -
Step 5
Pour the batter evenly into the prepared cake pans. Bake for 25-30 minutes, or until a wooden skewer inserted into the center comes out clean. -
Step 6
Let the cakes cool in the pans on a wire rack for 10-15 minutes before inverting them to cool completely. -
Step 7
Once cooled, assemble the cake. Frost as desired or dust with powdered sugar for a rustic look. Garnish with extra raspberries and pistachios for presentation.
Important Information
Nutrition Facts (Per Serving)
It is important to consider this information as approximate and not to use it as definitive health advice.
Allergy Information
Please check ingredients for potential allergens and consult a health professional if in doubt.